Table of Contents
Advertisement
Advertisement
Table of Contents

Related Manuals for Aiwa AMD-006


Summary of Contents for Aiwa AMD-006
-
Page 2: Table Of Contents
Warning and Precautions Warning and Precautions....................1-3 General Information:.......................4-5 Function Overview: Front Panel........................6 Back Panel ........................6 Remote Control.........................7 Player Functions.......................8 Connections: Connection to Speakers.....................9 Connecting to FM Aerial.....................9 Connecting to TV and Additional Components ..............10 System Setup .......................11-13 WARNING: DUE TO THE HIGH RISK OF FIRE OR ELECTRIC SHOCK, CD Ripping........................13 DO NOT EXPOSE THIS APPLIANCE TO RAIN OR MOISTURE. -
Page 3: Warning And Precautions
Warning and Precautions Warning and Precautions Do not use a defective Insert the plug firmly into Ensure that where you power cable. Do not place the unit Do not use discs with the electrical wall socket. place the unit is stable under any heavy object scratches and/or and cannot easily be... - Page 4 DVD Region Code: Notes about Discs: Disc Handling Precautions: To keep the disc clean, handle the disc by its edge. DVD Player and discs are designed with region numbers which dictate the region (printed on the rear panel of Do not touch the surface. the DVD case).
-
Page 5: Front Panel
Front Panel: Remote Control: 1. STANDBY: Press this button to switch the player to ON or to set to Standby mode. 2. AUDIO 3. TITLE: During DVD playback, press this button to return to the title menu. 4. NAVIGATION BUTTONS 5. -
Page 6: Player Functions
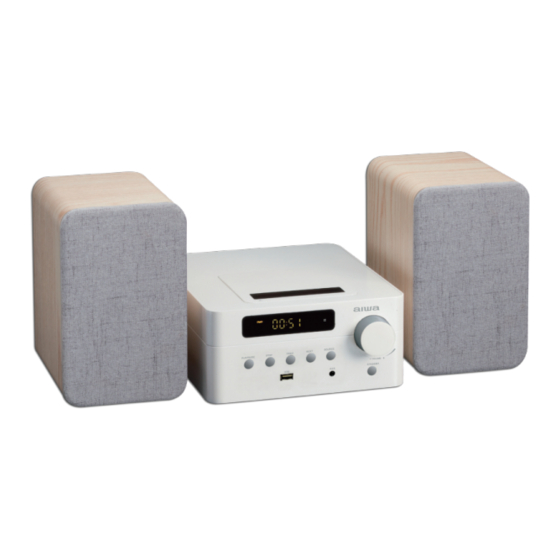
Player Functions Menu/Title Connection to Speakers: Press the MENU key during DVD playback to return to the disc's Main menu. Press the TITLE key during DVD playback to return to the disc's Title menu. Press the TITLE key during VCD playback to the disc's PBC menu. Mute Press MUTE to mute/ restore sound. -
Page 7: Connecting To Tv And Additional Components
General Setup Operation: HDCD: This function is used to change the Connecting to TV and Additional Components: HDCD playback settings. Press SETUP button to enter the Setup Last Memory: This function is used to turn menu. Then press button to highlight Video Connection: Connect either the 'VIDEO' output, or the 'YCbCr' outputs to the corresponding inputs on the Resume Playback function On/Off. -
Page 8: Cd Ripping
CD Ripping Quality Setup: Dolby Setup Page: Parental: Sharpness: This function is used to set the Some DVDs may have a parental level sharpness of picture high, medium or low. assigned to the complete disc or to certain Brightness: This function is used to set When an audio CD is in the disc tray, scenes on the disc. -
Page 9: Selecting The Starting Time
Program Play: Please note: In audio CD mode you can play the contents of the disc For CD, the information about track and time in the order you want by programming the order of the appears on the front panel display, as shown tracks to be played. -
Page 10: Angle Selection
1. Press 'SOURCE' key repeatedly to switch to Bluetooth mode. Some DVDs display subtitles automatically and 2. Turn on the Bluetooth function on your Bluetooth device; search for the Bluetooth ID 'AMD-006' and connect. cannot be turned off even if you set the subtitle 3. -
Page 11: Troubleshooting
Troubleshooting DVD Section: Laser type............Semiconductor laser, Wavelength 650nm Signal system..................PAL, NTSC/AUTO Video format..............16:9, 4:3 panscan, 4:3 letter box Video output level...................1 Vp-p (75 ohm) Unit does not work. Video Y output level................1 Vp-p (75 ohm) Video C output level................286 mV P-P (75 ohm) Audio frequency response............20Hz - 22 KHz (48 Khz) ....................20Hz - 22 KHz (96 Khz) CD does not play.