Table of Contents
Advertisement
Quick Links
Advertisement
Table of Contents

Summary of Contents for Sirius Satellite Radio SU909
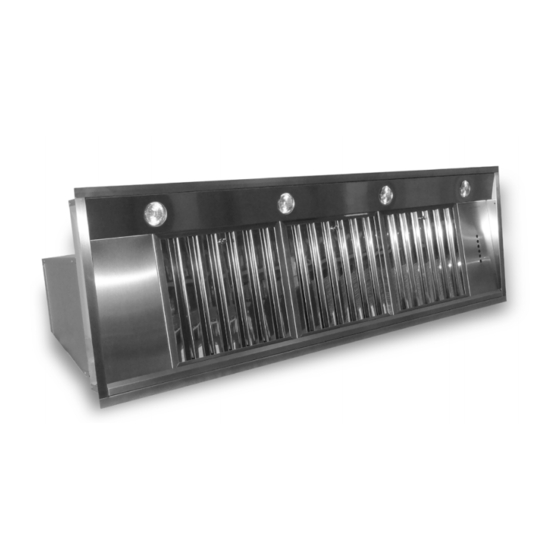
- Page 1 INSTALLATION INSTRUCTIONS CARE AND USE MANUAL FOR: BUILT-IN RANGE HOODS Models covered by this instructions: SU909 *** BEFORE INSTALLATION *** ENSURE THERE IS NO VISIBLE OR HIDDEN DAMAGE SUSTAINED DURING SHIPPING *** SHIPPING DAMAGE *** MUST BE REPORTED WITHIN 5 DAYS OF RECEIPT...
- Page 5 WAR NIN G Thank you for purchasing a Sirius Range Hood. Please read all the instructions in this manual before installing the appliance. Save these instructions for future reference. Only use this appliance as an exhaust ventilation system for the removal of coo- king vapors.
-
Page 6: Table Of Contents
TABLE OF CONTENTS BEFORE YOU BEGIN DUCTING External venting Requirements ELECTRICAL Electrical Supply INSTALLATION Installing Re-Circulating Requirements OPERATING PROCEDURES General Advice Functions TECHNICAL DATA Standard configuration Generating a new transmission code Learning the new transmission code MAINTENANCE Cleaning the Filter Cleaning the Hood Replace led lamp WARRANTY... -
Page 7: Before You Begin
B E FOR E Y O U B E G IN The manufacturer declines all responsibility BEFORE YOU BEGIN: It is advisable to in the event of failure to observe the instruc- test run the range hood before installa- tions given here for installation, maintenan- tion. -
Page 8: Electrical
E L E C T RIC A L WARNING: All electrical work must be Electrical Supply. performed by a qualified electrician. This appliance requires 120V/60Hz, 3amp electrical supply – ensure an appropriately Please ensure that the appropriate electrical qualified person completes the electrical ho- codes or prevailing local building codes and ok-up. -
Page 9: Installation
I N S TA L L ATIO N Installing SU909 Fix the product with the supplied screws as shown on fig. 8. Before proceeding with the installation, in At this point take the oil collector and hook order to avoid damage to the appliance, ple it on the appropriate hole of the hood. -
Page 10: Re-Circulating Requirements
CAUTION: Make sure the power is turned Connect the appropriate length of ducting to off at source. Make electrical connections the fan exhaust point and connect the duc- (refer to Figure 14). Ensure that the plastic ting to the exterior. flaps at the exhaust outlet of the fan move freely and have not become jammed or Do not fix the ducting to the range hood... -
Page 11: Operating Procedures
O PE R AT I N G PR O C E DU RES Read all the instructions before operating FUNCTION the appliance. Save these instructions for future reference. SU909 (Fig. 16). General Advice. A: Light ON/OFF button Ensure that the grease filters are in place. B: Blower Speed 1 (low) or OFF... -
Page 12: Technical Data
INITIAL OPERATING CONDITION DEPENDING ON THE MODEL AVAILABLE The manufacturer supplies the radio control unit ready to be used with codes preset in the Factory RC001 ADIO ONTROL Radio control used for the remote operation of ducted cooker hoods. TECHNICAL DATA - Alkaline battery powered: 12 V mod. - Page 13 Reset of the Factory configuration: Warning The battery should be replaced eve- To restore the Factory configuration, follow the ry year to guarantee the optimal range of the procedure described below: press simultaneously transmitter. To replace the exhausted battery, buttons: take the plastic lid off, remove the battery and replace it with a new one, observing the cor- rect battery polarities.
-
Page 14: Maintenance
M A I N TE N A NCE The hood-fan should provide many years of Replace led lamp trouble free service provided it is maintained To replace the led lamp, remove the lamp properly. (Fig. 11) inserting a screwdriver or another sharp tool between the lamp and its chro- Cleaning the Filter. -
Page 16: Warranty
Three Year Limited Warranty YOU MUST REGISTER THE PURCHASE OF YOUR PRODUCT ON LINE AT www.siriuscappe.com/usa/warranty.htm TO CONVALIDATE YOUR WARRANTY. YOU CAN FIND THE DATA OF YOUR HOODS ON A LABEL INSIDE THE HOOD. JUST REMOVE THE GREASE FILTER TO READ IT. WARRANTY SERVICE To qualify for warranty service, you must notify Sirius After sale service at the email address stated below or call toll free USA 1-877-474-8770 and provide the model number, description...


