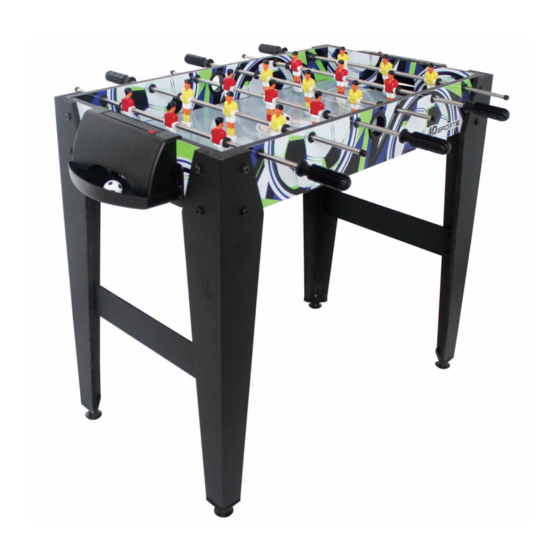
Summary of Contents for MD SPORTS 1623200
- Page 1 MODEL: 1623200 Shopko ASSEMBLY INSTRUCTIONS ATTENTION DO NOT RETURN TO THE STORE Contact MD Sports Customer Service * For additional resources and Frequently Ask Questions, please visit us at themdsports.com...
- Page 2 2 - Please review the replacement parts list and make sure that you have all of your parts before beginning assembly. For questions that may arise or for missing/damaged parts, please contact us. (Continued on the next page.) www.themdsports.com 1623200...
-
Page 3: Tools Required
3 years. Strong Adults Needed No Children in Keep away from pets Do not use or keep product outdoors. For indoor use only. Assembly Area No wet/humid conditions. (Continued on the next page.) www.themdsports.com 1623200... - Page 4 1623200 PARTS LIST Soccer Playfield Side Apron End Apron Left Leg Right Leg End Leg Panel Leg Leveler Player - Yellow 3-Hole Rod Goal Box Soccer Ball Rod Washer Foam Bumper Handle Rod End Cap Player - Red Allen Key 1/4”x1”...
- Page 5 3. Attach the Legs (#4, #5) to the Side and the End Aprons (#1 & #2) using four Bolts (#A2) and four Washers (#A3) per Leg. See FIG. 1. 4. Slide the Playfield (#3), with the graphics facing down, into the grooves of the Side and the End Aprons (#1 & #2). See FIG. 1. (Continued on the next page.) www.themdsports.com 1623200...
- Page 6 8. Lift the table assembly from the floor with two adults, turn it over, and set the table on its legs in the location where you will play. Go back and make sure that all connections are tight. 1623200 (Continued on the next page.)
- Page 7 11. Now insert the Player Rods (#9) through the Rod Bushings (P1) on the opposite Side Apron (#1). 12. Attach the Players (#8 or #16) to the Rods using one Screw (#A6) per Player. See FIG. 4B. 1623200 (Continued on the next page.) www.themdsports.com...
- Page 8 14. Place the Handles (#14) onto the ends of the Rods (#9) with the holes using one Screw (#A6). Then place the Rod End Caps (#15) onto the other side of the Rods. See FIG. 5. YOU ARE NOW READY TO PLAY! 1623200 (The last page) www.themdsports.com...


