Advertisement
Quick Links
R
INSTALLATION
INSTRUCTIONS
BEFORE YOU BEGIN
NOTES
S Observe all local plumbing and
building codes.
S Before you begin any work,
carefully uncrate and inspect
the new bath for any damage.
If there is a problem, do not
install the bath – report the
problem to your dealer
immediately.
S To prevent damage, return the
bath to its packing carton until
you are ready to begin actual
installation. Cover the bath
with a drop cloth or similar
material during installation.
TOOLS AND MATERIALS RECOMMENDED
14" Pipe
Safety
Glasses
Wrench
Level
Square
TOOLS AND MATERIALS OPTIONAL
S Conventional woodworking tools
S Wall and floor coverings, as necessary
S Water-resistant subfloor sealant
106701-2-AB
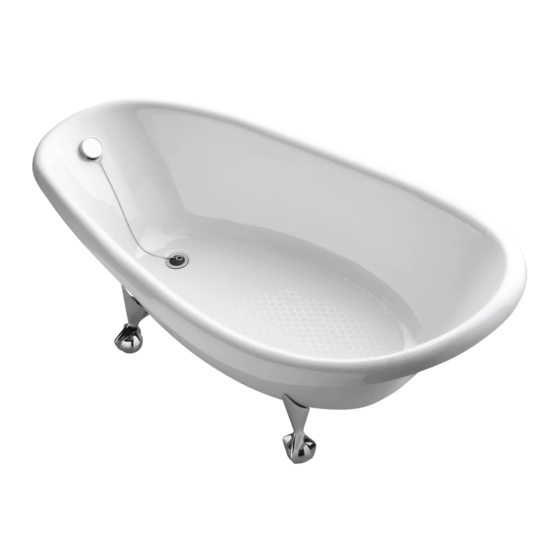
BIRTHDAY BATH
CAUTION: Risk of personal
injury. Cast iron baths are
extremely heavy. Wear
appropriate safety equipment,
and obtain help when lifting this
product.
S These instructions cover
installation of the Birthday Bath,
Antique Bath Drain, and Ball and
Claw Legs. Antique faucet, riser
tubes, and wall-mount kit
installation instructions are
packed with the faucet.
Tape or
Plumbers
Rule
Putty
Pliers
Hacksaw
Phillips
Screwdriver
S Safety Shoes
E2000 Kohler Co.
1 1
Advertisement

Related Manuals for Kohler BIRTHDAY BATH


Summary of Contents for Kohler BIRTHDAY BATH
- Page 1 If there is a problem, do not product. install the bath – report the S These instructions cover problem to your dealer installation of the Birthday Bath, immediately. Antique Bath Drain, and Ball and S To prevent damage, return the Claw Legs. Antique faucet, riser...
-
Page 2: Site Preparation
S For replacement installations: Remove the old bath. S Check the subfloor and make repairs as needed. Make sure the subfloor is level. Apply water-resistant sealant to the subfloor to reduce the risk of water damage. 106701-2-AB Kohler Co., Kohler, WI... - Page 3 SITE PREPARATION, CONT. S Your new Birthday Bath can be installed in a free-standing or wall-mount configuration depending on your faucet choice. Refer to the installation instructions packed with your faucet. S Make sure the drain location corresponds to the bath outlet.
-
Page 4: Install Drain
O-ring and Overflow coupling nut. S Assembly drain ell to tee using the O-ring and coupling nut. S Assemble the overflow ell to the tee using the O-ring and coupling nut. Drain Ell Tailpiece 106701-2-AB Kohler Co., Kohler, WI... -
Page 5: Clean-Up After Installation
Do not use metal scrapers, wire brushes, or other metal tools. A powder-type detergent may be used on a damp cloth to provide mild abrasive action to the residual plaster. 106701-2-AB Kohler Co., Kohler, WI... -
Page 6: Requesting Service
This warranty is applicable to Kohler cast iron product manufactured after February 10, 2000. If a defect is found in normal residential use, Kohler Co. will, at its election, repair, replace or make appropriate adjustment. Damage caused by accident, misuse, or abuse is not covered by this warranty. - Page 7 106701-2-AB Kohler Co., Kohler, WI...
- Page 8 106701-2-AB Kohler Co., Kohler, WI...