Advertisement
Quick Links
Advertisement

Related Manuals for SATO TXPEX6


Summary of Contents for SATO TXPEX6
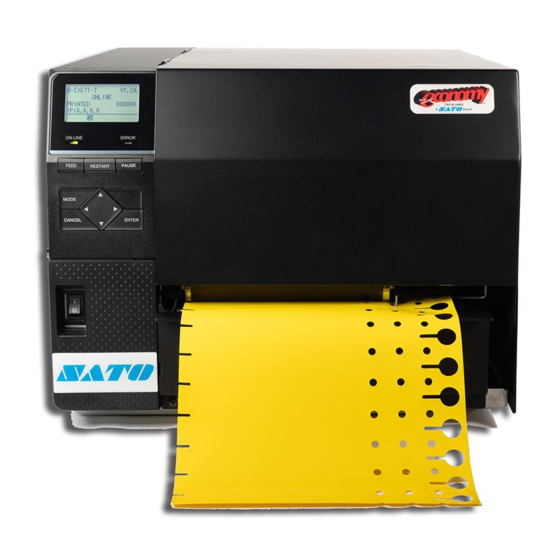
- Page 1 Quick Start Guide TXPEX6...
- Page 3 TXPEX6 Read this Quick Start manual before beginning. For the best printing results, we recommend the use of SATO genuine labels and ribbons. Contact your SATO authorized reseller for further details. More information can be found at www.satoamerica.com Important Information This quick start guide provides important information on how to setup your new SATO product.
-
Page 5: Table Of Contents
TXPEX6 Table of Contents Table of Contents 1 Unpacking the Printer 2 Initial Setup 3 Loading Ribbon 4 Loading Media 5 Connecting Cables and the Power Cord 6 Turning the Printer ON/OFF... -
Page 6: Unpacking The Printer
TXPEX6 Unpacking the Printer Unpacking the Printer 1. Open the carton. 2. Remove the accessories. a. Power cord b. Tear-off Blade 3. Remove the foam inserts and printer. Note: Keep the carton and packaging materials for future transportation of the printer. -
Page 7: Initial Setup
TXPEX6 Initial Setup Initial Setup 1. Open the top cover. 2. Remove the twist tie securing the print head block. 3. From the accessories; locate the tear-off blade. 4. Attach the tear-off blade to the printer with the provided pan screws. - Page 8 10. Gently push the media sensor (green bar) all the way inward toward the interior printer wall. 11. Lift the print head block completely up and then back down. This action will set the default media sensor position for SATO notched tags.
- Page 9 12. Loosen the thumb screw and remove the media supply Hub assembly. 13. Loosen the Label Holder thumb screw. 14. Slide the label holder all the way inside toward the interior printer wall and tighten the thumb screw. This is the default position for SATO notched tags.
-
Page 10: Loading Ribbon
TXPEX6 Loading Ribbon Loading Ribbon 1. Grasp the tabs on the top and bottom of the Ribbon Stoppers and move the Ribbon Stoppers back to the end of the Ribbon Shaft (inside of the printer). 2. Lift open the print head block. -
Page 11: Loading Media
TXPEX6 Loading Media Loading Media 1. Slide the media stock on to the supply shaft, make sure to push all the way onto the shaft against the metal plate. 2. Return the Hub assembly against the outside of the media and secure with the thumbscrew. - Page 12 TXPEX6 Loading Media 5. Place the print head block in down/close position. 6. Secure the guide bracket to close position. 7. Move the head lever to lock position. Note: The media/ribbon routing guide is also located on the inside of the...
-
Page 13: Connecting Cables And The Power Cord
TXPEX6 Connecting Cables Connecting Cables and the Power Cord 1. Connect a USB or Ethernet interface cable from your PC to the printer. 2. Make sure the printer power switch is in the OFF position. 3. Connect the power cord to the printer. -
Page 14: Turning The Printer On/Off
TXPEX6 Turning the Printer ON/OFF Turning the Printer ON/OFF When the printer is connected to your host computer it is good practice to turn the printer ON before turning on your host computer and turn OFF your host computer before turning off the printer. - Page 15 SATO Corporation reserves the right to change or improve this product and document without notice.