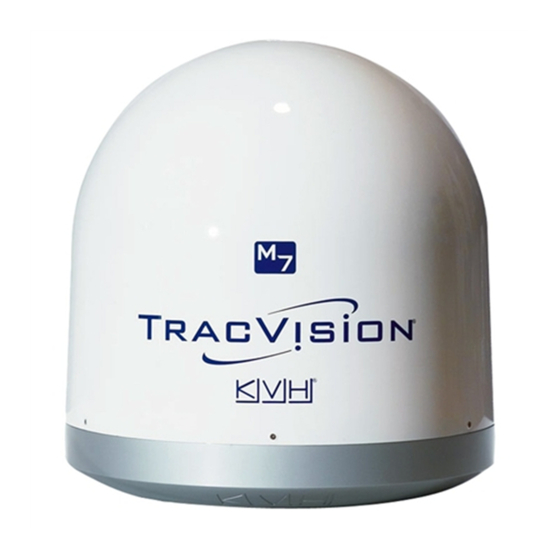
KVH Industries TracVision M7 Replacement Instructions
Rf pcb
Hide thumbs
Also See for TracVision M7:
- Installation manual (51 pages) ,
- Replacement instructions manual (13 pages) ,
- User manual (106 pages)
Advertisement
Quick Links
TracVision
M7 RF PCB Replacement
®
Instructions
The following instructions explain how to replace the RF PCB in a
TracVision M7.
Tools Required
• #1 Phillips screwdriver
• #2 Phillips screwdriver
• 3/8" nut driver or wrench
• 7/16" open-end wrench
TIP: The Flash Update Wizard is available to KVH-authorized
dealers through the KVH Partner Portal at
partners.
For your own safety, be sure to disconnect power from all wired
components before performing this procedure.
54-0478 Rev. B
RF PCB Replacement Instructions
www.kvh.com/
CAUTION
TracVision M7
1
Advertisement

Summary of Contents for KVH Industries TracVision M7
- Page 1 TracVision M7 RF PCB Replacement Instructions TracVision M7 RF PCB Replacement ® Instructions The following instructions explain how to replace the RF PCB in a TracVision M7. Tools Required • #1 Phillips screwdriver • #2 Phillips screwdriver • 3/8" nut driver or wrench •...
- Page 2 TracVision M7 RF PCB Replacement Instructions Step 1 - Replace the RF PCB a. Using a #2 Phillips screwdriver, remove the six #10-32 screws securing the radome. Then remove the radome and set it aside in a safe place. Figure 1 Radome Removal/PCB Cover Screws...
- Page 3 PCB software version. a. Follow the instructions provided in the TracVision M7 User’s Guide to connect a PC to the TracVision system. b. Double-click the KVH Flash Update Wizard shortcut on your PC’s desktop to start the Flash Update Wizard.
- Page 4 TracVision M7 RF PCB Replacement Instructions d. Type VERSION then press Enter. The antenna’s main PCB software version will appear in the “TracVision Antenna Comms” window. Be sure to record the software version for later use. e. Type ZAP then press Enter.


