Advertisement
Quick Links
Installation
Kit, Bead Dispenser
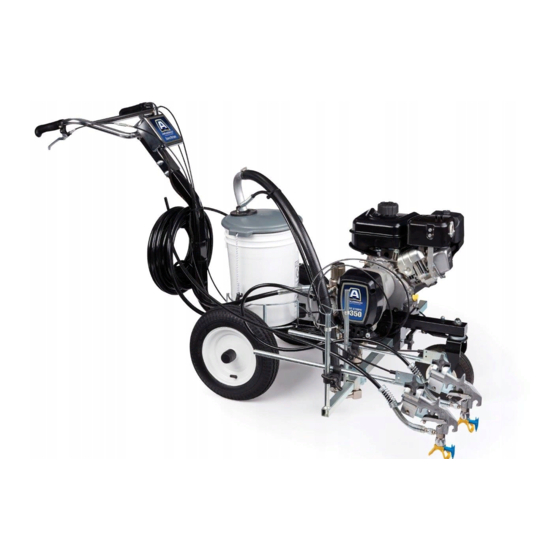
LineLazer 3400
Airlessco 3350, 3350
Pioneer 3500, 3500
For application of line striping materials. Not approved for use in European explosive
atmosphere locations.
Important Safety Instructions
Read all warnings and instructions in this manual and related manuals.
Be familiar with the controls and the proper usage of the equipment.
Save these instructions.
LineLazer 3400
Airlessco 3350, 3350
Pioneer 3500, 3500
Glass bead system with one 6-in.
(152 mm) dispenser
Glass bead system with 12-in.
(305 mm) dispensers
6-in. (152 mm) dispenser and
hose
6-in. (152 mm) wind deflector kit
with aluminum dispenser
6-in. (152 mm) wind deflector
with plastic dispenser
12-in. (305 mm) dispenser and
two hoses
12-in. (305 mm) wind deflector
with aluminum dispenser
SP
SP
, 4350
Model
Series
SP
SP
24Z726
24Z727
277067
277066
245519
245516
245520
, 4350
A
A
A
A
A
A
A
3A5205A
EN
ti31501a
Advertisement

Related Manuals for Graco Airlessco 3350


Summary of Contents for Graco Airlessco 3350
- Page 1 Installation Kit, Bead Dispenser LineLazer 3400 Airlessco 3350, 3350 , 4350 3A5205A Pioneer 3500, 3500 For application of line striping materials. Not approved for use in European explosive atmosphere locations. Important Safety Instructions Read all warnings and instructions in this manual and related manuals.
- Page 2 Bead Dispenser Kit Bead Dispenser Kit Setup 8. Move bead dispenser to desired location on rod. Loosen screw (4) and position link (3) to connect to gun trigger actuator (C). Tighten screw (4) and attach dispenser connecting rod (B) to gun trigger with bridge pin (2).
- Page 3 Bead Dispenser Kit Bead Dispenser Kit ti31502a 3A5205A...
-
Page 4: Operation
Bead Dispenser Kit Dispenser Adjustments Only use dry, clean beads. Any moisture or contamina- tion with beads will cause poor bead flow. A window type screen can be used to remove unwanted debris Adjust dispenser plates up or down for desired bead before filling glass bead hopper. - Page 5 Bead Dispenser Kit Gun Orientation for 8 - 12 in. Stripe Operation ti6591a For 8 - 10 in. stripe, adjust line width, loosen set screws at (A) and loosen gun adjuster (B). Tilt guns in for desired line width and 8 - 10 in.
- Page 6 Bead Dispenser Kit - Parts List Bead Dispenser Kit - Parts List Remove cap (13) and install second hose (12) and clamp (11) for 12-inch bead dispenser ti31503a Ref. Part Description Qty. Ref. Part Description Qty. 194682 . HOSE, beads 24Z726 KIT, bead system 403237...
- Page 7 6-Inch Dispenser Assembly - Parts List 6-Inch Dispenser Assembly - Parts List ti6593a Ref. Part Description Qty. Ref. Part Description Qty. 198376 . CAP, end, bead dispenser 277067 DISPENSER ASSY KIT, beads (see 102598 . SCREW, cap, sch item 8, Bead Dispenser Kit Parts List) 115483 .
-
Page 8: Graco Standard Warranty
With the exception of any special, extended, or limited warranty published by Graco, Graco will, for a period of twelve months from the date of sale, repair or replace any part of the equipment determined by Graco to be defective.