Advertisement
Table of Contents
- 1 For Your Safety
- 2 Preparations for Use
- 3 Winding the Bobbin
- 4 Threading the Machine
- 5 Adjusting Tension
- 6 Replacing the Needle
- 7 Stitch Patterns
- 8 Buttonhole Stitch
- 9 Reverse Stitch Button
- 10 Thread Cutter
- 11 Troubleshooting Guide
- 12 Year Limited Warranty
- Download this manual
See also:
Operating Instructions Manual
Advertisement
Table of Contents

Related Manuals for Sunbeam SB1800


Summary of Contents for Sunbeam SB1800
- Page 1 Compact Sewing Machine Operating Instructions Model Nos. SB1800/SB1818 Please read all instructions carefully before operating the sewing machine. Keep this manual for future reference. SMT080811...
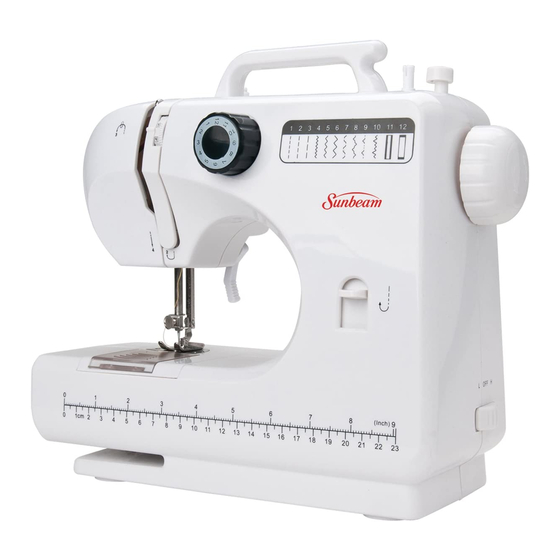
- Page 2 Components Stitch pattern knob Thread take-up lever Upper tension control Hand wheel Reverse stich button Thread cutter Needle feed Bobbin case Power and speed switch Thread clamp Bobbin winder Spool pin Presser foot lever Presser foot Work lamp Accessories drawer AC/DC receptacle Foot controller receptacle Page 2...
-
Page 3: For Your Safety
Accessories Foot control 2 spools of thread 2 bobbins Needle threader Needle For Your Safety Use this machine only as recommended in this manual. Do not leave the unit unattended, especially near children. To avoid electric shock, remove the adapter before cleaning or after use. -
Page 4: Preparations For Use
Preparations for Use • Plug one end of the adapter into the DC socket on the sewing machine, and the other end into an outlet. • Plug the foot control into its socket. • Turn the power switch on. Caution: Always turn the switch on off before un-plugging the machine. -
Page 5: Threading The Machine
to the right, clicking it into place. (Figure 5) Select a speed switch. This will start the bobbin winding. Figure 6 Figure 7 (Figure 6) When you have your desired amount of thread on the bobbin, switch to OFF and move the bobbin to the left (Figure 7) snip the thread. - Page 6 Feed the thread through the hole in the needle holder and then through the eye of the needle. (Figure 14) The threading is now complete, Figure 13 Figure 14 except for the bobbin. Connecting the bobbin Remove the Bobbin Cover. (Figure 15) Place the bobbin into the Bobbin Case, (Figure 16) making sure that the thread unwinds in a clockwise direction.
- Page 7 Pull both the bobbin and top thread toward the back of your presser foot. (Figure 20) Note: Try a practice stitch before beginning to sew to make sure you’ve threaded the machine Figure 20 correctly. How to sew Turn the hand wheel counter-clockwise till the needle is at its highest position.
-
Page 8: Adjusting Tension
Note: Do not use this machine for stretchable or knitted fabrics, such as towels, sweaters, etc., as this machine is not intended for such use. Adjusting tension A good stitch is neither too tight nor too loose. Check both the top and bottom threads to make sure they Figure 25 are smooth and even. -
Page 9: Stitch Patterns
Make sure the power is OFF. Turn the hand wheel until the needle is at its highest position. Hold the old needle with one hand while loosening the needle clamp screw with the Figure 29 other. When the needle is loose, remove it from its clamp. -
Page 10: Reverse Stitch Button
switch OFF. (Figure 34) Lift the presser foot. Rotate the fabric so that you will now sew in the opposite direction. (Figure 35) Figure 34 Select #12 on the pattern stitch knob. Turn switch ON. Sew about 3-4 stitches at low speed. Turn switch OFF. -
Page 11: Thread Cutter
Accessories drawer The accessories drawer has a designated space for bobbins, threads, and needles. (Figure 39) Figure 39 Figure 40 Thread cutter Use the handy thread cutter at the left side of the sewing machine to snip threads after threading or sewing. (Figure 40) Troubleshooting Guide PROBLEM CAUSE... -
Page 12: Year Limited Warranty
1 YEAR LIMITED WARRANTY The SB1800 / SB1818 Compact Sewing Machine is warranted for 1 year from provable date of purchase against defects in material and workmanship. During this period such defects will be repaired, or the product will be replaced without charge.