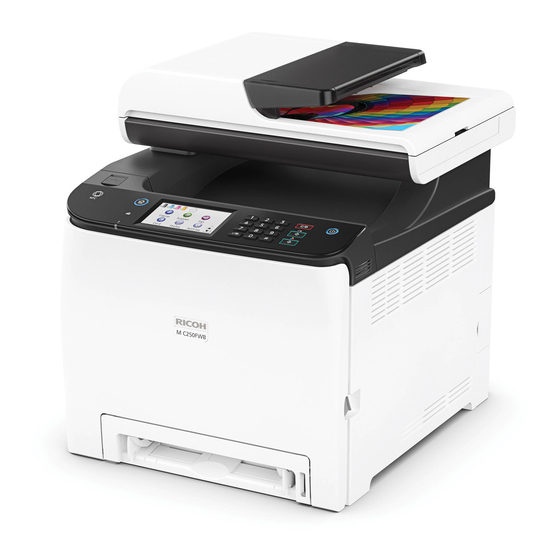
Ricoh M C250FWB Setup Manual
Hide thumbs
Also See for M C250FWB:
- Wi-fi direct manual (28 pages) ,
- Field service manual (324 pages) ,
- User manual (440 pages)

Related Manuals for Ricoh M C250FWB


Summary of Contents for Ricoh M C250FWB
-
Page 1: Table Of Contents
Setup Guide Setting Up the Machine Configuring the Network Setting Fax Settings Installing the Printer Driver Scan Settings Control Panel Sheet... -
Page 3: Setting Up The Machine
1. Setting Up the Machine 24 cm (9.5 inches) 20 cm (7.9 inches) 89.6 20 cm Power Source (7.9 inches) 120 - 127 V, 60 Hz, 11 A 220 - 240 V, 50/60 Hz, 6 A 10 cm (4.0 inches) 70 cm (27.6 inches) ECC007... - Page 4 ECC028 ECC029 ECC030 ECC031 ECC032 ECC033 ECC034 ECC035 ECC036 ECC038 ECC037 ECC039 ECC283 ECC284 ECC040...
- Page 5 ECC285 ECC286 ECC287 ECC289 ECC288 ECC290 ECC291 Configure the network setting. Go to page 4 “2. Configuring the Network Setting”.
-
Page 6: Configuring The Network Setting
2. Configuring the Network Setting Check How the Computer Is Connected Specify how to connect to your computer according to the communication environment of your system. Which method do you want to use (wireless or wired)? Wireless Wired Connect using a Connect using an Use a router (access point)? USB interface cable... - Page 7 "Connecting the Machine via Wi-Fi". the machine to the smart device After scanning the following QR code with • Printing photographs and documents stored on your smart device, search for the "RICOH a smart device Smart Device Connector" application and DUE033 download it from the site that appears.
- Page 8 Press [Change Wi-Fi Connection Mode]. Press [Change Wi-Fi Connection Mode]. ECC293 ECC293 Press [Setup Wizard]. Press [WPS]. ECC294 ECC295 Press the SSID of the router (access point) from the Press [PBC]. searched SSID list. Enter the encryption and Shared Key using the number keys, and then press [Connect].
- Page 9 Check the PIN code. Easy Setup Using a PIN Code Be sure not to press [Connect]. Write down the PIN code in case you might forget it. ● Make sure the Ethernet cable is not connected to the machine. ● In Steps 8 to 11, configure each setting within two minutes.
- Page 10 Connecting the Machine via USB or Ethernet DUE036 DUE037 ● For details about IPv4 or IPv6 settings manually, see User's Guide. ● When connecting the machine via USB, USB interface cable is necessary to set up. ECC037 ● When connecting the machine via the Ethernet, the Ethernet interface cable is necessary to set up.
-
Page 11: Fax Settings
3. Fax Settings Fax Setup Press [Process to Fax Setup]. Press [Finish]. ECC298 ECC300 Enter [Fax Number:] and [Fax Name:], and then press [OK]. ECC299 Connection Connect a telephone line cord to LINE. If using an external telephone, connect the telephone to TEL. DUE040 ECC041 1. -
Page 12: Setting The Outside Line Access Number
Press [Dial/Push Phone]. Press [PSTN / PBX]. Press the telephone line type appropriate for your Press [PSTN] or [PBX]. telephone service. Press the [Home] key to return the initial screen. Setting the Outside Line Access Number If you have selected PBX, use the following procedure. Press [Setting]. -
Page 13: Installing The Printer Driver
4. Installing the Printer Driver Follow the instructions in the setup wizard. If you already completed the Wi-Fi setting, click [The machine's ● The following items are necessary to set up a wired IP address has been already configured.]. connection. ●... -
Page 14: Scan Settings
Scan Settings ■ For those using the scanner features for the first time For information about specifying the initial scan settings, see “What You Can Do with the Scanner Function”, User’s Guide in User's Guide the provided CD-ROM or our website. For safe and correct use, be sure to read the "Safety Information"... - Page 15 Trademark Android is a trademark of Google LLC. IOS is a trademark or registered trademark of Cisco in the U.S. and other countries and is used under license. Wi-Fi, Wi-Fi Direct, Wi-Fi Protected Setup, WPA, Wi-Fi Protected Access, WPA2, and Wi-Fi Protected Access 2 are registered trademarks of Wi-Fi Alliance.
- Page 16 M0CZ-8603...