Advertisement
Quick Links
22in Reel Carrier
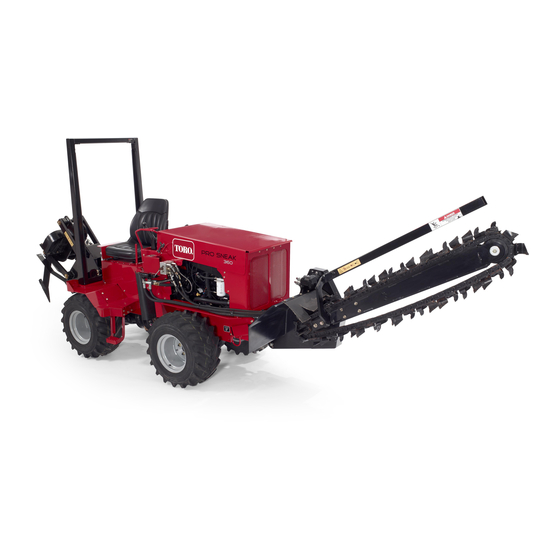
Pro Sneak 360 and 365 Vibratory Plow
Model No. 25419
Model No. 25419E
Installation
Loose Parts
Use the chart below to verify that all parts have been shipped.
Procedure
1
2
© 2014—The Toro® Company
8111 Lyndale Avenue South
Bloomington, MN 55420
Description
Reel-carrier arms
Reel-carrier pipe
Stop collar
Set screw (3/8 inch)
Clevis pin
Cotter pin
ROPS-cable-guide bracket
U-bolt (4 inches)
Locknut (3/8 inch)
Spacers
Hood-cable-guide bracket (model 25400
only)
Nut (5/16) (model 25400 only)
Bolt (5/16 x 3/4 inch) (model 25400 only)
Bent hood-cable-guide bracket (model
25403 only)
Bolt (5/16 x 1 inch) (model 25403 only)
Register at www.Toro.com.
Form No. 3386-754 Rev B
Installation Instructions
Qty.
2
1
4
Install the reel carrier.
4
4
4
1
1
2
4
1
Install the cable guides.
2
2
1
2
Original Instructions (EN)
All Rights Reserved *3386-754* B
Printed in the USA.
Use
Advertisement

Related Manuals for Toro Pro Sneak 360


Summary of Contents for Toro Pro Sneak 360
- Page 1 Form No. 3386-754 Rev B 22in Reel Carrier Pro Sneak 360 and 365 Vibratory Plow Model No. 25419 Model No. 25419E Installation Instructions Installation Loose Parts Use the chart below to verify that all parts have been shipped. Procedure Description Qty.
- Page 2 Installing the Reel Carrier Parts needed for this procedure: Reel-carrier arms Figure 2 Reel-carrier pipe 1. Clevis pin 4. Reel carrier pipe Stop collar 2. Cotter pin 5. Stop Collar Set screw (3/8 inch) 3. Set screw (3/8 inch) Clevis pin 3.
- Page 3 Installing the Cable Guides for the ProSneak 365 1. Open the right or left side panels of the machine hood. 2. Remove the existing bolts and nuts between the front nose cone and the center strip. Note: Do not discard the nuts. 3.
- Page 4 Making a Service Connection Operation 1. Dig a hole to the depth the cable is being laid and no Important: Determine the location of underground wider than 0.6 m (2 ft). lines before starting. 2. As you pass over the hole with the machine, stop the plow vibration and insert the plow-swing lock (Figure Using the Reel Carrier 1.