
Related Manuals for Breville 3X Bluicer Pro BJB815


Summary of Contents for Breville 3X Bluicer Pro BJB815
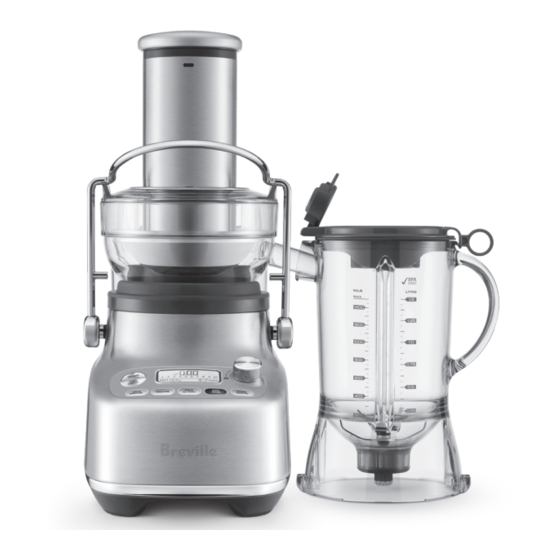
- Page 1 3X Bluicer Pro ™ Instruction Book - BJB815 BJB815_ANZ_IB_A19.indd 1 4/6/19 11:12 am...
-
Page 2: Table Of Contents
In the event of an electrical SAFETY FIRST fault, grounding reduces the risk of electrical shock. At Breville we are very safety • Do not, under any conscious. We design and circumstances, cut or manufacture consumer remove the third (ground) - Page 3 • Position the appliance on a entire appliance to the nearest stable, heat resistant, level, dry authorised Breville Service surface away from the counter Centre for examination, edge, and do not operate on replacement or repair.
- Page 4 Breville to be used on this appliance itself, should be product. Failing to follow this cleaned and dried before instruction may cause product continuing to use the appliance.
- Page 5 • Do not operate without any in water or any liquid. ingredients in the jug. • Authorised Breville Service • Never attempt to operate Centres can be found on our with damaged blades, or website www.Breville.com...
-
Page 6: Components
Components A. Food pusher (not dishwasher safe) H. Inner measuring cup (dishwasher safe) B. Juicer cover (dishwasher safe) I. 1.5 litre blending jug & lid (dishwasher safe) C. Stainless steel filter basket (dishwasher safe) J. Juicing nozzle (dishwasher safe) Can be placed over spout to juice D. -
Page 7: Assembly
Assembly BEFORE FIRST USE 3. Place the juicer cover over the filter bowl surround, positioning the lower part of the Wash the lid, inner measuring cup, jug, the feed chute over the stainless steel filter filter bowl surround, filter basket, juicer basket. - Page 8 5. The safety locking arm should now be in a 8. Drip stop plug can be fitted over juice vertical position and locked into place on outlet nozzle. It then allows the outlet to top of the juicer cover. be plugged to prevent dripping after juicing.
- Page 9 Insert the clear, inner measuring lid into the blender lid and turn clockwise to lock into position. The jug features a Breville Assist™ Lid. This allows ® the lid to fit tightly onto the blender jug, avoiding displacement during operation.
-
Page 10: Functions
Functions GETTING STARTED Turning the speed dial will interrupt the program, placing the blender in manual The ON / OFF button powers the unit into mode starting from Speed 1. READY mode. Smoothie PRESET PROGRAMS For dairy-based smoothies a combination of speeds and pulses are designed to combine BLENDING and aerate ingredients into a smooth and... - Page 11 The maximum amount of ice cubes the IMPORTANT blender can blend without liquid in the jug at any one time is 1 standard ice tray or Do not load feed chute with produce before 250g. the Juicer has reached the selected speed. Turning the Juicer On Auto Clean Turn dial to desired speed setting.
-
Page 12: Care & Cleaning
SPEED SELECTOR GUIDE Care & Cleaning FOOD TYPE SPEED APPLES Ensure the motor base is turned off by by pressing the ON / OFF button. Then unplug BABY SPINACH the power cord. BEETROOT CLEANING BLUEBERRIES 1. Remove Blender Jug. BROCCOLI 2. - Page 13 JUG AND LID STUBBORN FOOD STAINS In order to keep your jug clean and avoid Strong smelling foods such as garlic, fish food drying on the blades and jug, follow the and some vegetables such as carrots may below steps as soon as possible after use. leave an odour or stain on the blender jug and lid.
-
Page 14: Troubleshooting
Troubleshooting • LCD screen turns on The safety locking arm may not be correctly engaged in the vertical operating but appliance doesn't position. In this case, the LCD screen will show an animated prompt respond to controls. Check the top cover is properly aligned and the locking arm is located firmly into the two grooves on either side of the juicer cover or blender jug. - Page 15 • If the issue persists after allowing to cool, this indicates an internal problem. Please call Breville Customer Service or your nearest Authorised Breville Service Centre. • Note that triggering the overload protection indicates abnormal use of the appliance, such as too much load in the blender jug, excessive push force when juicing or extended continuous use.
- Page 16 Web: www.breville.com.au www.breville.co.nz Breville, the Breville logo and the Twin Turbo Pro are registered trademarks of Breville Pty. Ltd. A.B.N. 98 000 092 928. Copyright Breville Pty. Ltd. 2019. Due to continued product improvement, the products illustrated/photographed in this brochure may vary slightly from the actual product.