
Related Manuals for Raymarine SmartPilot X-10


Summary of Contents for Raymarine SmartPilot X-10
- Page 1 87077_1.book Page 1 Monday, November 26, 2007 2:24 PM SmartPilot X-10 Hydraulic Installation Guide for Verado systems...
- Page 2 87077_1.book Page 2 Monday, November 26, 2007 2:24 PM Raymarine and SeaTalk are trademarks of Raymarine plc Verado® is a Registered Trademark of Mercury Marine © Handbook contents copyright Raymarine plc...
-
Page 3: Tools Required
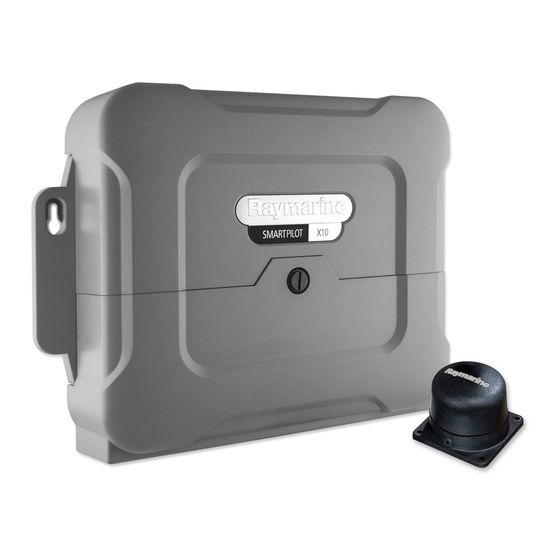
This guide describes how to install the components in the Verado Hydraulic Spares Kit, Part Number A18127, along with a Raymarine Type 1 hydraulic pump, to enable a Raymarine SmartPilot X-10 (SPX-10) system, to steer a boat with a single or twin Mercury Verado engine system. - Page 4 87077_1.book Page 2 Monday, November 26, 2007 2:24 PM SPX-10 Hydraulic Installation Guide for Verado systems Location Location of the pump using the supplied hoses. Pump may be placed Note: elsewhere if Mercury extension hoses are used. Type 1 pump Provide protection Install in a dry from physical...
-
Page 5: Connecting The Hydraulic Lines
Do NOT disconnect or modify the high pressure hose from ‘P’ on the Mercury helm to the Mercury hydraulic pump (lower hose). Do NOT connect the high pressure connector R, on the Mercury helm to the Raymarine Type 1 pump low pressure connector, also identified as R. Connector R Connector A... - Page 6 Procedure Referring to the hydraulic circuit on the following page, modify the Mercury hydraulic system by installing the Raymarine hydraulic components, as follows: 1. Install the barbed hose fitting (with sealing washer) to port ‘R’ on the Type 1 pump.
-
Page 7: Hydraulic Circuit
87077_1.book Page 5 Monday, November 26, 2007 2:24 PM SPX-10 Hydraulic Installation Guide for Verado systems Hydraulic circuit Mercury Helm E R T L P Reservoir 11 &13 HP line Mercury Hydraulic Pump Return line Existing Mercury hoses SmartPilot Verado hoses B R A Type 1 Pump Mercury steering actuator... - Page 8 87077_1.book Page 6 Monday, November 26, 2007 2:24 PM SPX-10 Hydraulic Installation Guide for Verado systems Bleeding the system Connecting the pump and hoses will introduce air into the steering system, making it feel ‘spongy’ and ‘lumpy’ to operate. You therefore need to bleed the hydraulic system to restore it to full effectiveness.
- Page 9 87077_1.book Page 7 Monday, November 26, 2007 2:24 PM Pump drilling template Type 1 pump: Front Remove shaded areas only Clearance hole Clearance hole Drill 6.5 mm (17/64 in) Drill 6.5 mm (17/64 in) 89 mm (3 1/2 in)
- Page 10 87077_1.book Page 8 Monday, November 26, 2007 2:24 PM...
- Page 11 87077_1.book Page 9 Monday, November 26, 2007 2:24 PM...
- Page 12 87077_1.book Page 10 Monday, November 26, 2007 2:24 PM Raymarine UK Ltd, Anchorage Park, Portsmouth,Hampshire PO6 3TD,UK Tel: +44 (0) 23 9269 3611 Raymarine Inc, 21 Manchester Street, Merrimack,NH 03054USA Tel: +1 603.881.5200 www.raymarine.com Document Number: 87077-1 Date: November 2007...