
Related Manuals for Uniden LightCam 40HD


Summary of Contents for Uniden LightCam 40HD
- Page 1 LightCam 40HD Installation Guide © 2018 Uniden America Corporation Issue 1, July 2018 Irving, Texas Printed in China...
-
Page 2: Customer Care
Uniden surveillance products are not manufactured and/ or sold with the intent to be used for illegal purposes. Uniden expects consumer’s use of these products to be in compliance with all local, state and federal law. For further information on video surveillance and audio recording legal requirements, please consult your local, state and federal law. -
Page 3: Table Of Contents
CONTENTS CUSTOMER CARE ........2 OVERVIEW ..........5 REQUIREMENTS ........5 WHAT’S IN THE BOX ......5 PARTS OF THE LIGHTCAM 40HD ..6 INSTALL THE CAMERA ......6 CONSIDERATIONS ............6 PROCEDURES ..............6 FCC/INDUSTRY CANADA INFORMATION ........9 FCC PART 15/IC COMPLIANCE .....9... -
Page 5: Overview
LIGHTCAM 40HD INSTALLATION MANUAL OVERVIEW Thanks for choosing Uniden LightCam 40 HD spotlight camera. This Installation Guide provides basic hardware installation and setup information so you can quickly get your system installed and for further setup. Download the Quick Start Guide from www.uniden. -
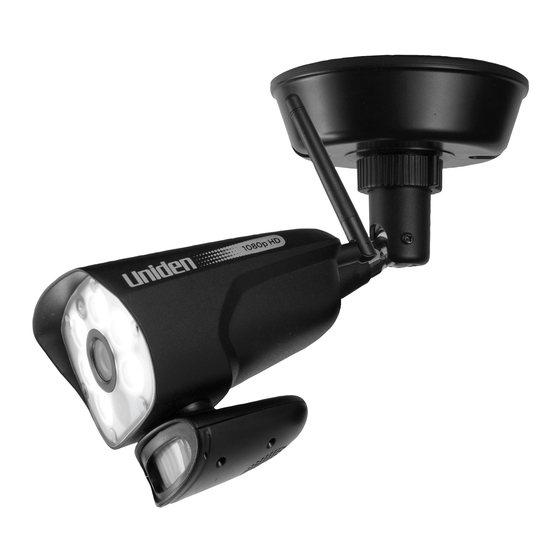
Page 6: Parts Of The Lightcam 40Hd
Status Indicator Motion Sensor INSTALL THE CAMERA Install the LightCam 40HD in a verticle (from the ceiling or eaves) or horizontal (against a wall) position. Installation instructions are identical for either position. CONSIDERATIONS If there is no junction box for wiring in the location where you want to install this camera, you must add a junction box. - Page 7 WARNING: TURN POWER OFF AT THE CIRCUIT BREAKER OR FUSE BOX. DO NOT ASSUME TURNING POWER OFF AT A WALL SWITCH WILL TURN OFF ALL POWER TO THE AREA YOU NEED. Pull wires from mounting location (ceiling/eaves, wall, etc). Pull the camera wires through the gasket; press gasket flush to mounting base.
- Page 8 Position the camera roughly where you want it. Tighten the adjustment collar. Loosen the small adjustment screw on the side of the stand. Fine-tune the camera position and then tighten the screw. Again, do not over-tighten. Adjustment Screw Caulk edge of mounting base with silicone weather-resistant sealant (not included).
-
Page 9: Fcc/Industry Canada Information
WARRANTOR: Uniden America Corporation (“Uniden”) ELEMENTS OF WARRANTY: Uniden warrants, for one year, to the original retail owner, this Uniden Product to be free from defects in materials & craftsmanship with only the limitations or exclu- sions set out below. - Page 10 Include evidence of original purchase & a note describing the defect that has caused you to return it. The Product should be shipped freight prepaid, by traceable means, to warrantor at: Uniden America Service C/O Saddle Creek 743 Henrietta Creek Rd. , Suite 100...