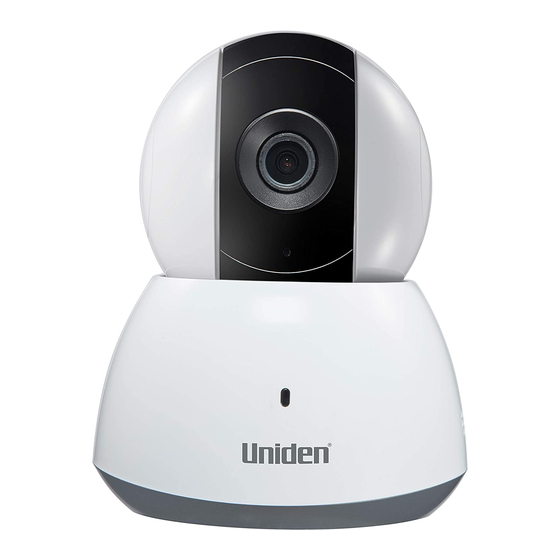
Advertisement
Quick Links
Welcome
1. Look on the bottom of the camera to view the
product label which has the QR code on it.
2. Plug power cord into camera and wait
to a simpler, smarter way to protect
approximately 30 seconds for the camera to
your home.
power up. The light on the front will change
from red to blue and the camera will say
"Ready for WiFi Connection" .
Setting up your Uniden AppCam 40PT
1. Open the Uniden One app.
The app is available on
Apple iTunes, Google Play
and the Amazon Store.
1
2. Connect your mobile device
to your WiFi network.
IMPORTANT
Ensure you are
connected to a 2.4GHz (802.11 b/g/bg)
and not a 5GHz network.
3. Login to your Uniden One
account.
3. On the device manager page, click "Add
Device". Scan the QR code with the mobile app.
• If you do not have a Uniden
One account, click
"Register" to create one.
• You can register using your
mobile phone number or
email address.
• During registration, you will
be sent a verification code
either by email or by text,
depending on what you
registered with. Enter the
verification code to confirm
your registration.
• Once registered, you will see
the "Device" page.
Inside Front Cover – page 1
page 2
accordian fold
4. The app should say "The device is o ine."
2. Once the device is added, if you need to
configure any port mapping you may do so on
5. Click "Connect to a Network". Input your WiFi
this screen. Uniden suggests clicking "Skip" and
password or connect wired connection if using a
attempting to remotely view your camera before
wired ethernet cable.
any advanced setup.
Add Camera to Network
1. Input your WiFi password and click "Next".
Wait for the app to register the AppCam 40PT
Using your Uniden AppCam 40PT
camera to the network.
1. After setup, go back to
the device screen by
clicking "Uniden One"
in the footer of the app.
2. You will now see your
Uniden AppCam 40PT
listed in the devices.
page 3
page 4
Appearance
IR Light
Lens
Microphone
Power Input
RJ-45
Self-Adaptive
Status
Ethernet Port
Indicator
Memory Card Slot
WPS/RESET
Speaker
Silicone Gasket
Name
Description
Name
Description
Status
• Steady red: The camera is starting up.
Power
Micro USB for power supply, 5V
.
Indicator
Input
Plug the power cable into the power input
• Flashing blue: The camera is started, and is
interface to power on the camera.
ready for WiFi set-up.
• Steady blue: WiFi configuration is completed
and the camera is running properly.
Memory
For microSD card. If a memory card is used,
Card Slot
video files will be stored in the memory card.
• Flashing red: network communication is
You would need to initialize it in the
abnormal.
Uniden One app.
Auto light source for night vision. The light is
IR Light
behind the anti-reflection panel. You can see
WPS/RESET WPS: Set WiFi connection via WPS (WiFi
the light when it is on.
Protected Setup) function.
RESET: Hold down the button for
4 seconds when the camera is running.
page 5
page 6
Installation
3
Take out the
1
adapter from the
Install memory card.
package. Align
the screw holes
1
Adjust the tilting
Removable
and fix the
position of the camera
Cover
adapter.
to expose the
Adapter
removable cover.
4
Fit the adapter into the camera bottom, and rotate
the camera base clockwise to set it.
Open the cover to
expose the memory
card slot, and insert
the memory card.
Camera Base
Install the removable cover back.
2
Mounting the Camera.
(Optional)
3
Take out the drill template from the package.
1
Adjust the surveillance angle.
Paste it to the desired moungting place.
Rotate the camera body to adjust the panning
1
2
Drill two screw holes according to the drill
position.
template if you use expansion screws.
2
Move the dome drive upwards or downwards to
adjust tilting position.
2
Tilt: -10° to 90°
Camera Body
Dome Drive
1
Pan: 0° to 355°
Drill Template
page 7
page 8
Control remotely from your smartphone or tablet.
FREE Uniden One App - Mobile Remote Access to live video
1
from camera to iPhone®, iPad® and Android™ devices
SYSTEM REQUIREMENTS: Network Router with available port.
Need Help? Contact Us:
URL: www.unidensupport.com
Phone: (800) 297-1023 - Available 8:30 - 4:30 CST
Email: custsupport@uniden.com
Facebook: https://www.facebook.com/UnidenAmerica
Twitter: https://twitter.com/uniden_america
uniden.com
Back Cover
page 9
Advertisement

Summary of Contents for Uniden AppCam 4OPT
- Page 1 Power Micro USB for power supply, 5V Paste it to the desired moungting place. 1. Input your WiFi password and click "Next". FREE Uniden One App - Mobile Remote Access to live video account. Indicator Input Plug the power cable into the power input Rotate the camera body to adjust the panning •...
- Page 2 FCC Compliance • In the use of the product, you must be in two conditions: Uniden warrants, for one year, to the original of America & Canada. Quick Start Guide is encouraged to try to correct the •...


