
Related Manuals for WAGNER Control Pro 150


Summary of Contents for WAGNER Control Pro 150
-
Page 1: Operating Instructions
CONTROL PRO 150 HIGH PERFORMANCE AIRLESS SPRAYER OPERATING INSTRUCTIONS ! NOT FOR COMMERCIAL USE ! wagner-group.com... - Page 2 Control Pro 150 Warning! Attention: Danger of injury by injection! Airless units develop extremely high spraying pressures. Danger Never put your ngers, hands or any other parts of the body into the spray jet! Never point the spray gun at yourself, other persons or animals.
-
Page 3: Explanation Of Symbols Used
Control Pro 150 Congratulations for the purchase of your plugs with earthed (grounded) power tools. WAGNER Airless high pressure spray gun. Unmodified plugs and matching outlets will reduce risk of electric shock. Read this manual carefully before the initial use of this equipment and observe the safety instructions. -
Page 4: Flammable Materials
Control Pro 150 g) This appliance is not intended for use by persons b) If the supply cord is damaged, it must be replaced (including children) with reduced physical, sensory by the manufacturer or it’s service agent or a or mental capabilities, or lack of experience... -
Page 5: Connecting The Device
Control Pro 150 Secure device and spray gun For reasons of function, safety and durability, only use genuine WAGNER All hoses, fittings, and filter parts must be secured high-pressure hoses and spray nozzles. before operating spray pump. Unsecured parts For overview see „Spare parts lists“. -
Page 6: Earthing Of The Object
Control Pro 150 Earthing of the object Technical data The object to be coated must be earthed. Voltage 230-240 V, 50 Hz Power consumption 350 W If liquids collect in the area underneath the outlet valve, this could be due to a leak in Protection class the set of pistons. -
Page 7: Components And Assembly
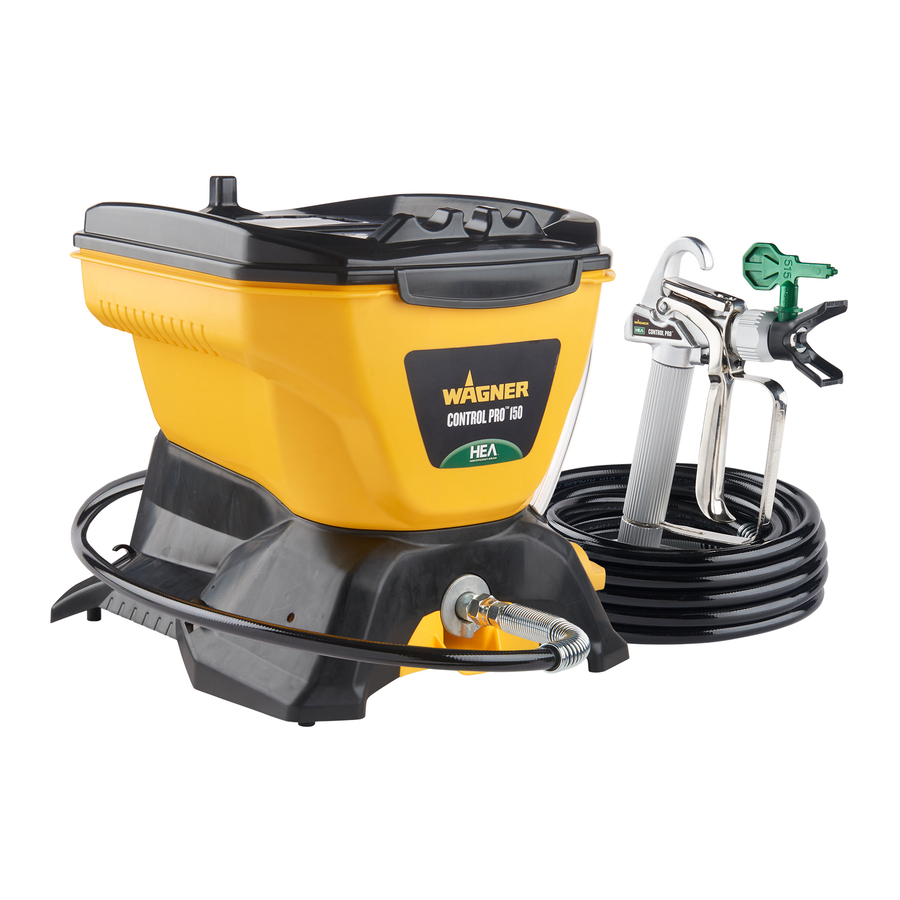
COMPONENTS AND ASSEMBLY Control Pro 150 Components Controls and functions • Spray gun with filter ON/OFF switch The ON/OFF switch turns the unit • Spray tip assembly on and off (O = OFF, l = ON) • 7.5 mtr. long... -
Page 8: Locking And Unlocking The Gun
Important information Control Pro 150 Paint straining Plugging in the sprayer It is recommended that in order to avoid premature tip 1) Check that the ON/OFF switch is in the OFF and filter clogging you should strain your paint before postion. - Page 9 Preparation Control Pro 150 Make pump ready for operation Suck in material Perform the following steps, without the spray tip 1) Make sure the inlet filter is in mounted to the gun. place inside the hopper. If it Button is not, snap in place as shown.
-
Page 10: Spraying Technique
SPRAYING Control Pro 150 Practice TIP: Keep the spray gun perpendicular to the surface, otherwise one end of the pattern will CAUTION be thicker than the other. Be sure that the paint hose is free of kinks and clear of Approximately objects with sharp cutting edges. -
Page 11: Spraying Troubleshooting
SPRAYING TROUBLESHOOTING Control Pro 150 Unclogging the spray gun filter The following is a short list of minor difficulties you might encounter while spraying. If any of these occur, it will reduce the This filter must be cleaned every time you use your flow of material, making your spray pattern poor, or material sprayer. -
Page 12: Emptying The Hopper
CLEANUP Control Pro 150 Important cleaning notes Purging the paint hose Rinsing the hopper These steps will allow you to recover 1) Thoroughly rinse out the hopper READ THESE NOTES AND WARNINGS excess paint left over in the paint hose. -
Page 13: Cleanup / Maintenance
CLEANUP / MAINTENANCE Control Pro 150 Cleaning the spray gun components Cleaning the inlet valve 1) Perform Pressure Relief Procedure, page 25. Cleaning or servicing the inlet valve may be required if the unit has priming problems. This may be caused 2) Remove spray gun from the by improper cleaning and/or storage. -
Page 14: Maintenance & Storage
MAINTENANCE / STORAGE Control Pro 150 Replacing the outlet valve Short-term storage (up to 8 hours) Replacement of the outlet valve may be necessary if Shutdown your spray performance remains poor after having performed all the steps contained in the Spraying 1) Perform all the steps of the PRESSURE RELIEF Troubleshooting section of this manual. - Page 15 STORAGE Control Pro 150 Preparing the sprayer for longterm storage Storage/Conservation of the gun 1) Make sure you have already completed the Cleanup 1) Unclip the trigger guard from the filter housing by steps on pages 29-30. pulling outward from the filter housing.
-
Page 16: Troubleshooting
E. The spray gun leaks. 1) Internal parts of the gun are worn or dirty. 1) Take the sprayer to a Wagner Authorized Service Center. F. The tip assembly leaks. 1) The tip was assembled incorrectly. - Page 17 Spare Parts List / Accessories Control Pro 150 SPRAY GUN Item Part # Description Quantity 0517 200 Guard Assembly 0517 515 Tip 515 0517 900 Saddle seat and washer 2400 975 Complete gun assembly (incl pos. 1,5,6,7) 0418 712 Filter yellow...
-
Page 18: Environmental Protection
We expressly reserve the right to fulfil the guarantee. The guarantee expires if the tool is opened up by persons other than WAGNER service personnel. Transport damage, maintenance work and loss and damage due to faulty maintenance work are not covered by the guarantee. Under any guarantee claim, there must be proof of purchase of the tool through submission of the original receipt. - Page 19 Control Pro 150...
- Page 20 Attiki, Greece P.O. BOX 293 T 22990 41056 F 22990 41059 Irrtümer und Änderungen vorbehalten. Not responsible for errors and changes. Part. No. 2400973 A Sous réserves d’erreurs et de modifications. 12/2018_RS Fouten en wijzigingen voorbehouden. © Copyright by J.Wagner GmbH...