Table of Contents
Advertisement
Quick Links
Advertisement
Table of Contents

Related Manuals for 3Com OfficeConnect 3CDSG8


Summary of Contents for 3Com OfficeConnect 3CDSG8
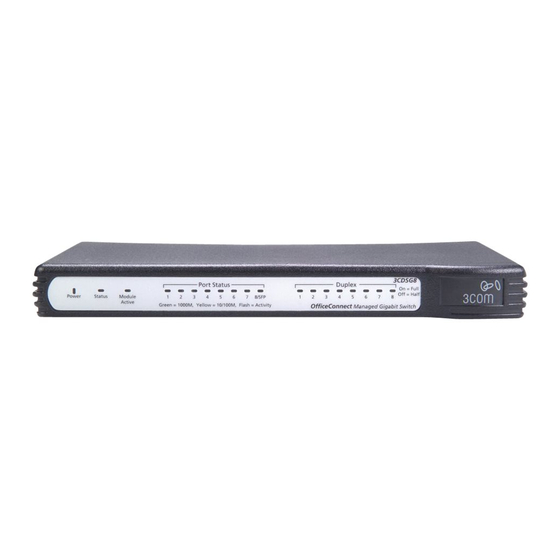
- Page 1 Installation Guide OfficeConnect ® Managed Gigabit Switch (3CDSG8)
-
Page 2: Dimensions And Standards
Your OfficeConnect Gigabit Switch employs the latest technology to minimise the amount of power it consumes. When a port on the switch is not connected to a cable, or the link partner is turned off or removed, the switch reduces the power on that port until it is connected again. - Page 3 Green = 1000M, Yellow = 10/100M, Flash = Activity Power LED Green Indicates that the Switch is receiving power from the power adapter. If the LED is off there may be a problem with the adapter. Refer to Problem Solving.
- Page 4 • Water or moisture cannot enter the case of the unit. • Air flow around the unit and through the vents in the side of the case is not restricted. 3Com recommends you provide a minimum of 25 mm (1 in.) clearance. Using the Rubber Feet Use the four self-adhesive rubber feet to prevent your Switch from moving around on your desk, or when stacking with flat top OfficeConnect units.
-
Page 5: Setting Up For Management
You can do this either by connecting your workstation to the console interface using the cable supplied, or using the 3Com Switch Detect application that can be found on the CD that was supplied with the Switch. -
Page 6: Connecting Workstations
4. Once installed, the 3Com Switch Detect Application can be accessed from the Windows Start/Programs list. 5. When the 3Com Detect application starts, you will be see the Welcome Screen (see below). 6. If the computer has multiple network adapters, select the adapter that connects the computer to the network or Switch, click "Next."... -
Page 7: Problem Solving
• Ensure the power adapter is correctly fitted into the power outlet socket and that the socket switch is turned on if applicable. • Ensure you are using only the 3Com power adapter supplied with the switch. If there is still no power, contact 3Com Technical Support and ask for assistance. - Page 8 Support and Safety Information...
-
Page 9: Important Safety Information
Important Safety Information WARNING: Warnings contain directions you must follow for your personal safety. Follow all directions carefully. You must read the following safety information before carrying out any installation or removal of the unit, or any maintenance procedures. WARNING: Exceptional care must be taken during installation and removal of the unit. -
Page 10: Wichtige Sicherheitsinformationen
Wichtige Sicherheitsinformationen Warnung: Warnhinweise enthalten Anweisungen, die Ihrer persönlichen Sicherheit dienen. Befolgen Sie all diese Anweisungen mit größter Sorgfalt. Lesen Sie unbedingt die folgenden Sicherheitsinformationen, bevor Sie eine Installation oder Entfernung des Gerätes vornehmen bzw. Wartungen/ Instandhaltungen durchführen. Warnung: Bei der Installation und Entfernung des Gerätes ist mit äußerster Sorgfalt vorzugehen. -
Page 11: Información De Seguridad Importante
Información de seguridad importante Advertencia: Las advertencias contienen instrucciones que debe seguir para su seguridad personal. Siga todas las instrucciones atentamente. Debe leer la siguiente información de seguridad antes de llevar a cabo la instalación o extracción de la unidad, o cualquier procedimiento de mantenimiento. Advertencia: Se debe extremar el cuidado durante la instalación y extracción de la unidad. -
Page 12: Environmental Statements
ENVIRONMENTAL STATEMENTS It is the policy of 3Com Corporation to be environmentally-friendly in all operations. To uphold our policy, we are committed to: • Establishing environmental performance standards that comply with national legisla- tion and regulations. • Conserving energy, materials and natural resources in all operations. -
Page 13: Obtaining Support For Your Product
OBTAINING SUPPORT FOR YOUR PRODUCT 3Com offers product registration, case management, and repair services through eSupport.3com. You must have a user name and password to access these services, which are described in this appendix. Register Your Product to Gain Service Benefits To take advantage of warranty and other service benefits, you must first register your product at: http://eSupport.3com.com/. - Page 14 • Diagnostic error messages • Details about recent configuration changes, if applicable To send a product directly to 3Com for repair, you must first obtain a return materials authorization number (RMA). Products sent to 3Com without authorization numbers clearly marked on the outside of the package will be returned to the sender unopened, at the sender’s expense.
- Page 15 0800 096 3266 You can also obtain support in this region using this URL: http://emea.3com.com/support/email.html You can also obtain non-urgent support in this region at these email addresses: Technical support and general requests: customer_support@3com.com Return material authorization: warranty_repair@3com.com Contract requests: emea_contract@3com.com Country Telephone Number Latin America —...
-
Page 16: Copyright And Trademarks
All technical data and computer software are commercial in nature and developed solely at private expense. Software is delivered as "Commercial Computer Software" as defined in DFARS 252.227-7014 (June 1995) or as a "commercial item" as defined in FAR 2.101(a) and as such is provided with only such rights as are provided in 3Com’s standard commercial license for the Software.