Advertisement
Quick Links
1
Turn on the power.
Press the switch to the "|" position to turn on
the power to the microscope (the power LED
on the front of the main body will light up to
indicate that dia-illumination is turned ON).
2
Lower the condenser slightly from the uppermost position.
Turn the condenser focus knob until the condenser is positioned at
the upper limit (where it clicks to a stop), and then lower it a little.
3
Fully open the field diaphragm and aperture diaphragm.
Turn the field diaphragm dial and the aperture diaphragm lever
clockwise to open them completely.
4
Bring the 10x objective into the optical path.
Turn the nosepiece to bring the 10x objective into the optical path.
5
Place a specimen on the stage, and move the stage
to bring the target into view.
(1) Open the claw of the specimen holder's moving part and place
the specimen onto the stage, gently stowing the claw back
to fix the specimen.
(2) Rotate the stage knob to move the stage and bring the target into
the optical path.
(So that the sample sealed under the cover glass will be lighted.)
POWER
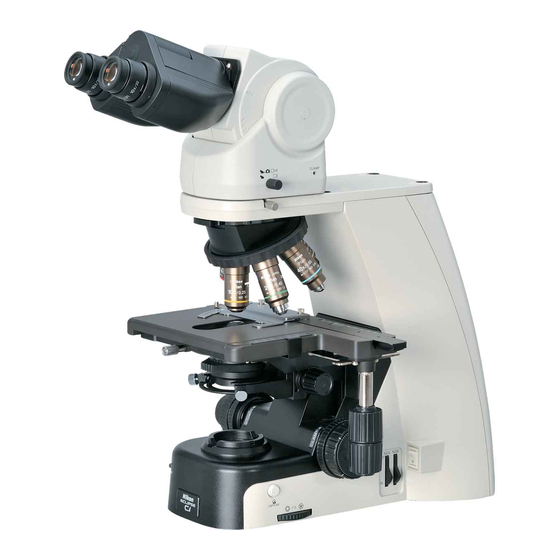
Bright-field Microscopy Quick Guide
ON
8
ND 4 ND
OU T
IN
8
ND 4 ND
OU T
IN
8
ND 4 ND
OU T
IN
Turn the nosepiece until it clicks.
0.8 0.6 0.4 0.2
7
14
8
4
10
11
9
3
13
6
Focus on the specimen.
(See Chapter 2, Section 2 in the instruction manual for details)
(1) When using the trinocular tube or ergonomic tube, push in
the optical path switching lever to distribute 100% light to
the binocular section.
(2)
Look into the eyepiece and turn the coarse focus knob away
to raise the stage to the upper limit. From there, focus on
the specimen by lowering the stage.
(3)
When the focus was roughly adjusted using coarse focus knob,
turn the fine focus knob to accurately adjust the focus.
(4) Adjust the brightness of the field of view by turning
the dia-illumination lamp brightness control knob.
0.8 0.6 0.4 0.2
POWER
M568 E
11.8.NF.1 (2/2)
8
ND 4 ND
OUT
IN
5
0.8 0.6 0.4 0.2
POWER
PO WER
Notes on controlling the focus knobs
Avoid the following actions, which can
cause equipment malfunction.
Rotating the right and left focus
knobs in opposite directions.
Turning the coarse focus knob past
its limit point.
2
6
12
1
15
Advertisement

Related Manuals for Nikon Eclipse Ci-S


Summary of Contents for Nikon Eclipse Ci-S
- Page 1 M568 E 11.8.NF.1 (2/2) Bright-field Microscopy Quick Guide Turn on the power. Press the switch to the "|" position to turn on the power to the microscope (the power LED ND 4 ND OU T on the front of the main body will light up to indicate that dia-illumination is turned ON).
- Page 2 Adjust the diopter. (See Chapter 2, Section 4 in the instruction manual for details) Turn the diopter adjustment ring on the right and Line left eyepieces to align the end face of the diopter adjustment ring with the line. (This is the diopter adjustment reference position.) Focus on the specimen using the 40x objective.