
Related Manuals for Mira Infuse


Summary of Contents for Mira Infuse
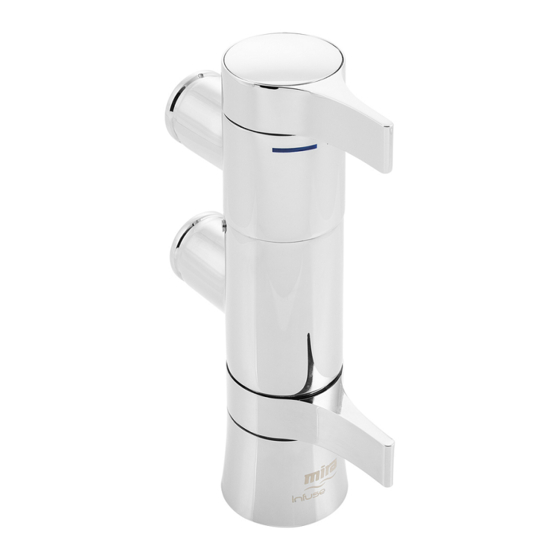
- Page 1 InfUse & mIra mInIbelle thermostatIc mIxers InstallatIon & User GUIde These instructions must be left with the user.
-
Page 2: Table Of Contents
IntrodUctIon Introduction thank you for purchasing a quality mira product. to enjoy the full potential of your new product, please Patents take time to read this guide thoroughly, having Safety Warnings done so, keep it handy for future reference. -
Page 3: Safety Warnings
WarnInGs PacK contents mira thermostatic mixers are precision engineered tick the appropriate boxes to familiarise yourself and should give continued safe and controlled with the part names and to confirm that all of the performance, provided: parts are included. -
Page 4: Specifications
Cold sPecIfIcatIons Pressures • max static Pressure: 10 Bar. • 5 Bar. max maintained Pressure: • Min Maintained Pressure (Gravity System): 0.1 Bar. (0.1 bar = 1 metre head from cold tank base to shower handset outlet). Note! for gravity fed / other low pressure systems (0.5 bar or below) remove the outlet flow regulator. -
Page 5: Installation
6. decide on a suitable position for the mixer. InstallatIon the position of the mixer and the shower fittings must provide a minimum gap of 25 mm Suitable Plumbing Systems between the spill-over level of the shower tray/bath and the handset (refer to illustration). Gravity Fed: this is to prevent back-siphonage. -
Page 6: Installing The Thermostatic Mixer
Installing the Thermostatic Mixer 1. The thermostatic mixer must be fitted vertically backplate as illustrated and can only be installed with rear supply inlets. the supply pipework must concealing Plate be connected as follows: Inlet nuts • hot to bottom Inlet •... - Page 7 7. For solid walls drill the fixing holes for the 12. make sure that the concealing plate (with backplate with a 6 mm drill and insert the the hole at the bottom) is loosely fitted over wall plugs (supplied). For other types of wall the mixing valve inlets and align the mixer structure alternative fixings may be required with the inlet nuts.
- Page 8 14. Fit the shower fittings, refer to your shower fittings installation and user guide for instructions. Important! A 12 litre/minute flow regulator is fitted inside the outlet nipple. This can be removed for gravity fed / other low pressure systems (0.5 bar or below). 12 l/min flow regulator hose...
-
Page 9: Commissioning
commIssIonInG oPeratIon Caution! Care is required when adjusting flow Maximum Temperature Setting or adjusting temperature. make sure that the before using the shower the maximum temperature temperature has stabilised. must be checked to make sure that it is at a safe level. -
Page 10: User Maintenance
Lubricants User maIntenance silicone based lubricants must only be used on If you require a mira trained service engineer or the rubber seals. agent, refer to section: ‘Customer Services’. Caution! oil based or other lubricant types may cause rapid deterioration of seals. -
Page 11: Spare Parts
Knob Pack (Minibelle) 1660.150 backplate 1660.151 concealing Plate 1660.152 Filter Pack (x2) 1660.158 Flow Knob Pack (Infuse) 1660.153 (also includes Securing Nut) Inlet Nuts & Olives (x2) 1660.157 Flow Knob Pack (Minibelle) (also includes Securing Nut) 1660.154 mixer Valve assembly 1663.213... -
Page 12: Customer Service
Our Service Force is available to provide a quality service Damage or defects if the product is taken apart, repaired or at a reasonable cost. You will have the assurance of a Mira modifi ed by any persons not authorised by Mira Showers trained engineer/agent, genuine Mira spare parts and a or our approved agents.