Table of Contents
Advertisement
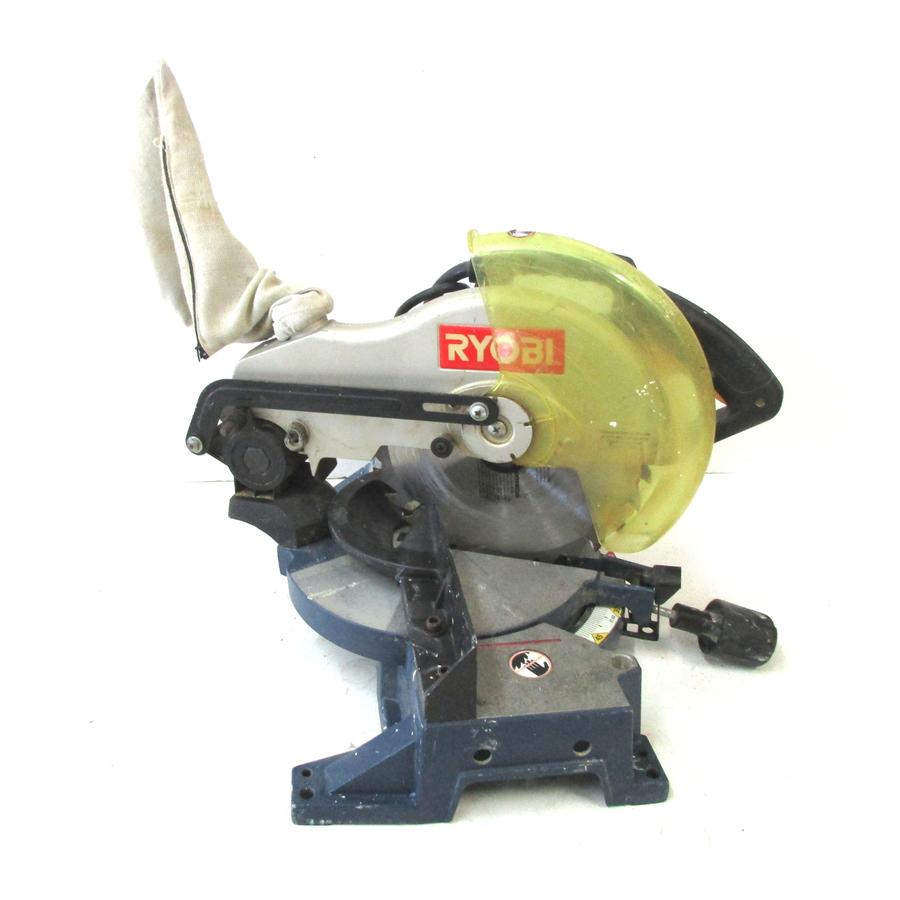
THANK YOU FOR BUYING A RYOBI MITER SAW.
Your new saw has been engineered and manufactured to Ryobi's high standards for dependability, ease of operation, and
operator safety. Properly cared for, it will give you years of rugged, trouble-free performance.
CAUTION: Carefully read through this entire operator's manual before using your new saw.
Pay close attention to the Rules for Safe Operation, Warnings, and Cautions. If you use your saw properly and only for what
it is intended, you will enjoy years of safe, reliable service.
Please fill out and return the Warranty Registration Card so we can be of future service to you.
Thank you again for buying Ryobi tools.
SAVE THIS MANUAL FOR FUTURE REFERENCE
OPERATOR'S MANUAL
10 in. (254 mm) Miter Saw
Model TS1301 -
Double Insulated
8 8
5 5
4 4
3 3
2 2
1
Advertisement
Table of Contents

Related Manuals for Ryobi TS1301


Summary of Contents for Ryobi TS1301
- Page 1 THANK YOU FOR BUYING A RYOBI MITER SAW. Your new saw has been engineered and manufactured to Ryobi's high standards for dependability, ease of operation, and operator safety. Properly cared for, it will give you years of rugged, trouble-free performance.
-
Page 2: Table Of Contents
Pivot Adjustments ... 15 Travel Pivot Adjustment ... 15 Squaring The Miter Table To The Fence ... 16 Squaring The Saw Blade To The Fence ... 17 Operation ... 18-20 Applications ... 18 Cutting With Your Miter saw ... 18 Crosscutting ... -
Page 3: Rules For Safe Operation
Servicing requires extreme care and knowledge and should be performed only by a qualified service technician. When servicing, use only identical Ryobi replacement parts. For service we suggest you return the tool to your nearest RYOBI AUTHORIZED SERVICE CENTER for repair. Call 1- 800-525-2579 in the United State or visit our web site at www.ryobitools.com for your nearest RYOBI AUTHORIZED... - Page 4 3. KEEP GUARDS IN PLACE and in good working order. 4. KEEP THE WORK AREA CLEAN. Cluttered work areas and work benches invite accidents. DO NOT leave tools or pieces of wood on the saw while it is in operation. 5. DO NOT USE IN DANGEROUS ENVIRONMENTS. Do not use power tools near gasoline or other flammable liquids, in damp or wet locations, or expose them to rain.
- Page 5 Authorized Service Center. WARNING: When servicing use only identical Ryobi replacement parts. Use of any other parts may create a hazard or cause product damage. 46. SAVE THESE INSTRUCTIONS. Refer to them frequently and use them to instruct other users.
-
Page 6: Additional Rules For Safe Operation For Miter Saws
Additional Rules For Safe Operation 1. NEVER USE A DULL SAW BLADE or one that does not have sufficient set. 2. DO NOT REMOVE THE SAW'S BLADE GUARDS. Never operate the saw with any guard or cover re- moved. Make sure all guards are operating properly before each use. -
Page 7: Product Specifications
5-3/4" 3-1/2" 4" 3-1/4" The distance that the tip of the saw blade tooth is bent (or set) outward from the face of the blade. Throw-Back Throwing of a workpiece in a manner similar to a kickback. Usually associated with a cause other than the kerf closing,... -
Page 8: Unpacking And Checking Contents
Contact your nearest Ryobi dealer or call 1-800-525-2579 in the United States for assistance if any parts are missing or damaged. -
Page 9: Features
For convenience when carrying or transporting your miter saw from one place to another, a carrying handle has been provided on top of the saw arm as shown in figure 3. To transport, turn off and unplug your saw, then lower the saw arm and lock it in the down position. -
Page 10: Miter Lock Handle
SELF-RETRACTING LOWER BLADE GUARD The lower blade guard is made of shock-resistant, see- through plastic that provides protection from each side of the blade. It retracts over the upper blade guard as the saw is lowered into the workpiece. FEATURES... -
Page 11: Mounting Holes
AT THESE LOCATIONS FOR HOLE PATTERN FEATURES If these accessories were not provided with our saw, they are available from your Ryobi dealer. For the location of a distributor near you, call 1-800-525-2579 in the United States. ELECTRICAL CONNECTION Your saw has a precision built electric motor. It should be connected to a power supply that is 120 volts, 60 Hz, AC only (normal household current). -
Page 12: Assembly
WARNING: A 10 in. (254 mm) blade is the maximum blade capacity of your saw. Never use a blade that is too thick to allow outer blade washer to engage with the flats on the spindle. Larger blades will come in contact with the blade guards, while thicker blades will prevent the blade bolt from securing the blade on the spindle. -
Page 13: Dust Bag
DUST BAG See Figure 12. A dust bag is provided for use on your miter saw. It fits over the exhaust port on the upper blade guard. To install it, remove dust guide from exhaust port. Then, squeeze the two metal clips to open the mouth of the bag and slide it on the exhaust port. -
Page 14: Table Extensions
The stop block is included with the Table extensions and is useful as a stop for making repetitive cuts to the same length. It can be installed on either side of the saw base: Slide the stop block on the back arm of either table extension, then insert the table extensions into the saw base. -
Page 15: Work Clamp (Optional)
This is very helpful when cutting miters. Your Ryobi miter saw has been adjusted at the factory for making very accurate cuts. However, some of the compo- nents might have been jarred out of alignment during ship- ping. -
Page 16: Squaring The Miter Table To The Fence
Failure to unplug your saw could result in accidental starting causing possible serious personal injury. Push down on the saw arm and pull out the lock pin to release the saw arm. See Figure 3. Raise saw arm to its full raised position. -
Page 17: Squaring The Saw Blade To The Fence
If saw is mounted to a workbench, it must be unmounted to square the saw blade to the fence. Pull the saw arm all the way down and engage the lock pin to hold the saw arm in transport position. See Figure 3. -
Page 18: Operation
NOTE: The crosscut blade provided is fine for most wood cutting operations, but for fine joinery cuts or cutting plastic, use one of the accessory blades available from your Ryobi dealer. WARNING: Before starting any cutting operation, clamp or bolt your miter saw to a workbench. -
Page 19: Support Long Workpieces
Long workpieces need extra supports. Supports should be placed along the workpiece so it does not sag. The support should let the workpiece lay flat on the base of the saw and work table during the cutting operation. Use the work clamp or a C-clamp to secure the workpiece. -
Page 20: Cutting Warped Material
CUTTING WARPED MATERIAL See Figures 27 and 28. When cutting warped material, always make sure it is positioned on the miter table with the convex side against the fence as shown in figure 27. If the warped material is positioned the wrong way as shown in figure 28, it will pinch the blade near the completion of the cut. -
Page 21: Maintenance
WARNING: When servicing, use only identical Ryobi replacement parts. Use of any other part may create a hazard or cause product damage. GENERAL Avoid using solvents when cleaning plastic parts. Most plastics are susceptible to damage from various types of commercial solvents and may be damaged by their use. -
Page 22: Brush Replacement
WARNING: To ensure safety and reliability, all repairs — with the exception of the externally accessible brushes — should be performed by a qualified service technician at a Ryobi Authorized Service Center to avoid risk of personal injury. BRUSH REPLACEMENT See Figure 30. -
Page 23: Troubleshooting
Saw makes unsatisfactory cuts. Blade does not come up to speed. Saw vibrates excessively. Does not make accurate 45 and 90 cuts. Material pinches blade. Saw head does not return to UP position. TROUBLESHOOTING CAUSE 1. Saw not plugged in. 2. Faulty switch. -
Page 24: Extension Cord Caution
Ryobi Authorized Service Center. Be sure to provide all pertinent facts when you call or visit. Please call 1-800-525-2579 for your nearest Ryobi Authorized Service Center. You can also check our web site at www.ryobitools.com for a complete list of Authorized Service Centers.