IKEA Anratta Manual
Hide thumbs
Also See for Anratta:
- Manual (92 pages) ,
- Installation manual (26 pages) ,
- Quick start manual (16 pages)
Advertisement
Table of Contents
- 1 Table of Contents
- 2 Safety Information
- 3 Product Description
- 4 Control Panel
- 5 First Use
- 6 Daily Use
- 7 Minute Minder
- 8 Cooking Tables
- 9 Cleaning and Maintenance
- 10 What to Do if
- 11 Technical Data
- 12 Installation
- 13 Electrical Connection for Australia
- 14 Environmental Concerns
- 15 Ikea Guarantee
- Download this manual
See also:
Manual
Advertisement
Table of Contents

Related Manuals for IKEA Anratta


Summary of Contents for IKEA Anratta
- Page 1 ANRÄTTA...
- Page 3 ENGLISH Please refer to the last page of this manual for the full list of IKEA appointed Authorized Service Centre and relative national phone numbers.
-
Page 4: Table Of Contents
Control panel Installation First use Electrical connection for Australia Daily use Environmental concerns Cooking tables IKEA GUARANTEE Cleaning and maintenance Safety Information Before using the appliance, read with the appliance. Cleaning and these safety instructions. Keep user maintenance must not be them nearby for future reference. - Page 5 ENGLISH steam to exit gradually before INSTALLATION accessing the cavity - risk of The appliance must be burns. Do not obstruct hot air handled and installed by two or vents at the front of the oven - more persons - risk of injury. Use risk of fire.
- Page 6 ENGLISH remove all wood chips and Do not use extension leads, sawdust. multiple sockets or adapters. The Do not obstruct the minimum gap electrical components must not between the worktop and the be accessible to the user after upper edge of the oven - risk of installation.
-
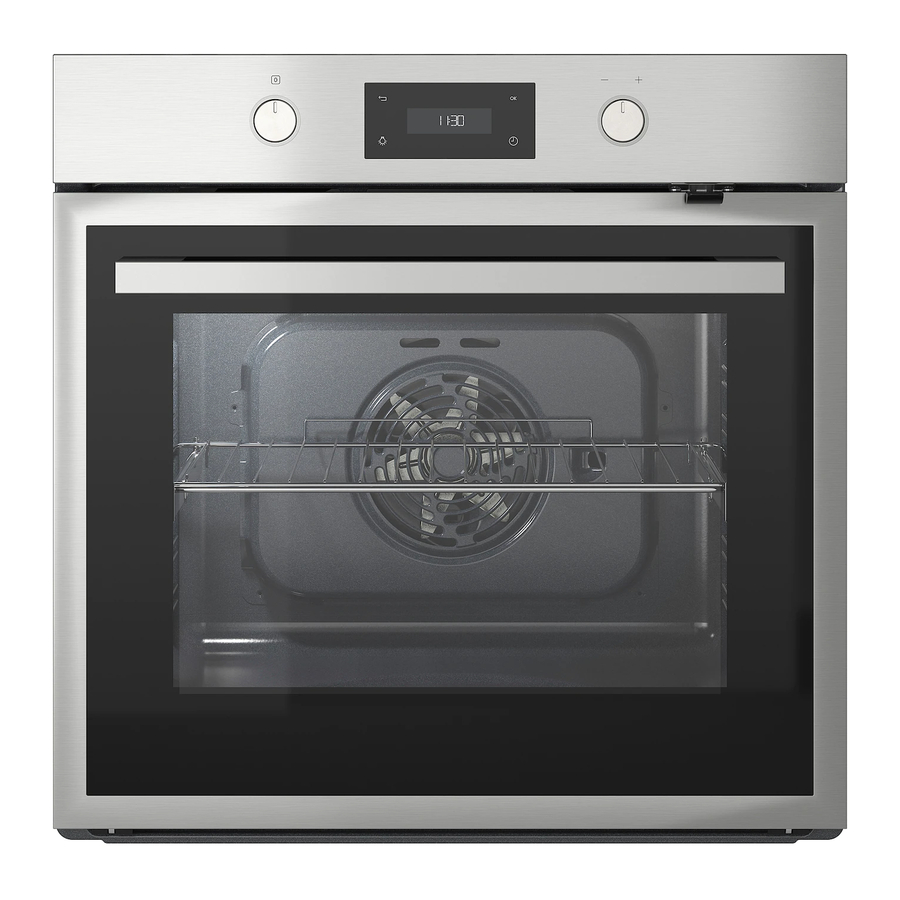
Page 7: Product Description
ENGLISH Product description Control panel Cooling fan (not visible) Grill element Oven lamp Oven fan Lower heating element (hidden) Oven door Lateral grids Meat probe connection Accessories Baking tray Deep tray Wire Shelf Telescopic Runners Meat probe Inserting the wire shelf and other accessories Insert the wire shelf onto the level you require by holding it tilted slightly upwards and resting the raised rear side (pointing upwards) down first. -
Page 8: Control Panel
ENGLISH Control panel Retractable knobs Selection push-push knob To use this type of knob, press it in the middle. Back button The knob comes out. Light Turn it to the required position. Display Once cooking is over, turn the knob to Confirmation button press it again to restore it to its original Minute minder... -
Page 9: Daily Use
ENGLISH Daily use To activate a Function 1. select the desidered funtion with knob and press button to confirm. 2. the Temperature is Blinking and you can adjust with knob and press button to confirm. 3. the cooking time is visible on the display, you can adjust it with knob or leave to for an immediate start and press button to confirm. -
Page 10: Minute Minder
ENGLISH IMPORTANT: During pyro-cleaning, the oven door is automatically locked and the symbol appears on the display. The door remains locked at the end of the cleaning cycle: “COOL” appears on the display, indicating the oven is still cooling down. When the oven cools to a safe temperature, the door is unlocked and on the display will be shown the time of day. - Page 11 ENGLISH Function Description of function To bake different types and sizes of pizza. PIZZA Simply indicate the values required (temperature and time) and the oven will manage the cooking cycle automatically. Place the dough on the 2nd shelf. To cook stuffed roasts and meat in pieces on one shelf. This function uses discontinuous, delicate fan assistance, which prevents excessive drying of foods.
-
Page 12: Cooking Tables
ENGLISH Cooking tables Type of food Function Preheating Level Temperature Cooking time (from the bottom) (°C) (min) SWEETS, PASTRY, ETC 150–170 30-90 Leavened cakes 160-180 30-90 Filled pies 160-200 35-90 (cheesecake, strudel, 160-200 40-90 fruit pie) 150-170 20-45 Biscuits/tartlets 2-4/5-3-1 150-170 20-45 180-200... - Page 13 ENGLISH Type of food Function Preheating Level Temperature Cooking time (from the bottom) (°C) (min) MEAT Meat pieces (rabbit, chicken, 180-200 60-100*** lamb) Roast pork with 170-190 1 10-150 crackling 2 kg Lamb/Veal/Beef/ 190-200 80-120 Pork 1Kg Chicken/Rabbit/ 200-230 50-100 Duck 1Kg Turkey/Goose 3Kg 200-230...
-
Page 14: Cleaning And Maintenance
ENGLISH Cleaning and maintenance CLEANING Accessories • Soak the accessories in water with WARNING! washing up detergent immediately after Never use steam cleaning equipment. use, handling them with oven gloves if Only clean the oven when it is cool to still hot. - Page 15 ENGLISH To remove the door 1. Open the door fully. 2. Lift the catches and push them forwards as far as they will go (Fig. 1). Fig. 4 To refit the door 1. Insert the hinges in their seats. 2. Open the door fully. 3.
-
Page 16: What To Do If
• the type and exact model of the oven; If any repairs are required, please contact IKEA Authorized Service Centre (to guarantee that original spare parts will be used and repairs carried out correctly). -
Page 17: Technical Data
ENGLISH Technical data Type of product: Built-in Electrical Oven Model identification: ANRÄTTA 604.169.49 Number of cavities Heat source Electrical Number of functions Usable volume. Measured with any side grids and catalytic panels removed l 71 Area of the largest baking sheet cm 1 191 Energy Efficiency Class (Lowest Consumption) Energy Efficiency Index... -
Page 18: Installation
ENGLISH Technical data The technical informations are situated in the rating plate inside the appliance. Installation Door lock device To open the door with the door lock device see Fig 1. Fig. 1 The door safety device can be removed by following the sequence of images (see Fig. -
Page 19: Electrical Connection For Australia
ENGLISH Electrical connection for Australia Power Cord and Plug: Declared Article – Mandatory Approval Applies: Current Australian Approval Certificates will need to be forwarded, showing compliance with applicable Australian Standards, as noted below. Plug to have insulated pins. Plug and Cord to have approval marking, as required by the relevant Approval Certificate •... -
Page 20: Ikea Guarantee
ABN 84 006 270 757 or at Cebas Pty Ltd, by faulty construction or material faults ABN 15 009 156 003. The original sales from the date of purchase from IKEA. This receipt, is required as proof of purchase. If guarantee applies to domestic use only. The... - Page 21 • Transportation damages. If a to SupplyAuthority mains or alternative customertransports the product to supplysystems. his home oranother address, IKEA is not liable forany damage that may • Consumable parts including occur duringtransport.However, if IKEA batteriesand lamps, removable wire, glass andplastic trays and other delivers the productto the customer’s...
- Page 22 You are also entitled to have the goods warranty call registration. Please refer to the IKEA catalogue or www. repaired or replaced if the goods fail to be of acceptable quality and the failure does ikea.com.au or to below phone numbers...
- Page 24 400011234418 © Inter IKEA Systems B.V. 2018 23256 AA-2096734-1...