Advertisement
Quick Links
IMPORTANT SAFETY
INSTRUCTIONS
Use and Care Guide
When using electrical appliances,
especially when children are pres-
ent, basic safety precautions should
MB4850
always be followed, including the
following:
READ ALL
INSTRUCTIONS
BEFORE USING.
DANGER
As with most electrical appliances,
electrical parts are electrically live
even when switch is off. To reduce
the risk of death by electric shock:
■ Do not reach for a plugged-in
trimmer that has fallen into water.
Unplug immediately.
■ Do not place or store trimmer
where it can fall or be pulled into a
tub or sink while plugged in.
■ Except when charging, always
unplug this trimmer from the
electrical outlet immediately
after using.
■ Unplug this trimmer before
cleaning.
Register Your New Product Today!
By registering your new Remington
®
product, you will receive these important benefits:
Proof of Ownership • Product Protection • Product Registration • Special Offers
Register online at: www.RemingtonProducts.com
■ Do not use this trimmer with a
■ Dispose of used batteries properly.
damaged or broken cutting unit,
Do not incinerate. Batteries may
as facial injury may occur.
explode if overheated. Do not wrap
in metal or aluminum foil. Wrap in
■ Always attach plug to trimmer,
newspaper before discarding. It is
then adapter to outlet. To
suggested that you contact local
disconnect, turn all controls to OFF,
town/city officials to determine
then remove adapter from outlet,
WARNING
proper battery redemption site(s)
then detach power cord from the
in your area.
trimmer for storage.
■ For household use only.
■ Always store your trimmer
To reduce the risk of burns, fire,
and adapter in a moisture-free
■ Do not store in tub or shower.
electric shock or injury to persons:
area. Make sure the cord is
■ Do not crush, disassemble, expose
■ Do expose the trimmer to liquids
disconnected from the trimmer.
to excessive heat or incinerate the
other than water.
■ Keep trimmer out of extreme heat
appliance.
and cold. Product must be stored
■ Your trimmer should never be
at 0º F to 120º F.
left unattended when plugged
in, except when charging your
rechargeable trimmer.
■ Close supervision is necessary
when this trimmer is used by, on,
or near children or persons with
certain disabilities.
■ Use this trimmer only for its
intended use as described
KEEP AWAY FROM CHILDREN
in this manual. Do not use
attachments not recommended
SAVE THESE INSTRUCTIONS
by the manufacturer.
■ Keep the cord away from heated
surfaces.
■ Never operate this trimmer if it has
a damaged cord or if it is not
working properly, if it has been
dropped or damaged, or dropped
into water while plugged in.
■ Never drop or insert any object into
any opening.
■ Do not use outdoors or
operate where aerosol (spray)
products are being used or where
oxygen is being administered.
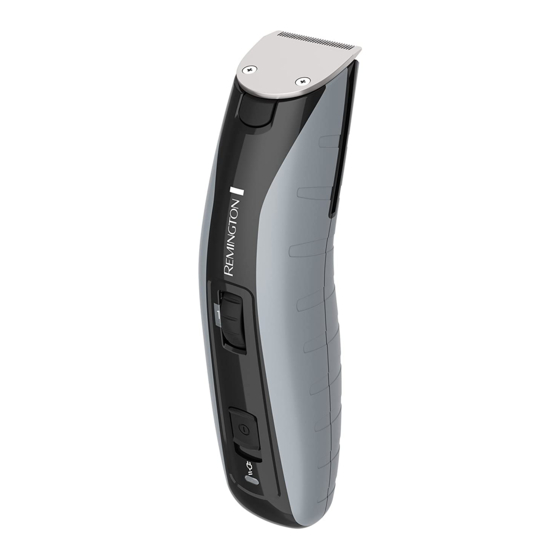
Product Features
Before Using
Before Using Your Trimmer
■ Double check that the Adjustable
2
3
1
Comb is the desired position.
■ Before using your trimmer for the
Cutting length is visible in Length
first time, charge the unit 4 hours
Indicator.
for optimal performance.
4
■ Make sure your face and facial hair
are clean and dry.
7
5
6
Quick Release Blades
Quick Release Blades
■ To replace blade, align the guide
rails of the blade assembly with
■ The blade assembly can be
Feature Checklist
the slots on the trimmer body and
removed to change blades or for
8
snap into place. Make sure blade is
easy cleaning.
1. Beard Blade
secure before turning on trimmer.
2. Stubble Blade
■ To remove blade assembly, press
the Quick Release Button and pull
9
3. Goatee/Detail Blade
blade away from trimmer body.
4. Quick Release Button
5. Zoom Wheel
10
6. Length Indicator
7. Adjustable Comb (1.5-18mm)
8. On/Off Switch
9. Charging Indicator
11
10. Power Port
11. Cleaning Brush
12. Adaptor (not shown)
Operating Your Trimmer
Charging/Recharging
Corded Operation
■ To adjust, roll the Zoom Wheel
toward the top of the trimmer for
To recharge this trimmer, use only
In the event that you run out of
the charging adapter provided.
a longer length, and toward the
cordless power, this trimmer can be
bottom of the trimmer for a shorter
■ Turn the trimmer off. Insert the
plugged in and used immediately in
length. The wheel will click into
adapter plug into the Power Port,
corded mode to complete your trim.
one of nine positions.
then plug the adapter into an
electric wall outlet. The Charging
■ Begin trimming at one of the
Zoom Wheel and Removable
Indicator will blink, indicating
longest settings 8 or 9 to avoid
Adjustable Comb
unit is charging. A full charge will
accidentally trimming hair too
NOTE: Adjustable Comb must be
short. As you become familiar with
take approx. 3 – 5 hours. The
attached to the trimmer in order to
light will stop blinking and remain
the settings, you can then select
use the Zoom Wheel.
illuminated to indicate that the
your desired length setting.
The Zoom Wheel and Adjustable
trimmer is fully charged.
Comb ensures precise trimming and
■ You may leave your trimmer
has nine adjustable positions:
plugged in between uses. However,
if the trimmer is not going to
Setting Beard Style
Length
be used for an extended period
1
Stubble look
1.5mm
(2 weeks), unplug the unit and
2
2.5mm
recharge when resuming use.
3
Short
4mm
■ Charge the trimmer at
4
5.5mm
temperatures between 40 – 90°F,
5
Medium
7mm
to avoid adversely affecting battery
6
9mm
life.
7
11mm
8
Long
14mm
■ In order to preserve the life of
9
18mm
the batteries, they should be fully
discharged every six months and
then fully charged for 3–5 hours.
■ Lithium (LiFePO
) batteries are
4
included in this trimmer (see
battery removal section for proper
disposal of batteries).
■ In cordless mode, your trimmer
will run for 120+ minutes before
additional charging is required.
Adjustable Comb
Remove Adjustable Comb if you
are: defining hairline edges such as
sideburns, trimming the nape of your
neck, trimming your beard line on
front of neck, or if you want to clean
cutter assembly.
To remove:
■ Be sure the trimmer is in OFF
position.
■ While holding trimmer in one hand,
and holding the Zoom Wheel to
prevent it from turning, gently pull
the Adjustable Comb away from
the trimmer. The comb
can be removed and replaced
on any setting.
To replace:
■ Be certain trimmer is in OFF
position.
■ While holding the trimmer in one
hand, and holding the Zoom Wheel
to prevent it from turning, slide the
comb over the top of the trimmer
until it "clicks" into position.
NOTE: The Adjustable Comb can only
be placed on the trimmer one way;
if it does not fit properly, remove and
reverse it.
Advertisement

Related Manuals for Remington MB4850


Summary of Contents for Remington MB4850
- Page 1 (spray) 12. Adaptor (not shown) products are being used or where By registering your new Remington ® product, you will receive these important benefits: oxygen is being administered. Proof of Ownership • Product Protection • Product Registration • Special Offers...
- Page 2 Dry any excess sure to move the unit slowly when 800-268-0425 in Canada, or visit RemingtonProducts.com it with the original dated sales receipt directly to Remington and receive a full line using an upward motion. Allow trimmer facing you.