Advertisement
NeW
110-1044B
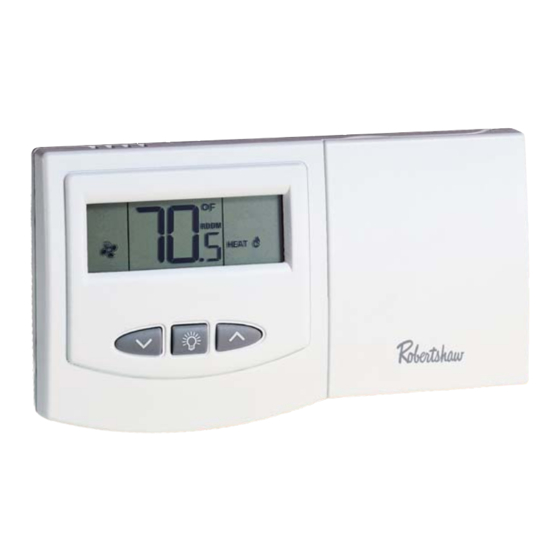
Application
The Robertshaw 9420 is a multi-stage thermostat designed to control
24 VAC heat pump systems.
Features
• Summer and winter setpoints
• Large back lit display
• Adjustable 1
(0.5°C to 1.5°C)
• Adjustable 2
(0.5°C to 3.0°C)
• Adjustable 2
• Compressor short cycle protection
• Accuracy within ±1°
• Zone system compatible as a master thermostat
• Permanent memory retention
• Fahrenheit/Celsius display option
• Adjustable from 45°F to 90°F (7°C - 32°C)
• Quick wire terminal block
• Automatic heating shutdown if temperature exceeds 94°F (34°C)
st
stage temperature differential: 0.5°F to 3.0°F
nd
stage temperature differential: 1°F to 6°F
nd
stage delay (10-40 min.)
9420
H
HEAT PUMP
2 Heat / 2 Cool
User's Manual
Quick Start
Installation
1
DIGITAL
NON-PROGRAMMABLE
THERMOSTAT
Advertisement
Table of Contents

Related Manuals for Robertshaw 9420


Summary of Contents for Robertshaw 9420
-
Page 1: Quick Start
110-1044B Application The Robertshaw 9420 is a multi-stage thermostat designed to control 24 VAC heat pump systems. Features • Summer and winter setpoints • Large back lit display • Adjustable 1 stage temperature differential: 0.5°F to 3.0°F (0.5°C to 1.5°C) •... -
Page 2: Step 1: Replacing Existing Thermostat
IMPORTANT SAFETY INFORMATION WARNING: • Always turn off power at main fuse or circuit breaker panel before installing, removing, cleaning, or servicing thermostat. • Read all the information in this manual before installing this thermostat. • This is a 24 VAC low-voltage thermostat. Do not install on voltages higher than 30 VAC. -
Page 3: Installing
Contact your local waste management authority for instructions regarding proper disposal of the thermostat. If you have any ques- tions, call Robertshaw technical support at 1-800-445-8299. Step 2: Installing Model 9420 Thermostat NOTE: FOR NEW INSTALLATIONS, MOUNT THERMOSTAT ON INSIDE WALL, FIVE FEET ABOVE THE FLOOR. - Page 4 5. Place thermostat against the wall at desired location. Make sure wires will feed through opening (Figure 4) on base of thermostat. 6. Mark placement of mounting holes (Figure 4). Set base aside. 7. If mounting on drywall, tap plastic anchors into wall. NOTE: ENCLOSED PLASTIC ANCHORS DO NOT REQUIRE A DRILLED HOLE FOR DRYWALL.
-
Page 5: Wiring Diagrams
Wiring Diagrams 9420 WIRING SAMPLE #1 Typical heat pump with cool active reversing valve and auxiliary/emergency heat. 9420 WIRING SAMPLE #2 Typical heat pump with heat active reversing valve and auxiliary/emergency heat. 9420 WIRING SAMPLE #3 Typical heat pump with cool active reversing valve and auxiliary/emergency heat. -
Page 6: Testing Thermostat
3 degrees below the room temperature. The air conditioning system should turn on within a few seconds. The snowflake icon stage cooling; TERMINAL LEGEND - 9420 DO NOT SHORT (JUMPER) ACROSS TERMINALS OF GAS VALVE OR SYSTEM CONTROL TO TEST OPERATION. THIS WILL DAMAGE THE THERMOSTAT AND VOID YOUR WARRANTY. - Page 7 NOTE: ONCE THE THERMOSTAT TURNS OFF, A BUILT IN 5-MINUTE DELAY PREVENTS THE SYSTEM FROM TURNING ON AGAIN. THIS PROTECTS THE COMPRESSOR. NO ADDITIONAL TIME DELAY RELAY IS REQUIRED. TO OVERRIDE THE 5-MINUTE DELAY FOR INSTALLATION, PRESS THE RESET BUTTON. 3.
- Page 8 Step 4: Customizing the Thermostat Settings System Cool: The thermostat controls the cooling. Off: The heating and cooling systems are off. Heat: The thermostat controls the heat. Emer: The thermostat controls the second stage emergency heat. Used only when the primary stage of heat is not functioning or requires service.
-
Page 9: Temperature Differential 2Nd Stage Delay
Temperature Differential 2 The temperature differential is factory set at 1.0°F (.5°C) for the 1st stage differential and 2°F (1°C) for the 2nd stage. This means that whenever the room temperature changes by one degree Fahrenheit from the tempera- ture setting, the system will turn on. If the system turns on too often, increase the temperature differential. -
Page 10: Reset
Reset To reset the thermostat press the RESET button located just below the lower left corner of the display. Step 5: Troubleshooting Symptom Thermostat does not turn on system. Thermostat turns system on and off too frequently. Display shows CHECK Thermostat does not display proper room temperature. -
Page 11: Two-Year Limited Warranty
Two Year Limited Warranty Climate Controls Americas installer, or to the original consumer user, each new Robertshaw thermo- stat to be free from defects in materials and workmanship under normal use and service for a period of two (2) years from date of purchase. This... - Page 12 NOTES...
Need help?
Do you have a question about the 9420 and is the answer not in the manual?
Questions and answers
robertshaw 9420 thermostat dishplay flashtng
When the display shows "CHECK" on a Robertshaw 9420 thermostat, it is monitoring system status, and you should call your local HVAC service provider.
This answer is automatically generated