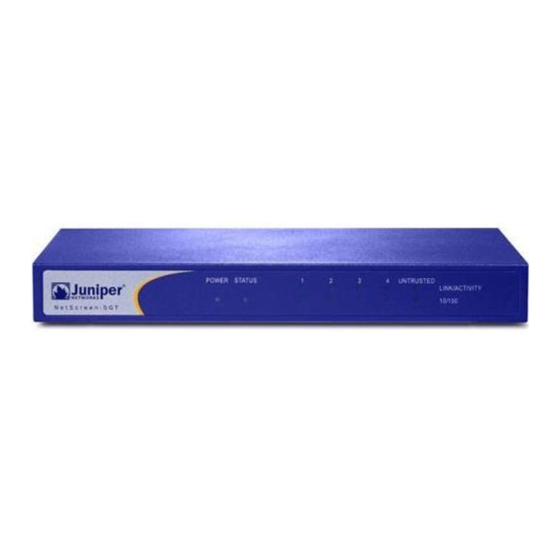
Juniper NetScreen-5GT Getting Started Manual
Wireless adsl
Hide thumbs
Also See for NetScreen-5GT:
- User manual (40 pages) ,
- User manual (24 pages) ,
- Getting started manual (4 pages)
Advertisement
Quick Links
Download this manual
See also:
User Manual
Juniper Networks
NetScreen-5GT Wireless ADSL
Getting Started
Use the instructions in this guide to help you connect and configure your NetScreen-5GT Wireless
ADSL device. For additional configuration information, see the NetScreen-5GT Wireless User's Guide,
NetScreen Wireless Reference Guide, and NetScreen ADSL Reference Guide. For information on ADSL
line compatibility, see http://www.juniper.net/products/integrated/5GT-ADSL/.
Internet
wireless1
1
wireless2
Telephone
Outlet
Hub/Switch
CONNECTING THE DEVICE
Use the instructions below to connect the NetScreen-5GT Wireless ADSL device and
prepare to configure it to protect your network. Use the LEDs on the front panel to help
you determine the device status.
Step 1
Connect the provided ADSL cable from the ADSL port of the
NetScreen device to the telephone outlet.
Note: You can obtain and install a signal splitter on the ADSL line.
The splitter divides the ADSL signal into low-frequency voice signals
for voice calls and high-frequency data signals for data traffic. You
can also install microfilters on telephones that share the ADSL line.
Step 2
Note: You can access the Initial Configuration Wizard (ICW) from
the Trust Ethernet interface.
•
If the workstation is in a LAN (see diagram), connect an
Ethernet cable from the Trusted port to the internal switch or
hub.
•
If the workstation is a single computer, connect an Ethernet
cable from the Trusted port directly to the Ethernet port on the
workstation. We recommend this connection method.
Step 3
Connect the power cable between the NetScreen device and a
power source. We recommend using a surge protector.
a.
Ensure that the Power LED glows green. This indicates that the
device is receiving power.
Wzone1 zone
2
LAN
Trust Zone
3a 3b
The numbers on the diagram are paired with the
b.
After the device starts (about 30 seconds), ensure that the Status
LED blinks green. This indicates that the device is operating
normally.
c.
Ensure that the Link Activity LEDs glow green for the connected
interfaces. This indicates that the device has network
connectivity.
Step 4
Configure the workstation to access the NetScreen device via a web
browser:
a.
Ensure that your workstation is properly connected to your LAN
(use the diagram above).
b.
Change the TCP/IP settings of your workstation to obtain its IP
address automatically from the NetScreen device via DHCP. For
help, see the operating system documentation for your
workstation.
Note: Ensure that your internal network does not already have a
DHCP server.
c.
If necessary, restart your workstation to enable the changes to
take effect.
Getting Started Guide
3c
steps below.
Advertisement

Related Manuals for Juniper NetScreen-5GT


Summary of Contents for Juniper NetScreen-5GT
-
Page 1: Getting Started
NetScreen-5GT Wireless ADSL Getting Started Use the instructions in this guide to help you connect and configure your NetScreen-5GT Wireless ADSL device. For additional configuration information, see the NetScreen-5GT Wireless User’s Guide, NetScreen Wireless Reference Guide, and NetScreen ADSL Reference Guide. For information on ADSL line compatibility, see http://www.juniper.net/products/integrated/5GT-ADSL/. -
Page 2: Configuring The Device
Getting Started Guide CONFIGURING THE DEVICE Use the Initial Configuration Wizard (ICW) to configure the NetScreen-5GT Wireless ADSL device. Before starting the Wizard, decide how you want to deploy your device. (For additional information, see the NetScreen-5GT Wireless User’s Guide.) Network Address Translation (NAT). - Page 3 Step 7 Note: The Extended mode is only available with the Extended version of the NetScreen-5GT Wireless ADSL device. You must use the WebUI or CLI to configure this port mode. The ADSL interface is the default interface to the Untrust zone. If you do not want to use the ADSL interface, uncheck the box.
- Page 4 Copyright © 2005 Juniper Networks, Inc. All rights reserved. Juniper Networks, the Juniper Networks logo, NetScreen, NetScreen Technologies, GigaScreen, NetScreen-Global PRO, NetScreen-Remote, NetScreen ScreenOS and the NetScreen logo are trademarks and registered trademarks of Juniper Networks, Inc. in the United States and other countries. All other trademarks and registered trademarks are the property of their respective companies.
- Page 5 Getting Started Guide Regulamentação Anatel www.anatel.gov.br...