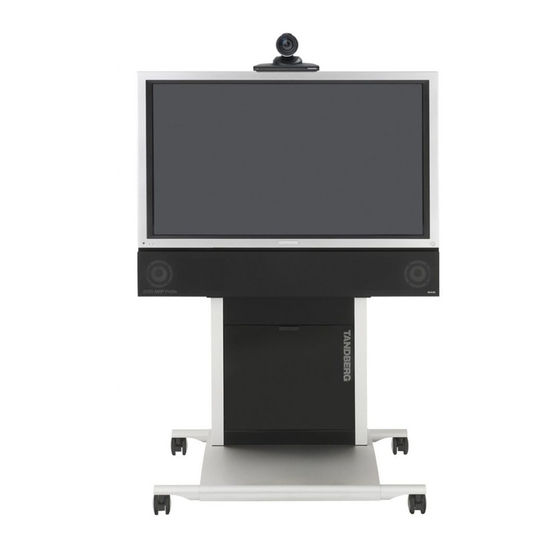
TANDBERG 3000 MXP Profile Installation Manual
Hide thumbs
Also See for 3000 MXP Profile:
- User manual (333 pages) ,
- Connecting manual (2 pages) ,
- Administrator's manual (375 pages)
Advertisement
Quick Links
Installation
1 Unpacking
Monitor
Cable Cover, Back
Cover and Base
(Wheel base option)
For mounting of the Wheel base, Foot mount or the Wall mount version,
follow the respective instructions on the following pages.
2 Mounting
For mounting of the Wheel base, Foot mount or Wall mount, follow the respective instructions on page 2-6.
Wheel base
D13728.09 Page 1
Top Module
Wrench
Screw driver
(for removing the handles
on 6000 MXP Profile 50")
Camera Stand
User Manual on CD
Wall Bracket
Foot mount
3000/6000
Bolts:
2x Type A
Column
and Foot
Remote
Control
+ 4x plugs for concrete
Camera
+ 4x washers for
gypsum/plasterboard
Wall mount
Profile
2x Type B
4x Type C
4x Type D
4x Type E
Advertisement

Related Manuals for TANDBERG 3000 MXP Profile


Summary of Contents for TANDBERG 3000 MXP Profile
- Page 1 Installation 3000/6000 Profile 1 Unpacking Bolts: 2x Type A 2x Type B 4x Type C Column Monitor and Foot Top Module Cable Cover, Back Cover and Base (Wheel base option) Remote Wrench Screw driver Control (for removing the handles on 6000 MXP Profile 50”) 4x Type D + 4x plugs for concrete Camera...
- Page 2 Caution! Be careful not to squeeze fingers or cables. Rearrange cables if necessary. 5a Mount the Monitor 43”/50”, for 32” see 5b 5b Mount the Monitor 32” On all products, except On TANDBERG TANDBERG 3000 3000 MXP 32” MXP 32” Profile: Profile:...
- Page 3 Wheel base 3000/6000 Profile 6 Mount the Cable Cover and the Back Cover Mount the Magnet Brackets behind the Column and attach the Cable Cover to the magnets. You may have to rearrange the cables. Mount the Back Cover on the back side of the Top Module.
- Page 4 Foot mount 3000/6000 Profile Warning! Due to the size and mass of this equipment, it is very important that the wall mount unit is safely installed according to these installation instructions and that the wall is able to safely support the product. It is highly recommended that this Foot mount unit is installed by trained personnel.
- Page 5 According to Standard IEC60950 3rd ed. the wall is required to support four times the actual load, which implies that a TANDBERG MXP Profile system must be mounted to a wall which supports: 4x 77kg=308kg/679 lbs (T6000 50”), 4x 61kg=244kg/538 lbs (T3000 42”) and 4x 49kg=196kg/432 lbs (T3000 32”).
-
Page 6: System Configuration
Installation 3000/6000 Profile 3 System Configuration If the menu is not already present, press the 1. Open the Control Panel OK/Menu key on the remote control Choose ‘Control Panel’ from the main menu and to open the menu. Navigate the menu press OK.