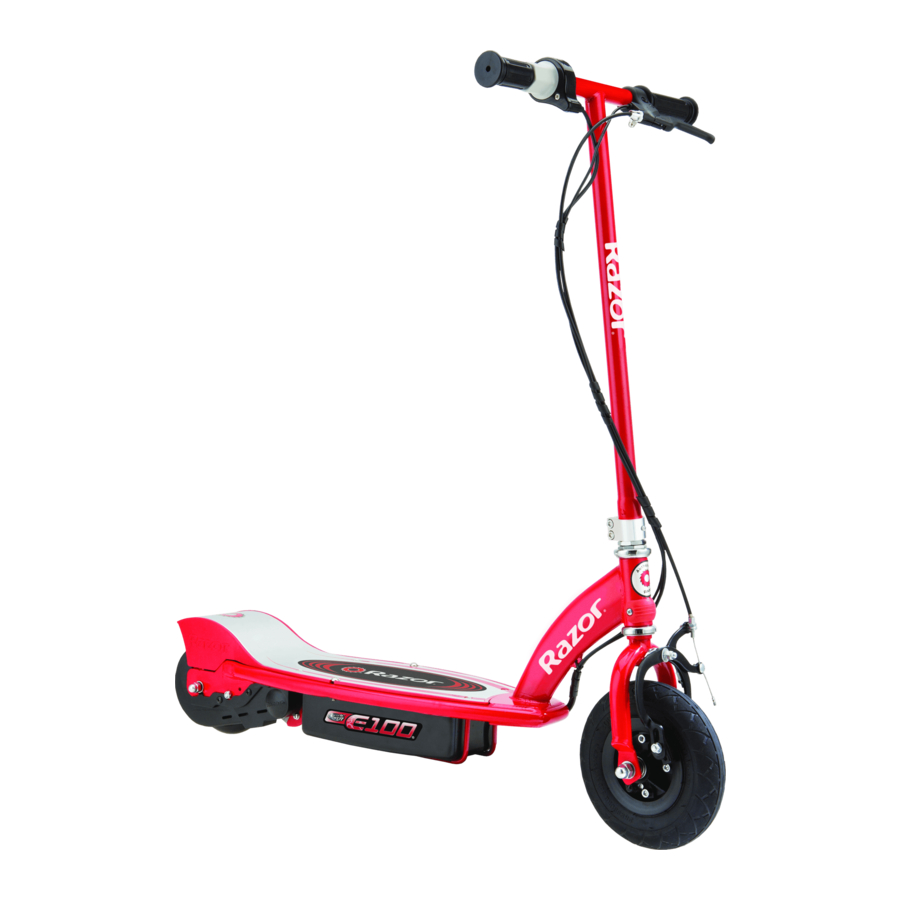
Razor E100 Owner's Manual
Hide thumbs
Also See for E100:
- Manual (60 pages) ,
- Owner's manual (42 pages) ,
- Installation instructions (3 pages)
Advertisement
NOTE:
The E100/E125/E150/E175 must be traveling up to 3mph before motor will
engage. Kick start up to 3mph while applying the throttle to engage motor.
Owner's Manual
Read and understand this entire manual before riding!
NOTE: Manual illustrations are for demonstration purposes only. Illustrations
may not reflect exact appearance of actual product. Specifications subject to
Version: 1_01/10
DO NOT RETURN TO STORE!
change without notice.
Item Number:
E100 Red
13111260
E100 Pink
13111261
E100 Daisy
13111061
E100 Sweet Pea
13111263
E100 Hello Kitty
13111264
E125 Red
13111110
E125 Silver
13111101
E125 Black
13125E-BK
E150 Red
13111601
E150 Pink
13111661
E175 Red
13111259
Advertisement
Table of Contents

Related Manuals for Razor E100


Summary of Contents for Razor E100
- Page 1 NOTE: The E100/E125/E150/E175 must be traveling up to 3mph before motor will engage. Kick start up to 3mph while applying the throttle to engage motor. Owner’s Manual Read and understand this entire manual before riding! DO NOT RETURN TO STORE! NOTE: Manual illustrations are for demonstration purposes only.
-
Page 2: Table Of Contents
PROPER RIDING ATTIRE riders are able to safely and responsibly use this product. Razor recommends Always wear proper protective equipment such as an approved safety helmet that you periodically review and reinforce the information in this manual (with chin strap securely buckled), elbow pads and kneepads. -
Page 3: Before You Begin
Schrader valve tires, (Included) with pressure gauge (Not included) Need Help? Visit our web site for replacement parts, product support and a list of authorized service centers at www.razor.com or call toll free 866-467-2967 Monday - Friday 8AM - 5PM Pacific Time. -
Page 4: Assembly And Set-Up
ASSEMBLy AND SET-UP q Attaching the Handlebars Note: Make sure the cables/ wires are out of the way before inserting the stem into the fork. Depress the push button (a) Open the quick release. Adjust the tension of the located on the front fork and quick release to where you can insert the handlebar stem until close the lever all the way to... -
Page 5: Hardware Maintenance
Readjust as needed. further adjustment, proceed to step 2. Need Help? Visit our web site for replacement parts, product support and a list of authorized service centers at www.razor.com or call toll free 866-467-2967 Monday - Friday 8AM - 5PM Pacific Time. - Page 6 REPAIR AND MAINTENANCE q front Wheel Replacement Note: Front wheel hardware sequence Tools required: 10mm wrench, two (2) 17mm wrenches and a flathead screwdriver. Right Side (Throttle) 8-3 - (Short) spacer Using a 10mm open wrench, Using two 17mm wrenches, 8-2 - Washer loosen the brake cable bolt.
-
Page 7: Replacement Parts
Refer to the disposal instructions at Disposal: Your Razor product uses sealed lead-acid batteries which must be recycled or disposed of in an left. If acid comes into contact with environmentally safe manner. Do not dispose of a lead-acid battery in a fire. The battery may explode or leak. Do not skin or eyes, flush with cool water dispose of a lead-acid battery in your regular household trash. -
Page 8: Troubleshooting Guide
Even with proper care, a rechargeable battery does not last forever. Average battery life is 1 to 2 years depending on scooter use and conditions. Replace only with a Razor replacement battery. Brakes are not adjusted properly Refer to adjusting the brakes instructions on page 4. - Page 9 Loose wires or connectors Sometimes the scooter they are tight. doesn’t run, but other times it does Contact your local Razor authorized service center for diagnosis and Motor or electrical switch repair. damage Chain is too dry Apply a lubricant such as 3 in 1 or Tri-Flow to the chain.
-
Page 10: Electric Scooter Parts
E100/E125/E150/E175 PARTS Keep your scooter running for years with genuine Razor parts. Visit our web site or e-mail us for more information on spare part availability. (Specifications subject to change without notice.) On/ Off switch Handlebar grip (right/left) Charger port... - Page 11 SB 1918 (CALIFORNIA) DECLARATION YOUR INSURANCE POLICIES MAY NOT PROVIDE COVERAGE FOR ACCIDENTS INVOLVING THE USE OF THIS SCOOTER/ELECTRIC RIDE-ON PRODUCT. TO DETERMINE IF COVERAGE IS PROVIDED, YOU SHOULD CONTACT YOUR INSURANCE COMPANY OR AGENT.
-
Page 12: Warranty
Razor USA LLC PO Box 3610 Cerritos, CA 90703 Copyright © 2003-2010 Razor USA LLC. All rights reserved. RAZOR and the Razor Logo Design are among the registered trademarks of Razor USA LLC in the United States and/or select foreign countries. 01/2010...