Planet Internet Telephony PBX System IPX-300 Series Quick Installation Manual
Internet telephony pbx system
Hide thumbs
Also See for Internet Telephony PBX System IPX-300 Series:
- User manual (96 pages) ,
- User manual (82 pages)
Table of Contents
Advertisement
Quick Links
Download this manual
See also:
User Manual
Advertisement
Table of Contents

Related Manuals for Planet Internet Telephony PBX System IPX-300 Series


Summary of Contents for Planet Internet Telephony PBX System IPX-300 Series
- Page 1 Internet Telephony PBX System IPX-300 Series Quick Installation Guide...
- Page 2 Overview PLANET IPX-300/IPX-300W IP PBX telephony systems (“IP PBX” in the following term) are designed and optimized for the small business in daily communications. It can support up to 100 user registrations and easy to install and manage a fully working system with the convenience and cost advantages.
-
Page 3: Table Of Contents
Document Objectives ... 4 Document Organization ... 5 Preparation before beginning administration on IP PBX ... 6 Network Interface quick configurations ... 7 Step1. Operation Mode (For IPX-300W) ... 8 Step2. Internet Setting (AP Mode) ... 8 Step3. NAT Setting ... 9 Step4. -
Page 4: Document Objectives
Document Objectives This guide provides physical installation, LAN/WAN IP configurations, and Internet access establishment information for the IP PBX. -
Page 5: Document Organization
Document Organization This guide is organized as follows: • Preparation before beginning administration on IP PBX • Administration interface • LAN/WAN Interface quick configurations... -
Page 6: Preparation Before Beginning Administration On Ip Pbx
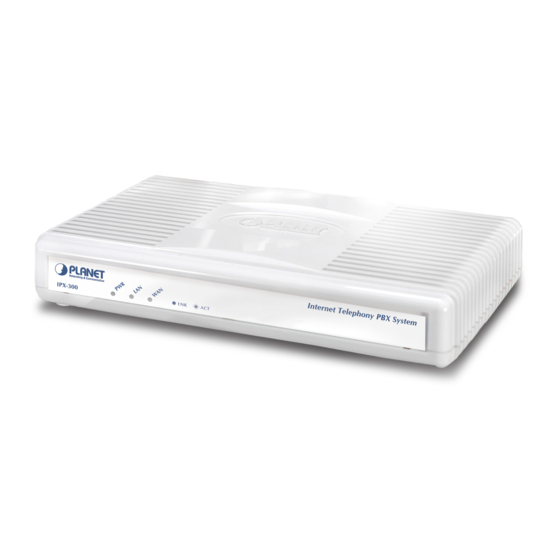
Preparation before beginning administration on IP PBX Physical Installation IPX-300: Internet Telephony PBX System IPX-300W: Wi-Fi Internet Telephony PBX System Figure 1. Front Panel of IPX-300 Figure 2. Front Panel of IPX-300W Figure 3. Rear Panel of IPX-300 Figure 4. Rear Panel of IPX-300W Administration Interface IP PBX provides GUI (Web based, Graphical User Interface) for machine management and administration. -
Page 7: Network Interface Quick Configurations
In order to connect machine for administration, please locate your PC in the same network segment (192.168.0.x) of IP PBX. If you’re not familiar with TCP/IP, please refer to related chapter on user’s manual CD or consult your network administrator for proper Note network configurations. -
Page 8: Step1. Operation Mode (For Ipx-300W)
Step1. Operation Mode (For IPX-300W) For most users, Internet access is the primary application. The IP PBX supports the WAN, LAN and WLAN interface for Internet access and remote access. When you click “Operation Mode” from within the Wizard Setup, the following setup page will be show. -
Page 9: Step3. Nat Setting
Figure 7. Wizard-Internet settings AP Setting (For IPX-300W) For configuring correctly the WLAN port in client mode, the below instructions will provide a quick start. It is advised if possible to use the simplest network settings for first try. For making sure the IP PBX is connecting to your wireless router (AP). You need to set up the following: SSID, Frequency Channel, Authentication method and Encryption parameters (Type/Encryption length/Keys.) Step3. -
Page 10: Step4. Ippbx Setup
DHCP Server Enable to open LAN port DHCP server Assigned DHCP IP DHCP server range from start IP to end IP Address Client to ask DHCP server refresh time, range from 60 DHCP IP Lease Time to 86400 seconds Step4. IPPBX Setup The IP PBX allows multiple ITSP providers / User Extensions registration by simply fill-in the required information in the provided table. -
Page 11: Voice Communication Samples
Service Provider: Caller ID Service provider name Username Input Provider name Password Input Provider password Host Input Providers server address Port Providers server port User Extensions: User Extension Input Extension number Password Input Extension password Caller Id Input Extension caller id After completing the wizard setup, click “Submit”... -
Page 12: Ip Phone And Wi-Fi Phone Register To Ip Pbx
IP Phone and Wi-Fi Phone register to IP PBX In the following samples, we’ll introduce IP Phone and Wi-Fi Phone register to IP PBX applications. Figure 12. Topology of instruction example Machine configuration: STEP 1: Please log in IP PBX via web browser and browse to “Network Setup configuration menu. - Page 13 STEP 2: Browse to “IP PBX Setup ⁄ User Extensions Setup” Figure 14. User extension setting of IP PBX STEP 3: Click the button to create extension account ext.100 and ext.101. “Add” Figure 15. Add extension setting of IP PBX STEP 4: Please log in VIP-154T and browser to configuration menu.
- Page 14 STEP 5: Please take VIP-192 and setup the wireless network to connect with IP PBX (IPX-300W) by keypad menu method. Then log in VIP-192 via web browser and browser to “SIP Settings” Outbound Proxy IP Address information. Figure 17. SIP settings of VIP-192 Then browse to “SIP Account Settings”...
-
Page 15: Ip Phone And Wi-Fi Phone Make Off-Net Calls Via Gateway
3. Then the VIP-192 should ring. Please repeat the same dialing steps on VIP-192 to establish the first voice communication from VIP-154T IP Phone and Wi-Fi Phone make off-Net calls via Gateway In the following samples, we’ll introduce VIP-154T and VIP-192 makes off-Net Calls (PSTN calls) via VIP-480FO applications. - Page 16 STEP 3: Browse to configuration menu. “IP PBX Setup ⁄ Attendant Extension” Assign an attendant number which inexistence extension in Extension List and the sample configuration screen is shown below: Figure 22. Assign an attendant number Pressing the button for activate the configuration. “Submit”...
- Page 17 Figure 25. Set up the Hunting Member of FXO ports Figure 26. Set up the Proxy Server IP address for register to IP PBX STEP 6: Browse to configuration menu. Add an Incoming Dial Plan “Dialing Plan” (no.0) for redirect the PSTN outgoing calls to FXO ports. Figure 27.
- Page 18 STEP8: After all of devices have registered to IP PBX successfully, the Extension Status page will show the registration status: Figure 29. Extension status page with Phone and Gateway registered Test the scenario: 1. VIP-154T pick up the telephone 2. Dial the number: 0 shall be able to connect to the port 1 of VIP-480FO 3.
-
Page 19: Quick Reference In Cd-Rom Guide
Quick reference in CD-ROM guide This guide is used to help you startup your Wizard settings. It is also recommended to check the user manual CD-ROM for more details likes the “IP PBX Setup”, and how to set the device back to default value. - Page 20 This page is intentionally left blank...