Table of Contents
Advertisement
Quick Links
Advertisement
Table of Contents

Related Manuals for Varytec MULTIEYES


Summary of Contents for Varytec MULTIEYES
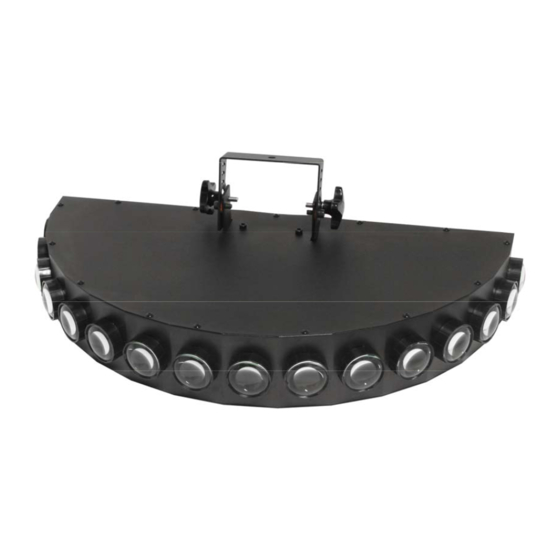
- Page 1 User’s manual MULTIEYES...
-
Page 2: Table Of Contents
Table of content Safety instructions........................... 3 Introduction ............................. 4 Function ............................4 3.1. Sound active control....................... 4 3.2. Auto mode ..........................4 3.3. DMX512 Control........................5 3.4. Master and slaver........................6 3.5. Dimming Mode ........................7 Specification............................ 8 2 / 10... -
Page 3: Safety Instructions
1. Safety instructions FOR SAFE AND EFFICIENT OPERATION Be careful with heat and extreme temperatureAvoid exposing it to direct rays of the sun or near a heating appliance. Not put it in a temperature bellow 41°F /5°C, or exceeding 95°F /35°C. Keep away from humidity, water and dust Do not place the set in a location with high humidity or lots of dust. -
Page 4: Introduction
2. Introduction Thank you for purchasing Varytec Multieye. This unit using LEDs and special lens to result more brightness and powerful color beams. The lifetime is extremely long of the LEDs and the power consumption is very low .The special 180 degree fan- shaped with 16-heads output construction effects great and excellent colorful beams range. -
Page 5: Dmx512 Control
“OFF”. It runs fastest when the dipswitch #6 #7 and #8 position are all on “ON”. Dipswitch position show as picture: 3.3. DMX512 Control Have the dipswitch #11 and #12 position on “OFF” and the #10 position on “ON” then the unit is on DMX512 control mode. We can select the required address by using dipswitch #1 to #9. -
Page 6: Master And Slaver
dimming large,speed get more fast 3.4. Master and slaver 1) When dipswitch #12 is on “ON” position and #11 is on “OFF” position then the unit works as master unit. Dipswitch position show as picture: ①When dipswitch #10 is on “OFF” position, it runs via auto mode. A. -
Page 7: Dimming Mode
3) Master and slaver can be connected by DMX signal cable, shown as picture: 3.5. Dimming Mode When the dipswitch #11 and #12 all are on “ON” position then the unit is on Dimming Mode. Dipswitch position show as picture: When dipswitch ”OFF”... -
Page 8: Specification
C. The dipswitch #7 to #9 can control the RED color. When they are all on “OFF” position then the LEDs without light. When they are all on “ON” position then LEDs brightest. When the dipswitch #10 is on “ON” position: We can control the speed via using the dipswitch #1 to #4. - Page 9 9 / 10...
- Page 10 Importeur: B & K Braun GmbH Industriestraße 1 D-76307 Karlsbad www.bkbraun.com info@bkbraun.com 10 / 10...