
Related Manuals for Philips HTS7500


Summary of Contents for Philips HTS7500
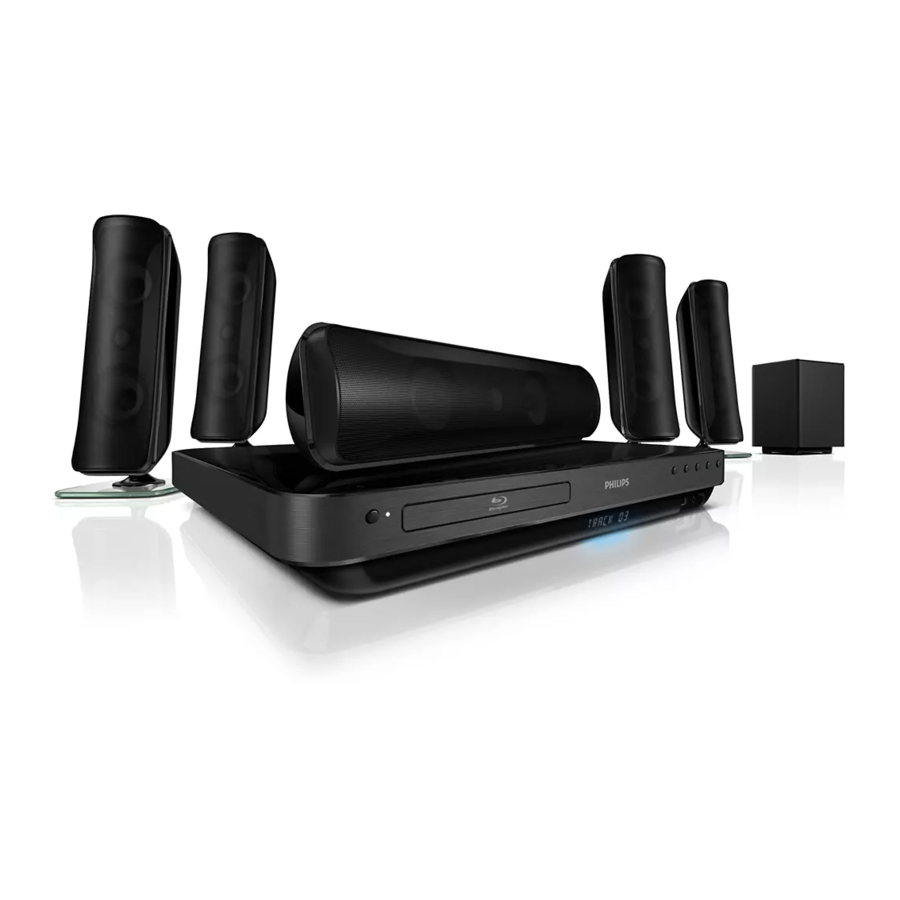
- Page 1 Register your product and get support at www.philips.com/welcome User manual HTS7500 HTS7520 HTS7540...
-
Page 3: Table Of Contents
4 Get started Insert the remote control batteries Find the correct viewing channel Use the Home menu Select menu display language Set up network Use Philips EasyLink 5 Play Play a disc Play video Play music Play photo Play from USB device... -
Page 4: Important
1 Important Safety and important notice Warning • Risk of overheating! Never install the product in a conÀ ned space. Always leave a space of at least 4 inches around the product for ventilation. Ensure curtains or other objects never cover the ventilation slots on the product. - Page 5 The USB-IF Logos are trademarks of Universal Serial Bus Implementers Forum, inc. DivX, DivX Ultra CertiÀ ed, and associated logos are trademarks of DivX, Inc. and are used under license. OfÀ cial DivX® Ultra CertiÀ ed product. Plays all versions of DivX ® video (including DivX ®...
-
Page 6: Care
Care Caution • Never use solvents such as benzene, thinner, cleaners available commercially, or anti-static sprays intended for discs. Clean discs Wipe the disc with a micro À bre cleaning cloth from the centre to the edge in a straight line movement. -
Page 7: Your Product
2 Your product Congratulations on your purchase, and welcome to Philips! To fully beneÀ t from the support that Philips offers, register your product at www.philips.com/welcome. Feature highlights Philips EasyLink Your product supports Philips EasyLink, which uses the HDMI CEC (Consumer Electronics Control) protocol. -
Page 8: Product Overview
Product overview Main unit c d e f g h ( Standby-On ) Turn on the Home Theater System or switch to standby mode. b Disc compartment c Display panel d IR sensor Detect signals from the remote control. Point the remote control directly at the sensor. -
Page 9: Sound Mode
c Source buttons • DISC / POP-UP MENU : Switch to disc source. Access to disc menu during play. • RADIO : Switch to FM radio. • USB : Switch to the connected USB device. • AUDIO SOURCE : Select an audio input. -
Page 10: Top Menu
( Previous/Next ) • In video mode, skip to previous or next title, chapter or track. • In radio mode, select a preset radio station. ( Fast Backward / Fast Forward ) Fast backward or fast forward. Press repeatedly to change the search speed. BACK Return to a previous menu screen. -
Page 11: Connect
This speakers placement is for HTS7520 only. Different set of speakers for HTS7500 and HTS7540. (see ‘SpeciÀ cations’ > ‘Speakers’). Place this Home Theater System near to the TV... - Page 12 Note • You must connect this Home Theater System directly to a TV. Option 1: Connect to the HDMI jack HDMI IN Connect the HDMI cable to the HDMI OUT jack on this Home Theater System and the HDMI input jack on the TV.
-
Page 13: Connect Speaker Cables To Speakers
Option 3: Connect to the Video (CVBS) jack VIDEO IN Connect a composite video cable (not supplied) to the VIDEO jack on this Home Theater System and the VIDEO input jack on the TV. Note • The video input jack on the TV might be labeled as A/V IN , VIDEO IN , COMPOSITE or BASEBAND . -
Page 14: Connect Speakers And Subwoofer
Connect speakers and subwoofer For HTS7500 and HTS7540 (HTS7540 has a different set of speakers) For HTS7520 Connect the speakers and subwoofer to the matching jacks on this Home Theater System. Note • Ensure that the colors of the plugs and jacks... -
Page 15: Connect Radio Antenna
For better FM stereo reception, connect to an external FM antenna. Connect audio cables/other devices Route the audio from other devices to this Home Theater System to enjoy audio play with multi-channel surround capabilities. Connect audio from TV (also used for EasyLink control) AUX 1... - Page 16 Connect to coaxial jack COAXIAL DIGITAL IN Connect a coaxial cable (not supplied) to the DIGITAL-IN-COAXIAL jack on this Home Theater System and the COAXIAL/DIGITAL output jack on the device. Note • To listen to the audio output from this connection, press AUDIO SOURCE repeatedly until ‘COAX IN’...
- Page 17 Connect to optical jack DIGITAL IN Connect an optical cable (not supplied) to the DIGITAL-IN - OPTICAL jack on this Home Theater System and the OPTICAL/SPDIF output jack on the device. Note • To listen to the audio output from this connection, press AUDIO SOURCE repeatedly until ‘OPTI IN’...
-
Page 18: Connect Lan
• Use an RJ45 straight cable. Do not use a crossover cable. • Internet access to Philips website for software update may not be allowed, depending on the router you use or the Internet Service Provider’s policy. Contact your Internet Service Provider for more information. -
Page 19: Get Started
• Go to the lowest channel on your TV, then press the Channel Down button until you see the Philips or the Home menu screen. • Press SOURCE button repeatedly on the remote control of your TV. -
Page 20: Use The Home Menu
Use the Home menu Play Disc Press ( Home menu ). • Select [Play Disc] to start disc play. • Select [USB] to view the USB contents. • Select [Settings] to access the setup menu. Select menu display language Note •... -
Page 21: Use Philips Easylink
HDMI CEC devices. Turn on the HDMI CEC operations on the TV and other connected devices. See TVs/devices manual for details. You can now enjoy the following Philips EasyLink controls. EasyLink Turn off or turn on all EasyLink features. - Page 22 Select [System Audio Control] > [On] . Read the on-screen instructions and press OK to select [Continue] . » The Home Theater System scans and displays the valid devices. Press OK to select [Continue] . Philips TV Aux1 Recorder Aux2 Coaxial DVD player Optical Select a connected device on the left of the menu, then press .
-
Page 23: Play
Press to close the disc compartment and start disc play. • To view disc play, turn on the TV to the correct viewing channel for this Home Theater System. • To stop disc play, press Note • Check the types of discs supported, (see ‘SpeciÀ... -
Page 24: Play Video
Play video Control video play Play a title. Use the remote control to control the title. Button Action Pauses play. ( Play ) Starts or resumes play. Stops play. • Home menu is displayed. Skips to the next title or chapter. -
Page 25: Display Menu
Display menu BD-video disc • TOP MENU stops the video play and shows the disc menu. This feature is disc- dependent. • POP-UP MENU accesses to the BD- video disc menu without interrupting disc play. DVD-video disc • DISC MENU displays disc information and guides you through the available functions in the disc. -
Page 26: Sync Audio Output With Video Play
View video play from different camera angles During play, press OPTIONS . » The play options menu is displayed. Select [Angle List] in the menu, then press OK . Select an angle option, then press OK . » Play changes to the selected angle. Note •... -
Page 27: Play Music
System. Special video data may be played back while they are being downloaded. When the disc supporting BD-Live is played back, the Home Theater System or disc’s ID can be sent to the content provider via the internet. Services and functions to be provided differ depending on the disc. -
Page 28: Play Photo
Button Action Pauses play. ( Play ) Starts or resumes play. Stops play. Skips to the next track. Skips to the beginning of the current track. Press twice to jump to the previous track. Selects an item to play. Searches fast-forward (right) or fast-backward (left). -
Page 29: Play From Usb Device
Control photo play Play photo slideshow. Use the remote control to control the photo. Button Action Rotates the photo anti- clockwise. Rotates the photo clockwise. Flips the photo upside down. Flips the photo left-to-right (mirror image). Stops play. OPTIONS Accesses options for the current activity or selection. -
Page 30: Play From Portable Media Player
• To stop auto tuning, press Note This Home Theater System can store up to a maximum of 40 radio stations. If auto installation is not activated or less than 5 radio stations are stored, you will be prompted to install the radio stations again. -
Page 31: Listen To Radio
Listen to radio Press RADIO . Use the remote control to control the radio. Button Action Selects a preset radio station. Tunes the radio frequency up or down. Press and hold this button to erase the current radio station from the preset list. •... -
Page 32: Adjust Sound
6 Adjust sound Control the volume Press +/- to increase or decrease the volume. • To mute, press • To restore the volume, press or press Change treble and bass Change the high frequency (treble) or low frequency (bass) settings of the Home Theater System to suit your video or music. -
Page 33: Adjust Settings
7 Adjust settings You can customize various kinds of settings as you prefer. Refer to the following instructions to navigate through the setup menus. Note • You cannot change a setting that is grayed out. Video Setup Press Select [Settings] , then press OK . Select [Video Setup] , then press . -
Page 34: Audio Setup
Note • If the setting is not compatible with your TV, a blank screen appears. Wait for 15 seconds for auto recover or press HDMI repeatedly until the picture appears. [HDMI Deep Color] This feature is available only when the display device is connected by a HDMI cable, and when it supports deep color feature. -
Page 35: Preference Setup
Applicable only to Dolby encoded DVD-video or BD-video. [HDMI Audio] Selects the HDMI audio output when you connect this Home Theater System and the TV/audio device with a HDMI cable. • [As Source] – The audio format is not converted. A secondary audio track on a Blu-ray disc might not be available. -
Page 36: Easylink Setup
[Parental Control] Restricts access to discs that are unsuitable for children. These types of discs must be recorded with ratings. To access, enter your last set password or ‘ 0000 ’ using the keyboard on the TV. Note • Rated discs above the level you set in Control] require a password to be played. -
Page 37: Advanced Setup
• See the explanations of the above options in the following pages. [EasyLink] Your product supports Philips Easylink, which uses the HDMI CEC (Consumer Electronics Control) protocol. EasyLink-compliant devices that are connected through HDMI connectors can be controlled by a single remote control. - Page 38 Theater System. • This information is required when you want to À nd out if a newest software version is available at the Philips website that you may download and install on this Home Theater System. [Restore Factory Settings] Resets all the settings of this product to factory default, except for [Parental Control] setting.
-
Page 39: Update Software
Disconnect the power cord for a few seconds and connect again to reboot the Home Theater System. Update software via USB Go to www.philips.com/support to check the latest software version available for this Home Theater System. Create a folder named ‘UPG’ in the root of a USB Á... -
Page 40: Specià Cations
• Frequency response: 130 Hz ~ 20 kHz • Dimensions (WxHxD): • For HTS7500: - Center: 370 x 104 x 87 (mm) - Front/Rear: 130 x 324 x 130 (mm) • For HTS7520: - Center: 370 x 104 x 87 (mm) - Page 41 • Weight: • For HTS7500: - Center: 1.3 kg - Front/Rear: 1.5 kg • For HTS7520: - Center: 1.3 kg - Front: 3.9 kg - Rear: 1.5 kg • For HTS7540: - Center: 1.3 kg - Front/Rear: 3.9 kg Subwoofer •...
-
Page 42: Troubleshooting
If you still have a problem, register your product and get support at www.philips.com/welcome. If you contact Philips, you will be asked for the model and serial number of your product. The model number and serial number are on the back or bottom of your product. - Page 43 No sound from TV program. • Connect an audio cable from the audio input on this home theater to the audio output on your TV. Then press AUDIO SOURCE repeatedly to select the correct audio source. No surround sound effect from the speakers. •...
-
Page 44: Glossary
11 Glossary AVCHD AVCHD is a new format (standard) for high deÀ nition video cameras that can be used to record and play high-resolution HD images. BD-J Some BD-Video discs contain Java applications, and these applications are called BD-J. You can enjoy various interactive features in addition to playing normal video. - Page 45 HDMI High-DeÀ nition Multimedia Interface (HDMI) is a high-speed digital interface that can transmit uncompressed high deÀ nition video and digital multichannel audio. It delivers high quality picture and sound quality, completely free from noise. HDMI is fully backward- compatible with DVI. As required by the HDMI standard, connecting to HDMI or DVI products without HDCP (High-bandwidth Digital Content...
- Page 46 Retailer If you require assistance with the opera on of the product, its features or specifica ons, you may call the Philips Technology Care Centre on 1300 363 391 where support is provided by our trained call centre staff. If the product fails within the warranty period then the following will apply.
- Page 47 This warranty extends only to defects in material or workmanship occurring under normal use of the product when operated in accordance with the instruc ons. c. Philips may, at its discre on choose to replace rather than repair any product covered by this Warranty.
- Page 52 © 2009 Koninklijke Philips Electronics N.V. All rights reserved. sgptt_0931/98_1...