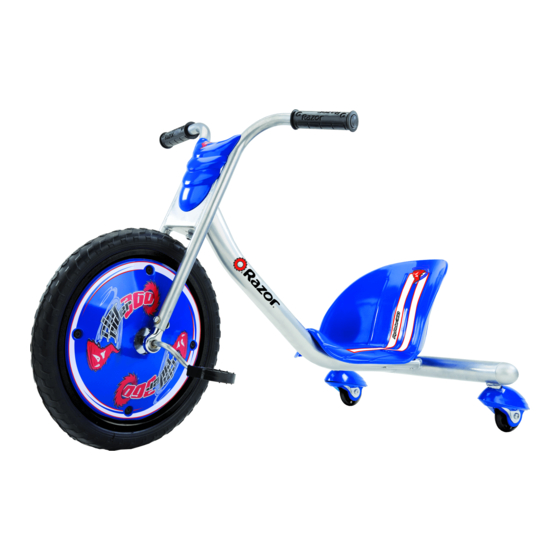
Razor RipRider 360 Owner's Manual
Caster trike
Hide thumbs
Also See for RipRider 360:
- Manual (32 pages) ,
- Owner's manual (19 pages) ,
- Manual (10 pages)
Advertisement
Quick Links
Download this manual
See also:
Owner's Manual
RipRider
360° Caster Trike
®
OWNER'S MANUAL
Read and understand this entire manual before allowing
child to use this product! For assistance contact Razor.
DO NOT RETURN TO STORE.
NOTE: Manual illustrations are for demonstration purposes only.
Illustrations may not refl ect exact appearance of actual product.
Specifi cations subject to change without notice.
Please have your product along with the 22 character product I.D. code with you before
contacting Razor for warranty assistance and/or replacement parts.
Product I.D. Code: _____________ - ____________ - ____________
Advertisement

Related Manuals for Razor RipRider 360


Summary of Contents for Razor RipRider 360
- Page 1 ® OWNER’S MANUAL Read and understand this entire manual before allowing child to use this product! For assistance contact Razor. DO NOT RETURN TO STORE. NOTE: Manual illustrations are for demonstration purposes only. Illustrations may not refl ect exact appearance of actual product.
-
Page 2: Table Of Contents
Never hitch a ride with another vehicle. APPROPRIATE RIDER USE AND PARENTAL SUPERVISION The RipRider 360˚ Caster Trike is intended for use on solid, flat, clean and dry This manual contains important safety information. It is your responsibility to surfaces, such as pavement or level ground, without loose debris, such as review this information and make sure that all riders understand all warnings, rocks or gravel. -
Page 3: Before You Begin
Need Help? Visit our web site for replacement parts, product support, a list of authorized service centers in the US and customer service contact information at www.razor.com. Please have the product I.D. code (located on the white label of your product) available for better assistance. Additional Customer Service... -
Page 4: Assembly And Set-Up
ASSEMBLY AND SET -UP Attaching the Frame Required Tools: Two (2) 5 mm Allen wrenches Securely tighten the (longer) Using two (2) 5 mm Allen Securely tighten the Insert the rear frame into the wrenches, remove the coupling coupling bolt on the rear frame (shorter) coupling bolt in the frame assembly. - Page 5 Need Help? Visit our web site for replacement parts, product support, a list of authorized service centers in the US and customer service contact information at www.razor.com. Please have the product I.D. code (located on the white label of your product) available for better assistance. Additional Customer Service...
-
Page 6: Pre-Ride Checklist
Razor Warranty. Wheels other than genuine Razor wheels may not be compatible with your Razor scooter. The use of anything other than genuine Razor replacement parts may affect your safety and will void your warranty. -
Page 7: Product Parts
Need Help? Visit our web site for replacement parts, product support, a list of authorized service centers in the US and customer service contact information at www.razor.com. Please have the product I.D. code (located on the white label of your product) available for better assistance. Additional Customer Service... -
Page 8: Warranty And Contact Information
Need Help? Visit our web site for replacement parts, product support, a list of authorized service centers in the US and customer service contact information at www.razor.com. Please have the product I.D. code (located on the white label of your product) available for better assistance. Additional Customer Service...