Table of Contents
Advertisement
Quick Links
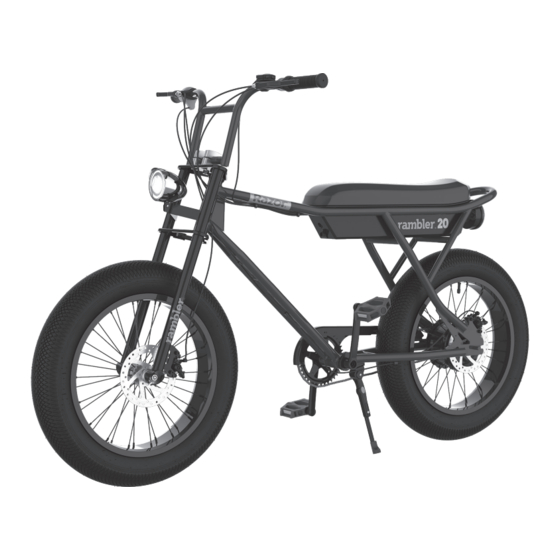
ELECTRIC BIKE
OWNER'S MANUAL
Read and understand this entire manual before using this product!
For assistance contact Razor.
DO NOT RETURN TO STORE.
NOTE: Manual illustrations are for demonstration purposes only.
Illustrations may not reflect exact appearance of actual product.
Specifications subject to change without notice.
Please have your product along with the 19 character product I.D. code with you
before contacting Razor for warranty assistance and/or replacement parts.
Product I.D. Code: _____________ - ____________ - ____________
Advertisement
Table of Contents

Related Manuals for Razor rambler 20


Summary of Contents for Razor rambler 20
- Page 1 Illustrations may not reflect exact appearance of actual product. Specifications subject to change without notice. Please have your product along with the 19 character product I.D. code with you before contacting Razor for warranty assistance and/or replacement parts. Product I.D. Code: _____________ - ____________ - ____________...
-
Page 2: Table Of Contents
. T he Razor Rambler 2 0... - Page 3 Need Help? Visit our website for replacement parts, product support, a list of authorized service centers in the US and customer service contact information at www.razor.com. Please have the product I.D. code (located on the white label of your product) available for better assistance. Additional Customer at www.razor.com.
-
Page 4: Minimum Leg Length
Inspect the contents of the box for scratches in the paint, dents that may have occurred during shipping. Because your DO NOT USE NON-RAZOR PARTS Rambler 20 was partially assembled and packed at the factory, there should not be any problems, even if the box has WITH YOUR RAZOR Rambler 20. -
Page 5: Assembly And Set-Up
HEADLINE BEFORE YOU BEGIN Required Tools Box Contents: • Rambler 20 • Charger • Owner’s Manual • Tools 6 mm Allen Wrench (Included) 13 mm/15 mm Wrench (Included) HEADLINE ASSEMBLY AND SET-UP Attaching the Handlebars Required Tool: 6 mm Allen Wrench (included) -
Page 6: Charging The Battery
HEADLINE CHARGING THE BATTERY Your Rambler 20 may not have a fully charged battery; therefore you must charge the battery prior WARNING: Use ONLY with to use. Be sure to charge the battery in a clean, dry location away from direct sunlight, flames or sparks. -
Page 7: Pre-Ride Checklist
Need Help? Visit our website for replacement parts, product support, a list of authorized service centers in the US and customer service contact information at www.razor.com. Please have the product I.D. code (located on the white label of your product) available for better assistance. Additional Customer at www.razor.com. -
Page 8: Usage
Electric pedal assist will engage the motor and help you while you are pedaling. To engage electric pedal assist, start by switching to a power level mode by pressing the top area of the display to increase the power level (see page 8). When all the bars on the display are off, the Rambler 20 is at power level 0 (neutral). - Page 9 Rambler 20 is in motion. Higher power levels can result in higher speeds and weight. lower power levels will result in lower speeds. There are five (5) power levels. The Rambler 20 is set on power level 0 (neutral) setting at the factory.
-
Page 10: Repair And Maintenance
Wheels and drive system are subject to normal wear and tear. It is the responsibility of the user to periodically inspect wheels for excess wear and replace hub motor components as required. Replacement Parts The most frequently requested replacement parts are available for purchase at some Razor retail partners. For the complete selection of replacement parts visit www.razor.com. Repair Centers For a list of authorized Razor repair centers: •... -
Page 11: Troubleshooting Guide
Need Help? Visit our website for replacement parts, product support, a list of authorized service centers in the US and customer service contact information at www.razor.com. Please have the product I.D. code (located on the white label of your product) available for better assistance. Additional Customer Service contact information is listed at the back of this manual. - Page 12 Need Help? Visit our website for replacement parts, product support, a list of authorized service centers in the US and customer service contact information at www.razor.com. Please have the product I.D. code (located on the white label of your product) available for better assistance. Additional Customer Service contact information is listed at the back of this manual.
-
Page 13: Warranty
- Connect the equipment into an outlet on a circuit different from that to which the receiver is connected. - Consult the dealer or an experienced radio/TV technician for help. WARNING: Changes or modifications to this unit not expressly approved by Razor USA, could void the user’s authority to operate the equipment. WARRANTY... - Page 14 NOTICE: INSURANCE YOUR INSURANCE POLICIES MAY NOT PROVIDE COVERAGE FOR ACCIDENTS INVOLVING THE USE OF THIS SCOOTER/ELECTRIC RIDE-ON PRODUCT. TO DETERMINE IF COVERAGE IS PROVIDED, YOU SHOULD CONTACT YOUR INSURANCE COMPANY OR AGENT.
-
Page 16: Contact Information
Need Help? Visit our website for product support, a list of authorized service centers in the US and customer service contact information at www.razor.com. Please have the product I.D. code (located on the white label of your product) available for better assistance. Additional Customer...