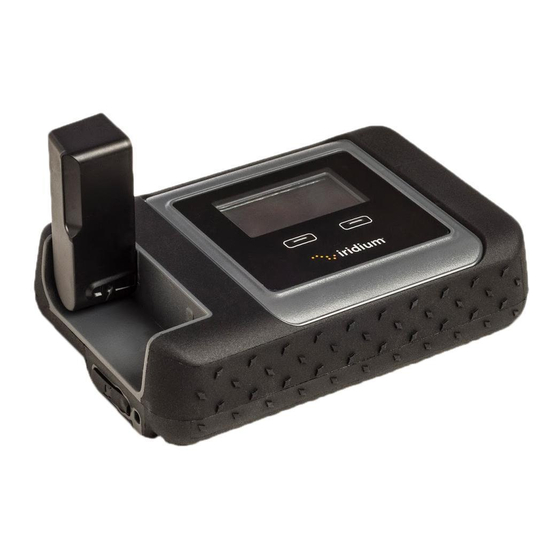
Iridium GO! Spare Parts Instruction Manual
Wifi
Hide thumbs
Also See for GO!:
- User manual (55 pages) ,
- Quick start manual (12 pages) ,
- Quick connect manual (2 pages)

Related Manuals for Iridium GO!


Summary of Contents for Iridium GO!
- Page 1 Spare Parts Instruction Guide...
- Page 2 The Iridium GO! Spare Parts kit provides the components necessary to make eld repairs to four areas of the device: battery door, battery gasket, connector/button covers for USB, SOS button and external antenna, and corner screw covers. After completing the part replacement, test the...
-
Page 3: Tools Required
Your Iridium GO! spare parts are Iridium accessories subject to the one-year Limited Warranty including Exclusions, Disclaimers, Limitations of Liability and Conditions of Use that is in the Legal Information Booklet that came with your Iridium GO!, and that is also available online at www.Iridium.com. Installation of the spare parts does nothing to change or extend the original Limited Warranty on your Iridium GO! device itself. -
Page 4: Battery Door
1. Battery Door The battery door of Iridium GO! is designed with integrated screws for a secure t. To replace the door: A. Remove the existing battery door. B. Properly attach the new battery door C. When tted correctly, the door will secure ush with the back of the device. - Page 5 2. Battery Gasket The battery gasket is located along the inner wall of the battery compartment, directly under the battery cover. This gasket is essential for maintaining the resistance to particle or water intrusion on the device and should be repaired if it becomes damaged during use.
- Page 6 3. Connector/Button Covers Iridium GO! has three replaceable covers located along the right side (USB and SOS) and the left side (antenna) of the device. It is recommended that these covers are replaced if they become damaged. To replace a connector/button cover: A.
- Page 7 4. Corner Screw Covers On the back of the Iridium GO! device, in each corner, you will nd a triangular rubber cover which is inserted into the screw well, otherwise referred to as "feet". To replace the screw covers: A. Remove the damaged cover and ensure the screw well is clear of any foreign material.
- Page 8 ©Copyright 2014 Iridium Satellite LLC and its a liates. All rights reserved. Iridium® and the Iridium Logo are registered trademarks, and Iridium GO!™ is a trademark of Iridium Satellite LLC and its a liates (“Iridium”). All other trademarks, service marks and logos are the property of their respective holders, which have not endorsed, sponsored or otherwise a liated with Iridium or Iridium GO!.