
Related Manuals for GPX TD930


Summary of Contents for GPX TD930
- Page 1 USER’S GUIDE V:1103-0208-10 For the most up-to-date version of this User’s Guide, go to www.gpx.com...
-
Page 2: Warnings And Precautions
Warnings and Precautions... -
Page 3: Important Safety Instructions
Important Safety Instructions Read these Instructions. FCC Warnings Keep these Instructions. Heed all Warnings. Follow all instructions. Do not use this apparatus near water. Clean only with a dry cloth. Do not block any ventilation openings. Install in accordance with the manufacturer’s instructions. -
Page 4: 9" Everywhere Tv + Dvd
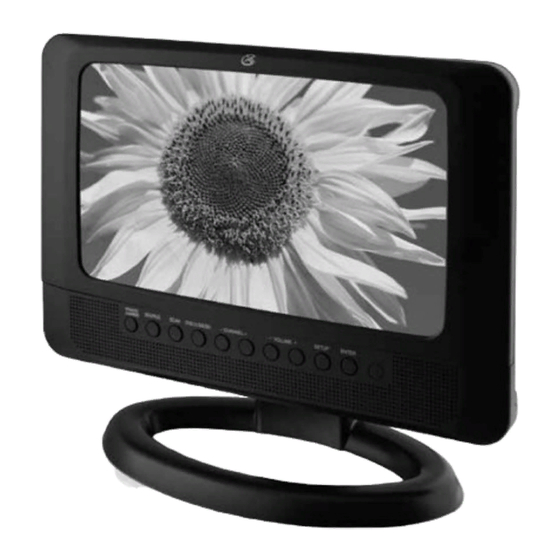
9” Everywhere TV + DVD Features • 9” widescreen LCD • 4:3/16:9 aspect ratio • DVD player supports: DVD, DVD±R/ • LCD resolution: 640 x 220 RW, CD, CD-R/RW, JPEG photo discs • TV supports 480i, 480p, 720i, 720p, • NTSC/ATSC tuner for o -air HDTV 1080i formats •... -
Page 5: Table Of Contents
TABLE OF CONTENTS Warnings and Precautions . Important Safety Instructions . • FCC Warnings • Additional Warnings 9” Everywhere TV + DVD • Features • Included Introduction Setup . • Connecting to an AC Power Outlet • Connecting to a Car Power Outlet •... -
Page 6: Introduction
Introduction SETUP Press to access the setup menu. VOLUME +/- Press to adjust the volume and navigate the setup menu. CHANNEL +/- Press to adjust the television channel and navigate the setup menu. SCAN In TV mode, press to auto-scan for available channels. - Page 7 DISC/USB/SD SOURCE In DVD mode, press to Press to switch between TV, switch between DISC, USB, DVD, and AV IN. and CARD modes. POWER Press to switch between Press to turn the TV/DVD NTSC, PAL, and AUTO. player o or on. NUMBER KEYPAD Press to view the on-screen display, in DVD mode.
-
Page 8: Setup
Setup Connecting to an AC Power Outlet Plug the included AC/DC power adapter into the DC POWER INPUT on the TV/DVD player and an AC power outlet. Connecting to a Car Power Outlet Plug the included 12V DC car adapter into the DC POWER INPUT on the TV/ DVD player and a car power outlet. -
Page 9: Attaching The Tv Stand
Attaching the TV Stand... -
Page 10: Television Setup
Television Setup Connecting the RF Antenna Auto-Scanning for Channels Connect the included RF antenna to Before the TV/DVD player can begin the RF INPUT on the TV/DVD player. receiving television channels, a scan for available channels must be run. Connect an RF antenna or cable TV source to the TV/DVD player. -
Page 11: Watching Television & The Tv Menu
Watching Television & the TV Menu Watching Television Before watching television, you must connect an RF ANTENNA (included) or a cable TV source, and following the instructions for Auto-Scanning for Channels. Adjust the POWER SWITCH on the TV/DVD player to the ON position. Press the SOURCE button repeatedly to select TV mode. -
Page 12: Dvd & Dvd Setup Menu
DVD & DVD Setup Menu Loading a DVD or CD Playing a DVD or CD Programming a DVD or CD Follow the instructions for Loading Follow the instructions for Loading a DVD or CD. a DVD or CD and Playing a DVD or Adjust the POWER SWITCH on the Press the PROG/ANGLE button. -
Page 13: Dvd Setup Menu
DVD Setup Menu SYSTEM SETUP • TV SYSTEM • SCREEN SAVER • TV TYPE • DEFAULT LANGUAGE SETUP • OSD LANGUAGE • AUDIO LANGUAGE • SUBTITLE LANGUAGE • MENU LANGUAGE VIDEO SETUP • BRIGHTNESS • CONTRAST • • SATURATION SPEAKER SETUP •... -
Page 14: Sd/Mmc Memory Card Slot & Usb Port
SD/MMC Memory Card Slot & USB Port Using an SD or MMC Memory Card Insert an SD or MMC memory card into the SD/MMC MEMORY CARD SLOT as shown to the left. Adjust the POWER SWITCH on the TV/DVD player to the ON position. Press the SOURCE button. -
Page 15: Audio/Video Input & Dvd Output
Audio/Video Input & DVD Output Using the DVD Output Using the A/V Input Requires an RCA audio/video cable (not Requires an RCA audio/video cable (not included) and a 3.5mm to RCA adapter included) and a 3.5mm to RCA adapter (included) (included) Connect a 3.5mm to RCA adapter Connect a 3.5mm to RCA adapter... -
Page 16: Company Information
English, Spanish, or French, visit the support section at www.gpx.com. Para transferir esta guía de usuario en inglés, español, o francés, visite la sección de la ayuda en www.gpx.com. Pour télécharger ce guide de l’utilisateur en anglais, espagnol, ou français, visitez la section de soutien chez www.gpx.com.