Table of Contents
Advertisement
Dear Customer,
Thank you for choosing this quality product from ASKO.
We hope it will meet your expectations and fulfil your needs for many years to
come. Scandinavian design combines clean lines, everyday functionality and
high quality. These are key characteristics of all our products and the reason
they are greatly appreciated throughout the world.
To get the most from your new dishwasher, we recommend that you read the
operating instructions before using the dishwasher. The operating instructions
also include information on how you can help protect the environment.
Operating Instructions
Dishwasher
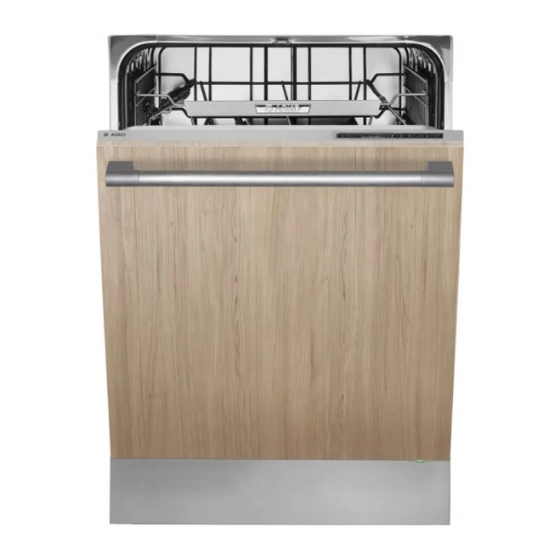
ASKO D5536 FI
Advertisement
Table of Contents

Related Manuals for Asko D5536 FI


Summary of Contents for Asko D5536 FI
-
Page 1: Operating Instructions
Dear Customer, Thank you for choosing this quality product from ASKO. We hope it will meet your expectations and fulfil your needs for many years to come. Scandinavian design combines clean lines, everyday functionality and high quality. These are key characteristics of all our products and the reason they are greatly appreciated throughout the world. -
Page 2: Table Of Contents
Care and cleaning Safety instructions Troubleshooting Before washing for the first time Technical information Loading the dishwasher Installation Using the dishwasher ASKO Service Settings Program chart Front panel On/Left-on mode Rinse aid indicator Delayed start Program selector Child lock (button lock) -
Page 3: Safety Instructions
Safety instructions General Overflow guard function Read the operating instructions and keep them in a safe place! The overflow protection starts pumping out the machine and turns off the water supply if the water level in the dishwasher exceeds Never use the dishwasher for any purpose other than that the normal level. -
Page 4: Before Washing For The First Time
Before washing for the first time Loading the dishwasher Program key Economic dishwashing Some dishwashers include program keys in different languages. Run programs only with a full load Attach the program key in the desired language to the top of the Wait to run a program until the dishwasher is full. -
Page 5: Cutlery Basket
The dishwasher's baskets Cutlery basket The dishwasher is equipped with an upper basket and a lower Place cutlery with the handles facing down, except for knives, basket with cutlery basket. and spread them out as much as possible. Ensure that spoons do not stack inside each other. -
Page 6: Using The Dishwasher
Using the dishwasher Add detergent Program selection Press the Program selector one or more times until the desired program symbol appears on the display. Heavy Program for very dirty dishes, such as pans, casserole dishes and oven dishes. If these dishes do not completely fill the dish- washer, you can add plates and the like. -
Page 7: Time Remaining
you use the same program. An exception is the Delayed start Time remaining option. Once you have selected a program and options, the display indi- cates how long the program took the last time it was used. The remaining time is updated after the water for the final rinse has High temperature been heated. -
Page 8: Settings
Settings Do as follows to open the settings menu: First, open the door. Turn off the dishwasher using the On/Left-on mode button (press and hold). Release the button. Press and hold the On/Left-on mode button until the display lights up. Within five seconds, press and hold the Program selector and the Long dry button. - Page 9 Button press Options Settings Description Operation volume This sound is used to confirm each button press. (Off) (Low) (High) Press Start/Stop to save the setting value and continue to the next setting. LCD contrast For adjusting the contrast of the display on the panel. (Low) (High) Press Start/Stop to save the setting value and continue to the next setting.
-
Page 10: Care And Cleaning
Care and cleaning Coarse filter NOTE! The coarse filter traps larger food particles, which cannot get The dishwasher must not be used without the filter in place! past the drainage pump. Empty the coarse filter as necessary. Diswashing efficiency can be affected if the course filter is in- 1 Lift the coarse filter by the handle. - Page 11 Door When cleaning the edge around the door, use only a slightly damp cloth (with a little cleaner if necessary). WARNING! Do not use a spray bottle or the like around the door lock. This is to ensure that water does not penetrate the door catch and come into contact with the electrical components.
-
Page 12: Troubleshooting
Troubleshooting Display Type of fault Action Overfilling Call the service department. Water outlet fault See "Water remains in the dishwasher" in the table below. Water inlet fault Check that the water tap is on. Check whether dishwasher inlet hose is connected to a pressure limiting valve (some pressure limiting valves may restrict the supply of water to the dishwasher). - Page 13 Problem Possible causes Action Rattling sound when dishwashing. The dishes are not correctly placed or the Check that the dishes are placed securely. spray arms are not rotating. Spin the spray arms to make sure they can rotate. The dishwasher does not start. The Start/Stop start button has not been Press and hold Start/Stop until the display pressed for long enough.
- Page 14 Problem Possible causes Action The touch buttons do not react when You have pressed the touch buttons too soon Wait a moment then try again. pressed. after opening the door. Dirt on the touch buttons. Clean with a dry or slightly damp cloth. Open the door until the display lights up.
-
Page 15: Technical Information
Technical information Information for test institute Energy labelling Australian standard: AS/NZS 2007 Number of place settings: Dishwashing programs: Normal; Low temperature, Short dry (no options) The door should be opened upon completion of the drying cycle a distance of 35 mm at V. Program time: 2:15 hours:minutes Connection:... -
Page 16: Technical Data
Technical data Height: 817-872 mm Width: 596 mm Depth: 559 mm Weight: 49 kg Capacity: 14 Place settings Water pressure: 0.03–1.0 MPa 0.3–10 kp/cm 3–100 N/cm Electrical connection: See compliance plate Rated power: See compliance plate Weight can vary due to different specifications. In accordance with standard, AS/NZS 2007. -
Page 17: Installation
Installation 1198 [mm] 30-94 *Remove locking nuts for an installed height of 820-821 mm. **Door length. It is important that you read through and follow the instructions weights and sizes of wooden door. Door springs can be pur- and directions below. Conduct installation and connection in chased from the retailer who sold you the dishwasher. -
Page 18: Asko Service
ASKO Service Connect to cold water... Information about your product If you use oil or electricity to heat your home. There is a QR code on the compliance plate. Scan the code to Connect to hot water (max. 70 °C)... -
Page 19: Program Chart
Program chart... -
Page 20: Quick Guide
Use rinse aid to achieve good washing and drying results. (See page 4.) Refill rinse aid indicator. Select a program and any options (See page 6.) Press and hold in Start/Stop, close the door en (06-16) ASKO APPLIANCES AB SOCKERBRUKSGATAN 3, SE-531 40 LIDKÖPING, SWEDEN WWW.ASKO.COM...