Table of Contents
Advertisement
Advertisement
Table of Contents

Related Manuals for Oster OGYM1602


Summary of Contents for Oster OGYM1602
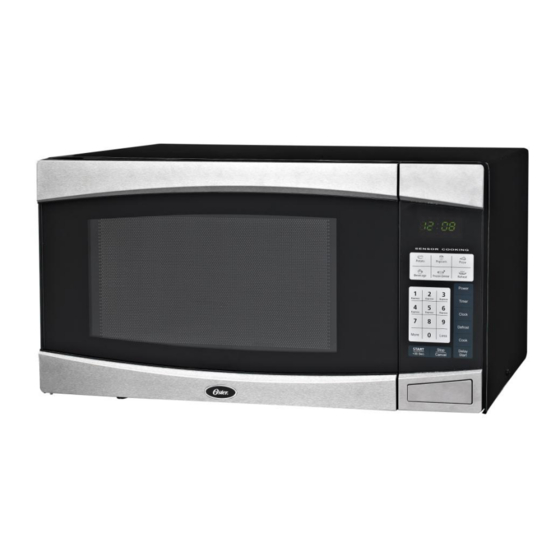
- Page 1 1.6 Cu. Ft. Countertop Microwave Model: OGYM1602 GLN080112...
-
Page 2: Table Of Contents
TABLE OF CONTENTS IMPORTANT SAFETY INSTRUCTIONS PRECAUTIONS TO AVOID POSSIBLE EXPOSURE TO EXCESSIVE MICROWAVE ENERGY INSTALLATION GUIDE GROUNDING INSTRUCTIONS CONTROL PANEL PRODUCT DIAGRAM INSTALLING THE TURNTABLE OPERATION INSTRUCTIONS SETTING THE CLOCK MICROWAVE COOKING EXPRESS COOK SETTING THE TIMER MULTI-STAGE COOKING DELAY START DEFROST CHILD LOCK... -
Page 3: Important Safety Instructions
IMPORTANT SAFETY INSTRUCTIONS READ ALL SAFETY INSTRUCTIONS BEFORE USING THIS MICROWAVE WARNING - To reduce the risk of burns, electric shock, fire, injury to persons, or exposure to excessive microwave energy, basic safety precautions should be followed, including the following: Read all instructions before using the microwave oven. -
Page 4: Precautions To Avoid Possible Exposure To Excessive Microwave Energy
IMPORTANT SAFETY INSTRUCTIONS (continued) Do not operate this appliance if it has a damaged cord or plug, if it is not working properly, or if it has been damaged or dropped. Do not immerse the cord or plug in water. Keep cord away from heated surfaces. Do not let the cord hang over the edge of the table or counter. -
Page 5: Grounding Instructions
5. For correct operation, the oven must have sufficient air flow. Allow 8” of space above the microwave, 4” at the back, and 2” on each side of the unit. 6. Do not cover or block any openings on the microwave. Do not remove microwave feet. Do not operate the oven without the glass tray, roller support, and shaft in their proper positions. -
Page 6: Control Panel
CONTROL PANEL MENU ACTION SCREEN Cooking time, power, indicators and present time are displayed. QUICK COOK BUTTONS Instant settings to cook popular foods. NUMBER PADS (0-9) Touch to set clock, cooking time or enter food weight. MORE/LESS (+/-) Used to add or reduce time from cooking. -
Page 7: Installing The Turntable
INSTALLING THE TURNTABLE Never place the glass tray upside down. The glass tray should never be restricted. Both the glass tray and turntable ring assembly must always be used during cooking. All food and containers of food should always be placed on the glass tray for cooking. ... -
Page 8: Express Cook
OPERATION INSTRUCTIONS (continued) Suppose you want to cook for 5 minutes at 60%: Touch POWER to select power level. Use the number pads to enter cooking time. Press START/+30 Sec. NOTE: 1) If you prefer 100% power level, you can omit the first step. 2) You can check power level during cooking by pressing POWER. -
Page 9: Delay Start
OPERATION INSTRUCTIONS (continued) NOTE: Only microwave cooking can be set in a multi-stage cooking mode. The oven can be cook for up to 3 cooking stage. DELAY START Suppose you want to set the oven to start at 2 o’clock. STEPS: 1. -
Page 10: Sensor Cook
OPERATION INSTRUCTIONS (continued) SENSOR COOK The sensor features detect the increasing humidity released during cooking. The oven automatically adjusts the cooking time to various types and amounts of food. Suppose you want to cook potatoes: 1. Place the food in the oven and close the door, press POTATO pad, the oven starts detecting immediately. (Two beeps will sound to signal error operation if door is opened.) 2. -
Page 11: Cooking Utensils Guide
COOKING UTENSILS GUIDE This section lists which utensils can be used in this microwave, which have limited use for short periods, and which should not be used in this microwave. RECOMMENDED Microwave browning dish -- Use to brown the exterior of small items such as steaks, chops, or pancakes. Follow the directions provided with your browning dish. -
Page 12: Cooking Techniques
COOKING TECHNIQUES Your microwave makes cooking easier than conventional cooking, provided you keep these considerations in mind: STIRRING Stir foods such as casseroles and vegetables while cooking to distribute heat evenly. Food at the outside of the dish absorbs more energy and heats quicker, so stir from the outside to the center. ... -
Page 13: Cleaning And Care
CLEANING AND CARE 1. Turn off the microwave and unplug the power cord from the wall socket when cleaning. 2. Keep the inside of the microwave clean. When food splatters or spilled liquids adhere to microwave walls, wipe with a damp cloth. -
Page 14: Specifications
SPECIFICATIONS Power Consumption 120V~60Hz, 1450W (Microwave) Output 1000W Operation Frequency 2450MHz Outside Dimensions (H×W×D) 12 1/4×21 3/4×18 1/2 in. Oven Cavity Dimensions (H×W×D) 9 13/16×15 3/4×17 in. Oven Capacity 1.6 cu.ft. Cooking Uniformity Turntable System Net Weight Approx. 38.3 lb. - Page 15 ©2012 Sunbeam Products, Inc. doing business as Jarden Consumer Solutions. All rights reserved. ® Oster logo is a registered trademark of Sunbeam Products, Inc. used under license. Distributed by Guangdong Galanz Microwave Oven and Electrical Appliances Manufacturing Co.,Ltd., Shunde, Foshan, Guangdong, 528305, China...