Table of Contents
Advertisement
"EEE Yönetmeliğine Uygundur"
"This EEE is compliant with RoHS"
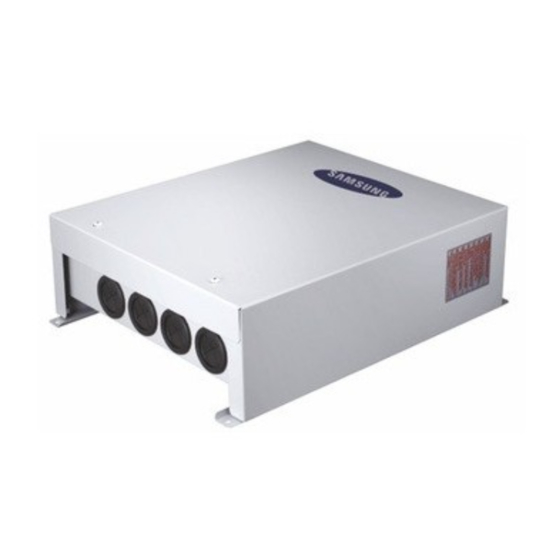
SAMSUNG CONTROL UNIT
installation manual
imagine
Thank you for purchasing this Samsung product.
To receive more complete service, please
register your product at
www.samsung.com/register
E S F I P D DB98-00000A(1)
the possibilities
MIM-E03✴
Advertisement
Table of Contents

Related Manuals for Samsung MIM-E03A


Summary of Contents for Samsung MIM-E03A
- Page 1 MIM-E03✴ SAMSUNG CONTROL UNIT installation manual imagine the possibilities Thank you for purchasing this Samsung product. To receive more complete service, please register your product at www.samsung.com/register "EEE Yönetmeliğine Uygundur" E S F I P D DB98-00000A(1) "This EEE is compliant with RoHS"...
-
Page 2: Table Of Contents
In order to prevent electric shocks, fires or injuries, always stop the unit, disable the protection switch and contact SAMSUNG’s technical support if the unit produces smoke, if the power cable is hot or damaged or if the unit is very noisy. -
Page 3: Product Specifications
Install the unit in indoor and do not install it outside. The unit is designed only for indoor. f Direct heat can make the kit have some failures in operation. MIM-E03A f Choose locations that are dry and sunny, but not exposed to direct sunlight or strong winds. - Page 4 Installing the unit 3. Seal the service entrance for the remote controller cable with putty Conduit to prevent possible invasion of dew drops, water, cockroaches or Wall Lock nut insects. Installing the remote controller [A] For installation in the switch box [B] For direct installation on the wall, select one of the followings: Seal with putty Bushing...
-
Page 5: Wiring Works
Wiring works Power and communication with outdoor unit Overall schematics Communication Wire Flow S/W Outdoor Unit Temp Sensor Power Wire Connecting the power wire Solar 1. Connect ‘Live’ and ‘Neutral’ power line with ‘pin #1’ and ‘pin #2’ in TB-A. 2. - Page 6 Wiring works Booster heater Communication with wired remote controller Wired Remote Controller Heater Wire Connecting heater wire (in the case of resistor heater which is under 3kw) Connecting the wired remote controller 1. Directly connect ‘Booster heater’ with ‘pin #3 and pin #4’ in TB-A. 1.
- Page 7 Wiring works Backup boiler Backup heater Backup Boiler Connecting backup boiler Magnetic Contactor Wire 1. Connect ‘Operation signal wire for backup boiler’ with ‘pin #1, 4’ in TB-B. f If control kit orders turning backup boiler on, pin#1 & pin#3 will output AC230V. Connecting magnetic contactor for backup heater (Not Directly Connect Heater) Maximum Power 1.
- Page 8 Wiring works 2way valve for hot water Water pump 2way valve (#1) Connecting 2way valve (for hot water ) Water Pump 1. Directly connect ‘2way valve for ZONE.1’ with ‘pin #7, 8, 9, 10’ in TB-B. f If control kit orders opening water pump on, pin#7 & pin#10 will output AC230V. Connecting water pump Maximum Power 1.
- Page 9 Wiring works 2way valve for zone 1 Example of valve connection f 2 pole (L1, N) type • L1 port of Valve is connected to #10 • N port of Valve is connected to #7 (If L1, N ports of Valve get power, water can NOT flow to DHW tank.) (If L1, N ports of Valve don`t get power, water can flow to DHW tank.) f 3 pole (L, L1, N) type •...
- Page 10 Wiring works 2way valve for zone 2 Example of valve connection f 2 pole (L1, N) type • L1 port of Valve is connected to #13 • N port of Valve is connected to #11 (If L1, N ports of Valve get power, water can flow to Zone1.) (If L1, N ports of Valve don`t get power, water can NOT flow to Zone1.) f 3 pole (L, L1, N) type •...
- Page 11 Wiring works Wired room thermostat Example of valve connection f 2 pole (L1, N) type • L1 port of Valve is connected to #17 • N port of Valve is connected to #15 (If L1, N ports of Valve get power, water can flow to Zone1.) (If L1, N ports of Valve don`t get power, water can NOT flow to Zone1.) f 3 pole (L, L1, N) type •...
-
Page 12: Setting Option Switches And Function Of Keys
Wiring works Setting option switches and function of keys Solar Pump DIP switch setting OFF (Default) S/W #1 Heating and cooling Heating only S/W #3 Target temp. : Water outlet temp. Target temp. : Indoor temp. S/W #3 Air sensor in remote controller External air sensor S/W #4 Master Remote controller... - Page 13 Setting option switches and function of keys • Code 30✴✴ : User’s options for domestic hot water(DHW) tank heating 3011 : Application of DHW tank in user’s system 302✴ : Heat pump variables for tank temp. control and combination with booster heater Field setting mode 303✴...
-
Page 14: Test Operation
Setting option switches and function of keys Test operation • Code 40✴✴ : User’s options for heating devices including internal backup heater and external boiler Picture Explanation 401✴ : Space/DHW heating priority and control variables 1. Commissioning mode 402✴ : Backup/Booster heater priority and control variables f For active 403✴... -
Page 15: Before Running The System
Test operation Before running the system Make sure to confirm if refrigerant leakage, looseness of power cords and electric wires after completing installation of kit Picture Explanation and heat pump systems. 3. Emergency mode - Emergency mode shall be possible regardless of Control panel Mode outdoor communication error. -
Page 16: Warning
Troubleshooting Error codes This page is showing the useful technical information for diagnosing and making error correction for various troubles which If the unit has some problem to work properly, the LED on hydro unit will flash and some error codes will be displayed on the may occur in the system.