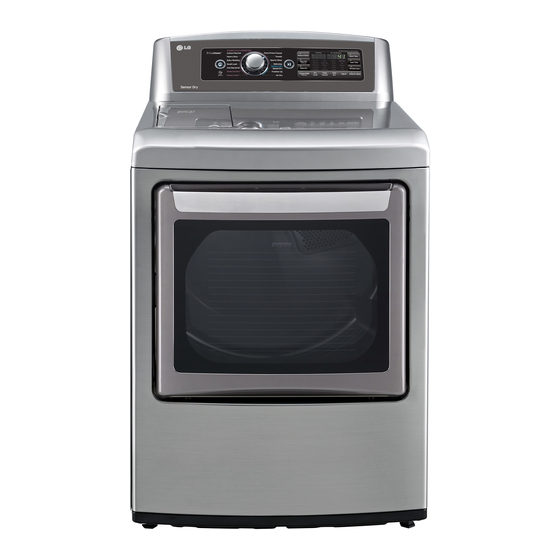
Summary of Contents for LG DLGX5781
- Page 5 DLEX5780*E DLGX5781*E...
- Page 10 Elec : 67 Gas : 76...
- Page 13 Ω Ω...
- Page 14 Ω Ω Ω Ω...
- Page 15 CN11 CN11...
- Page 21 ※...
- Page 23 120V AC Electrical Supply...
- Page 24 TAP RELAY 1 TAP RELAY 2 ✽ ELEC...
- Page 25 ✽...
- Page 26 Thermistor Test --- Measure with Power Off...
-
Page 27: Motor Test
Motor Test Ω Ω Ω Ω Ω... - Page 28 Moisture Sensor Moisture sensor Ω...
-
Page 29: Door Switch Test
Door Switch Test Ω Ω Ω Ω... - Page 30 Heater Switch Test - Electric Type Ω Ω Ω Ω Ω Ω...
- Page 31 GAS Valve Test - Gas Type GAS Valve test - Gas Type Ω...
-
Page 33: Generator Assembly
Generator Assembly... - Page 34 CHANGE GAS SETTING The dryer must be used with the correct gas. If the dryer is converted to propane (LP.) using natural gas could result in fire, explosion, or personal injury. Conversion must be done a qualified technician. The dryer is set for natural gas at the factory. A propane conversion kit is available through the parts department to licensed technicians only.
- Page 35 374℉(190℃) VALVE 1 IGNITER FLAME DETECT VALVE 2...
- Page 39 How to change top cover 1. Disassemble 3 screws on the control panel. 2. Disassemble the screws 2-1. Disassemble terminal block with power on the rear cover. cord. 2-2. Disassemble both side of rear cover. Steam dryer only...
- Page 40 3. Disassemble rear panel and both side screws. 4. Disassemble PCB cover and housing from the PCB. 5. Please push the 2 spots(hooks) by using paddle between top cover and door cabinet. 6. You can open the top cover. Hooks...
- Page 41 7. Disassemble 2 earth screws and housing on the top cover. 9. Disassemble another parts and 8. The harness has to be put in the hole. replace the cover.
- Page 49 ※ Φ Φ Φ Φ...
- Page 53 While pushing the handle,push the button...
- Page 54 THE DRYER DOOR IS VERY LARGE AND HEAVY. Failure to follow the instructions below can result in damage to the dryer, property damage or personal injury. The edges of the door cover may be sharp. Take care when handling, or wear gloves to avoid injury. 1.
- Page 55 6. Reverse the hinge and the hinge bracket at the bottom of the cabinet. Remove the two screws from the hinge bracket at bottom right and remove the hinge bracket. Remove the lower of the two screws behind the hinge bracket. Do NOT remove the upper screw behind the hinge bracket.
- Page 56 Lift out the two grey interlock buttons from the top of the outer door and set them aside for later use. Remove the side lock rod from the lower hinge bracket by lifting the top end of the rod and sliding it toward the top of the door. The spring should remain attached to the lock rod.
- Page 57 15. Once the top lock rod has been removed, the hinge pivot can easily be removed from the hinge assembly on the upper left and set aside. Carefully lift the upper hinge assembly (on the left) out of the outer the hinge assembly 180 degrees and install it on the upper right side assembly.
- Page 58 18. Slide the upper lock rod left and place the top right hinge pivot in the hinge assembly. When the rod is released, it should lock the hinge pivot in place. a. Remove the screw from the lower hinge bracket (on the right) and lift the hinge bracket out.
- Page 59 22. Clean the glass on the door and door cover, if necessary. Make sure the two gray interlock buttons are properly installed and that the top and side lock rods are properly aligned where they meet. Carefully lower the door cover into place, aligning the holes in the cover with the interlock buttons on the top and the bumpers on the bottom.
-
Page 62: Control Panel And Plate Assembly
EXPLODED VIEW 15-1. Control Panel and Plate Assembly A130 A150 A140 A120 A110 A215 A211 A211 A260 A265 A210 A255 A250... - Page 63 K503 K508 K502 K506 K501 K505 K504 K507 A090 A161 A171 A350 A170...
- Page 64 A850 A700 A800 A212 A590 A212 A600 A550 A500 A510 A131 A545 A520 A540...
- Page 65 A311 A330 A390 A360 A432 A380 A325 A315 A320 A314 A340 A300 A360 A315 A370 A310 A315 A305 A400 A440 A438 A441 A450 A485 A460 A475 A484 A482 A481 A483 A486 A437 A433 A484 A475 A434 A491 A410 A480 A487 A490 A420 A436...
- Page 66 K400 F200 K410 K120 K100 K140 K130 K251 K250 K310 K320 K336 K340 K225 K335 K222 K330 K221 K224 K230 K360 K250 K210 K620 K550 K560 K610 K350 K251 K540 K240 K530 K510 K520 K660 K651 K655 K640 M141 M240 M150 M220 K515...
- Page 67 MFL62119988...


