Table of Contents
Advertisement
Quick Links
Download this manual
See also:
User Manual
Advertisement
Table of Contents

Related Manuals for ATEN CS-228


Summary of Contents for ATEN CS-228
- Page 1 2 Console / 8 Computer KVM Switch 2001-02-01...
- Page 2 2001-02-01...
- Page 3 The complete Master View CS-228 package consists of: M 1 CS-228 KVM Switch M 1 Power Adapter M 2 Rack Mounting Brackets (Screws Included) M 1 User Manual Check to make sure that the unit was not damaged in shipping. If you encounter a problem, contact your dealer.
-
Page 4: Table Of Contents
Limited Warranty ..........22 CS-228 User Manual... -
Page 5: Features
CS-228 has been designed with built in microphone and speaker support, as well. There is no better way to save time and money than with a Master View CS-228 installation. By allowing all the attached computers to be managed from two separate Consoles, a Master View CS-228 installation: (1) eliminates the expense of having to purchase a separate keyboard, monitor, and mouse for each computer;... - Page 6 Rack Mountable in 19" (1U) System Rack * 1. PS/2 compatible mouse support is for three button (wheel) mice. 2. The Logitech Mouse Ware program’s Change Device procedure does not work on Microsoft NT systems. CS-228 User Manual 2001-02-01...
- Page 7 PS/2-to-Serial mouse adapter (Part No. 2A-105; a standard mouse adapter will probably not work), in order to plug the cable into the computer’s serial port. CS-228 User Manual CS Custom Cable 2L-1701P + Keyboard & Mouse Adapters 2L-1701P...
-
Page 8: Introduction
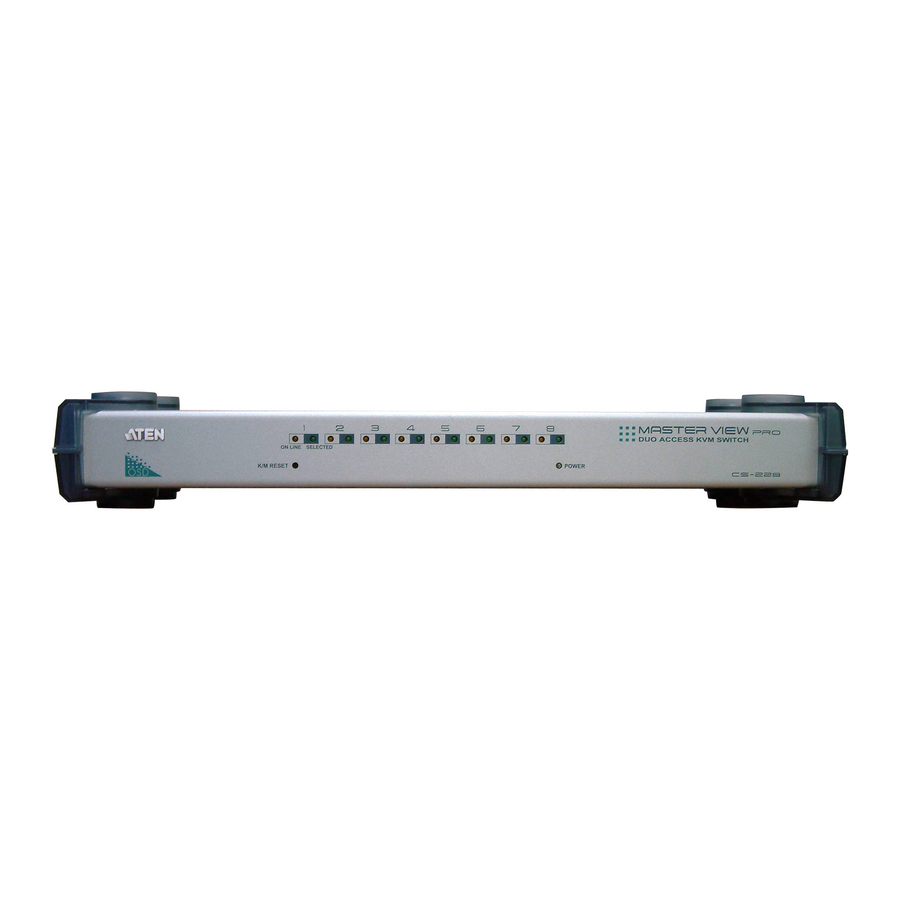
If the keyboard and mouse get stuck and need to be reset, insert a pointed object in here and push. 3. Power LED Lights BLUE to indicate that the CS-228 has been turned On and is receiving power. CS-228 User Manual 2001-02-12... - Page 9 6. Console 1 Mouse, Keyboard, and Monitor Connectors 7. CPU Port Section Use CS Custom Cables (as specified in the Cables section on p. 3), to connect computers, or to daisy chain second stage Master View units to any available port. CS-228 User Manual 2001-02-01...
- Page 10 1. Plug the monitor, keyboard, and mouse cables for Consoles 1 and 2 into the port connectors located on the rear panel of the CS-228 unit. Each port is labeled with an appropriate icon to indicate itself. 2. Plug the microphone and speaker cables (if you are using them), for Consoles 1 and 2 into the port connectors located on the rear panel of the CS-228 unit.
-
Page 11: Two Stage Installation
If any of these problems occur, turn the Switch Off, then turn it On again. 6. Plug in the power cords and power On all the computers. Note: You must turn on the power to the CS-228 before turning on the power to the computers. - Page 12 7. Power on the First Stage CS-228. 8. Power on all Second Stage units 9. Plug in the power cords and power On all the computers. You must follow the sequence in steps 4 - 8 when powering up. CS-228 User Manual...
-
Page 13: Operation
Otherwise, the switches will still receive power from the computers. 2. Wait 10 seconds, then restart the CS-228. Note: When the CS-228 comes up it issues a long beep, and the Consoles are automatically logged out. Each Console logout produces a short beep - so you will hear one long and two short beeps. - Page 14 OSD always starts in List view, with the highlight bar at the same position it was in the last time it was closed. w The Port Number (PN) for each computer on the installation is shown in the left column of the list. Port numbering details are discussed in the next section. CS-228 User Manual 2001-02-01...
- Page 15 The Port Number (PN) for a computer connected to the CS-228 is derived from the CPU Port (1 - 8) on the CS-228’s back panel that the computer is connected to. A computer connected to CPU Port 7, for example, would have a PN of 7.
- Page 16 3. Press [Esc] to activate your choice and return to the previous menu level. F1 HELP: Help provides a quick guide to OSD operation. To return to the OSD Main Menu, Click the X at the upper right corner of the OSD Window; or press [Esc]. Explanation CS-228 User Manual 2001-02-01...
- Page 17 2. If you select a port that does not have a computer attached to it, or if the attached computer is powered Off, the OSD will still switch to it, and will not show an error. To recover, press the OSD Activation Hotkey. CS-228 User Manual Meaning 2001-02-01...
- Page 18 Double Click the choice you want, or move the Highlight Bar to it, then press [Enter]. An icon appears before the selected choice so that you know which one it is. The settings are explained in the following table: CS-228 User Manual 2001-02-01...
- Page 19 SET MULTIUSER MODE This function determines whether or not the same ID can be used to log into the CS-228 from the second Console at the same time that it is being used at the first one. 1. If Disabled, the same ID cannot be used; if Enabled (the default), the same ID can be used to log in from the second Console.
- Page 20 (from 1 - 255 sec.); and Display Always On - which displays the Port ID at all times. If you select User Defined, key in the number of seconds, then press [Enter]. The default is 3 Seconds. Function Function CS-228 User Manual 2001-02-01...
- Page 21 Key in the new password again, then press [Enter]. If the two entries match, the new password is accepted. If the entries do not match, you must start again from the beginning. CS-228 User Manual 2001-02-01...
- Page 22 The factory default settings are as follows: Setting MULTIUSER MODE Enabled ACCESS TIMEOUT 10 Seconds OSD HOTKEY [Ctrl] [Ctrl] DISPLAY MODE The Port Number plus the Port Name DISPLAY DURATION 3 Seconds SCAN DURATION 3 Seconds Default CS-228 User Manual 2001-02-01...
- Page 23 OFF. Keyboard/Mouse need to 1. Unplug the keyboard and/or Mouse connector from be reset. 2. Use a thin object (such as the end of a paper clip, CS-228 User Manual Computers 1 - 8 8 - 15 15 - 22...
-
Page 24: Port Selection
DC 9V; 7.2W (max.) Operating Temperature 5 - 40 Storage Temperature -20 - 60 Humidity 0 - 80% RH Housing Metal Weight 2700 g Dimensions (L x W x H) 433.5 x 153 x 44 mm (19" 1U) Specification CS-228 User Manual 2001-02-01... - Page 25 1. First remove the stacking brackets by unscrewing them from the unit, as shown in the diagram below: 2. Screw the mounting brackets into the sides of the unit, as shown in the diagram below: 3. Slide the unit into the rack and secure it to the rack. CS-228 User Manual 2001-02-01...
- Page 26 The direct vendor also reserves the right to revise or update the device or documentation without obligation to notify any individual or entity of such revisions, or update. For further inquires please contact your direct vendor. CS-228 User Manual 2001-02-01...