Table of Contents
Advertisement
Quick Links
Advertisement
Table of Contents

Related Manuals for NEFF B44M42.3GB


Summary of Contents for NEFF B44M42.3GB
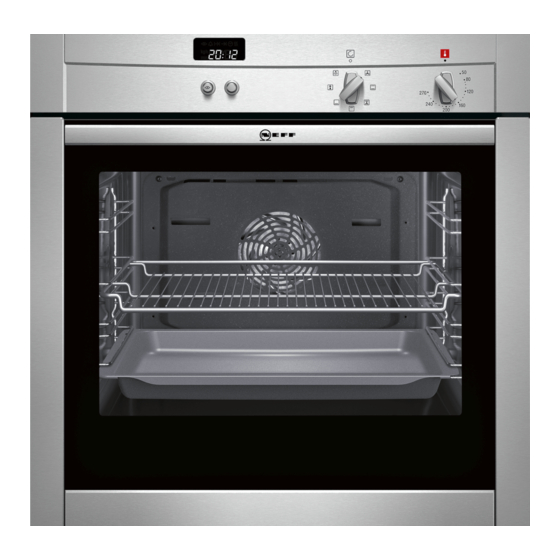
- Page 1 [en] Instruction manual Built-in oven B44M42.3GB...
-
Page 3: Table Of Contents
Baking on two or more levels ............11 Additional information on products, accessories, replacement Baking table..................11 parts and services can be found at www.neff- Baking table for ready-made products ........12 international.com and in the online shop www.neff- eshop.com... -
Page 4: Important Safety Information
: Important safety information Read these instructions carefully. Only then A draught is created when the appliance ■ will you be able to operate your appliance door is opened. Greaseproof paper may safely and correctly. Retain the instruction come into contact with the heating manual and installation instructions for element and catch fire. -
Page 5: Causes Of Damage
Risk of electric shock! Causes of damage Incorrect repairs are dangerous. Repairs Caution! ■ may only be carried out by one of our Accessories, foil, greaseproof paper or ovenware on the ■ trained after-sales engineers. If the cooking compartment floor: do not place accessories on the cooking compartment floor. -
Page 6: Your New Appliance
Your new appliance In this section, you will find information on the control panel ■ the operating modes ■ Control panel (OHFWURQLF FORFN 7HPSHUDWXUH VHOHFWRU LQGLFDWRU OLJKW &ORFN IXQFWLRQ 5RWDU\ VHOHFWRU 2SHUDWLQJ PRGH VHOHFWRU 7HPSHUDWXUH VHOHFWRU EXWWRQ Control element Clock function button Selects the desired clock function (see section: Electronic clock) Rotary selector Makes settings within a clock function (see section: Electronic clock) -
Page 7: Your Accessories
Your accessories In this section, you will find information on When inserting the baking tray or the universal pan, check that the lug (a) is in the rear part of the of the accessory Your accessories ■ ■ that the sloping edge of the accessory faces towards the the correct way to insert the accessories into the cooking ■... -
Page 8: Before Using The Appliance For The First Time
Before using the appliance for the first time In this section, you can read about How to set the clock after connecting up your appliance ■ How to clean your appliance before using it for the first time ■ Setting the clock Note: When you press the clock function button, you have 3 seconds to set the clock using the rotary selector. -
Page 9: Electronic Clock
Electronic clock Clock display In this section, you can read about how to set the timer ■ how to switch your appliance off automatically (cooking time ■ and end of operation) how to switch your appliance on and off automatically (preset ■... -
Page 10: End Of Operation
Once the cooking time has elapsed, the appliance switches off Press the clock function button repeatedly until automatically. symbols light up. Turn the operating mode and temperature selector back to Set the cooking time with the rotary selector position. (e.g. hours). -
Page 11: Baking On Two Or More Levels
Four baking tins on two levels If you are baking on one level with CircoTherm®, always place two round baking tins diagonally to each other on the When baking with four round baking tins, slide a wire rack in at wire rack (figure C). -
Page 12: Baking Table For Ready-Made Products
Meal Setting Level Temperature in °C Time in minutes Biscuits 160 - 170* 15 - 20 170 - 180* 15 - 20 170 - 180* 15 - 20 1 + 3 + 4 160 - 170* 20 - 25 Meringue 100 - 130 100 - 130 Pavlova... -
Page 13: Tips And Tricks
Meal Setting Level Temperature in °C Time in minutes Oven chips 180 - 200* 25 - 30 190 - 210* 25 - 30 Potato wedges 180 - 190* 20 - 25 190 - 200* 20 - 25 Croquettes 180 - 190* 25 - 30 190 - 200* 25 - 30... -
Page 14: Roasting And Braising
Roasting and braising In this section, you will find information on Roasting in the universal pan with roasting sheet Roasting The roasting sheet reduces dirt in the cooking compartment. ■ Place the roasting sheet in the universal pan and slide them in Braising ■... -
Page 15: Tips And Tricks
Meal Setting Level Temperature in ºC Time in minutes (per 500 g) Shoulder (bone-in) 170* 25 + 20 200* 25 + 20 Shoulder (boned and rolled) 170* 30 + 25 200* 30 + 25 Rack of lamb 180* 25 + 25 200* 25 + 25 Pork... -
Page 16: Grilling
The meat is not cooked right through Remove any accessories that are not required from the cooking compartment. Increase the roasting time. Check the core temperature of the joint using a meat thermometer. Steam in the cooking compartment is con- The steam dries during the course of the cooking. -
Page 17: Defrosting
Meal Setting Level Temperature in ºC Time in minutes Lamb 170 - 190 120 - 150*** Shoulder (bone-in) 170 - 190 100 - 130*** Shoulder (boned and rolled) 170 - 190 120 - 150*** Steaks, high 2 - 3 cm side: 5 - 7 side: 3 - 5 Chops, high 2 - 3 cm... -
Page 18: Defrost
Defrost Frozen meals Tempera- Defrosting Using defrost setting you can defrost delicate pastries ture in °C time in min- particularly well (e.g. cream cakes). utes Raw frozen products/ foods 30 - 90 Switch on the Defrost operating mode. Bread/Bread rolls (750 - 1,500 g) 30 - 60 Defrost the frozen food for 25-45 minutes, depending on type and size. -
Page 19: Cleaning The Cooking Compartment
Cleaning the cooking compartment Notes Enamel is baked on at very high temperatures during ■ Caution! manufacture. This can cause some slight colour variations. Risk of damaging the surface. Do not clean the appliance while This is normal and does not affect operation. still warm, even if using oven cleaners specially intended for The edges of thin trays cannot be completely enamelled. -
Page 20: Cleaning The Door Panels
Using a coin, fully turn both the left and right-hand locks on Close the left and right-hand hinge locks (Fig. E). the inside of the appliance at the bottom (Fig. F). To do this, push the hinge lock (Fig. F) fully downwards on Left lock: clockwise both sides with a screwdriver. -
Page 21: Cleaning The Hook-In Racks
Cleaning the hook-in racks Lift the intermediate panel slightly and take it out (fig D). You can remove the hook-in racks for easier cleaning. & Risk of burning due to hot components in the cooking compartment! Wait until the cooking compartment has cooled down. Push the hook-in rack upwards at the front and unhook to the side (figure A). -
Page 22: Faults And Repairs
Faults and repairs It is not always necessary to call the after-sales service. Risk of electric shock! Sometimes, you can find a remedy yourself. You will find some Work on the appliance electronics may only be performed by tips for troubleshooting in the following table. ■... -
Page 23: After-Sales Service
After-sales service Our after-sales service is there for you if your appliance needs After-sales service to be repaired. We will always find the right solution in order to avoid unnecessary visits from a service technician. E number and FD number Please note that there will be a fee for a visit by a service technician in the event of a malfunction, even during the When calling us, please give the product number (E no.) and... - Page 24 Grilling Setting Level Temperature in °C Time in minutes Cookware White bread 3 + 4 275* 0.5 - 2 Universal pan + wire rack Beef steaks 3 + 4 20 - 25** Universal pan + wire rack * Preheat for 10 minutes ** Turn after of the time...
- Page 28 Constructa Neff Vertriebs-GmbH Carl-Wery-Straße 34 D-81739 München *9000724185* 9000724185 920217...