
Related Manuals for Insignia NS-DPF08WW-16


Summary of Contents for Insignia NS-DPF08WW-16
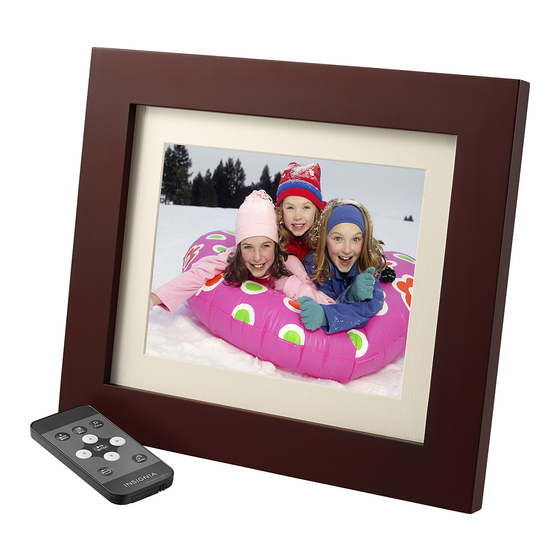
- Page 1 USER GUIDE 8” and 10” Digital Photo Frame - Espresso NS-DPF08WW-16/NS-DPF10WW-16 Before using your new product, please read these instructions to prevent any damage.
-
Page 2: Table Of Contents
Specifications............22 ONE-YEAR LIMITED WARRANTY - INSIGNIA ......25 Introduction Congratulations on your purchase of a high-quality Insignia product. - Page 3 Insignia 8” and 10” Digital Photo Frame - Espresso This symbol indicates that there are important operating and maintenance instructions in the literature accompanying your digital photo frame. When using electrical appliances, basic precautions should always be followed to reduce the risk of fire, electric shock, and injury to persons, including the following: 1 Read all instructions before using this device.
-
Page 4: Package Contents
Insignia 8” and 10” Digital Photo Frame - Espresso Features • 10.1" or 8” LED backlit TFT LCD display • 16:9 wide-screen aspect ratio (10” model) 4:3 standard aspect ratio (8” model) • 1024 x 600 resolution (10” model) 800 x 600 resolution (8” model) •... -
Page 5: Back View
Insignia 8” and 10” Digital Photo Frame - Espresso Back view 10" Digital Picture Frame Model No.: NS-DPF10WW Rating: S/N: MADE IN CHINA Item Description ON/OFF switch Slide to turn your digital photo frame on or off. Press to navigate the on-screen menus. -
Page 6: Side View
Insignia 8” and 10” Digital Photo Frame - Espresso Side view Item Description USB port Plug a USB flash drive into this slot. SD memory card slot Plug a memory card into this slot. Your digital photo frame accepts: • SD™/SDHC™... -
Page 7: Remote Control
Insignia 8” and 10” Digital Photo Frame - Espresso Remote control SLIDE ZOOM SHOW MENU ENTER BACK ROTATE RM-NSDPF8/10WW-16 Item Description MENU Press to display the Main menu. SLIDE SHOW Press to start a slideshow. ENTER Press to select the highlighted option or to pause and resume the slideshow. -
Page 8: Setting Up Your Digital Photo Frame
Insignia 8” and 10” Digital Photo Frame - Espresso Setting up your digital photo frame Setting up the remote control • Remove the plastic tab that extends past the bottom edge of the remote control. This tab protects the battery. The remote control will not work until it is removed. - Page 9 Insignia 8” and 10” Digital Photo Frame - Espresso 4 Plug the power adapter into the frame’s DC IN jack and into an power outlet. 5 Slide the ON/OFF switch to the ON position. The photo frame comes preloaded with pictures. You can turn on the photo frame and play back the preloaded demo pictures with no memory device inserted.
-
Page 10: Using The Osd Menus To Change Settings
Insignia 8” and 10” Digital Photo Frame - Espresso 6 To play back your own pictures, insert a memory card or USB flash drive containing pictures into the corresponding slot on the photo frame. Make sure that the label on the memory card or USB flash drive faces the back of the photo frame. - Page 11 Insignia 8” and 10” Digital Photo Frame - Espresso 2 Press , , , to highlight your selection, then press ENTER to confirm your selection. You can choose from the following options: • Photo - Starts the slideshow or displays thumbnails of the images on the media device.
- Page 12 Insignia 8” and 10” Digital Photo Frame - Espresso Using the Photo Setup menu 1 Slide the ON/OFF switch to turn it on. The following menu opens: 2 Press to select Setting, then press ENTER. The Start Up Setting menu opens.
- Page 13 Insignia 8” and 10” Digital Photo Frame - Espresso 3 Press to highlight Photo Setup, then press ENTER. The Photo Setup menu opens. 4 Press to highlight your selection, then press ENTER to confirm your selection. 5 Press to change the settings and press...
- Page 14 Insignia 8” and 10” Digital Photo Frame - Espresso Using the Calendar Setup menu 1 Slide the ON/OFF switch to turn it on. The following menu opens. 2 Press to select Setting, then press ENTER. The Start Up Setting menu opens.
- Page 15 Insignia 8” and 10” Digital Photo Frame - Espresso 3 Press to highlight Calendar Setup, then press ENTER. The Calendar Setup menu opens. 4 Press to highlight your selection, then press ENTER to confirm your selection or press BACK to return to the Setup menu: •...
- Page 16 Insignia 8” and 10” Digital Photo Frame - Espresso Using the System Setup menu 1 Slide the ON/OFF switch to turn it on. The following menu opens: 2 Press to select Setting, then press ENTER. The Start Up Setting menu opens.
- Page 17 Factory Reset Mode: Select to revert to the original factory settings. • Version: Press ENTER to display the software version number. • System upgrade: Select this option to upgrade the system software, if an upgrade is available. Check the Insignia website at www.insignaproducts.com for available updates. www.insigniaproducts.com...
-
Page 18: Playing A Slideshow
Insignia 8” and 10” Digital Photo Frame - Espresso Playing a slideshow Playing an instant slideshow from a memory card or USB device 1 Insert a memory card into the memory card slot, or a USB flash drive into the USB port. -
Page 19: Using The Clock/Calendar View Screen
Insignia 8” and 10” Digital Photo Frame - Espresso 2 Press , , , to select from the available options (memory card, USB flash drive, or onboard storage). Notes - If a memory card is inserted, CARD changes to indicate the type of card in the slot (for example, SD), which is highlighted. -
Page 20: Maintaining Your Digital Photo Frame
Insignia 8” and 10” Digital Photo Frame - Espresso 2 Press , , , to highlight Calendar, then press ENTER to display the calendar and clock. Note To change the date and time settings, see “Using the Calendar Setup menu” on page 14. -
Page 21: Troubleshooting
Insignia 8” and 10” Digital Photo Frame - Espresso 3 Slide the battery tray back into the battery compartment until it clicks into place. Cautions • The battery should not be exposed to excessive heat, such as sunshine, heat registers, or fire. -
Page 22: Specifications
100 V~240 V AC, 50~60 Hz Power output 5 VDC, 1 A Dimensions NS-DPF08WW-16: 10.2 x 8.6 x 1.5 in. (26 x 22 x 3.7 cm) NS-DPF10WW-16: 12.6 x 9.1 x 1.5 in. (32 x 22.9 x 3.7 cm) Weight NS-DPF08WW-16: 1.8 lbs (.8 kg) NS-DPF10WW-16: 2 lbs (.9 kg) - Page 23 Insignia 8” and 10” Digital Photo Frame - Espresso FCC warning Changes or modifications not expressly approved by the party responsible for compliance with the FCC Rules could void the user’s authority to operate this equipment. Canada ICES-003 This Class B digital apparatus complies with Canadian ICES-003. Cet appareil numérique de la classe B est conforme à...
- Page 24 Insignia 8” and 10” Digital Photo Frame - Espresso www.insigniaproducts.com...
-
Page 25: One-Year Limited Warranty - Insignia
Products and parts replaced under this warranty become the property of Insignia and are not returned to you. If service of Products or parts are required after the Warranty Period expires, you must pay all labor and parts charges. This warranty lasts as long as you own your Insignia Product during the Warranty Period. - Page 26 FOR THE BREACH OF ANY EXPRESS OR IMPLIED WARRANTY ON THIS PRODUCT, INCLUDING, BUT NOT LIMITED TO, LOST DATA, LOSS OF USE OF YOUR PRODUCT, LOST BUSINESS OR LOST PROFITS. INSIGNIA PRODUCTS MAKES NO OTHER EXPRESS WARRANTIES WITH RESPECT TO THE PRODUCT, ALL EXPRESS AND...
- Page 27 1-877-467-4289 (U.S. and Canada) or 01-800-926-3000 (Mexico) INSIGNIA is a trademark of Best Buy and its affiliated companies. Distributed by Best Buy Purchasing, LLC V2 ENGLISH ©2015 Best Buy. All rights reserved. 15-0499 Made in China.