
User Manuals: Z3 Technology Z3-DM8107-SDI2-RPS Encoder
Manuals and User Guides for Z3 Technology Z3-DM8107-SDI2-RPS Encoder. We have 2 Z3 Technology Z3-DM8107-SDI2-RPS Encoder manuals available for free PDF download: User Instructions, User Manual
Z3 Technology Z3-DM8107-SDI2-RPS User Instructions (85 pages)
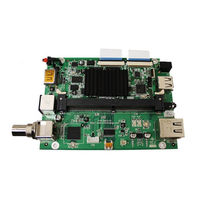
Multi-Channel H.264 HD Multimedia System
Brand: Z3 Technology
|
Category: Computer Hardware
|
Size: 4 MB
Table of Contents
Advertisement

Z3 Technology Z3-DM8107-SDI2-RPS User Manual (75 pages)
Multi-Channel H.264 HD Multimedia System
Brand: Z3 Technology
|
Category: Computer Hardware
|
Size: 5 MB