Panasonic PT-RQ7 Series Manuals
Manuals and User Guides for Panasonic PT-RQ7 Series. We have 2 Panasonic PT-RQ7 Series manuals available for free PDF download: Operating Instructions Manual

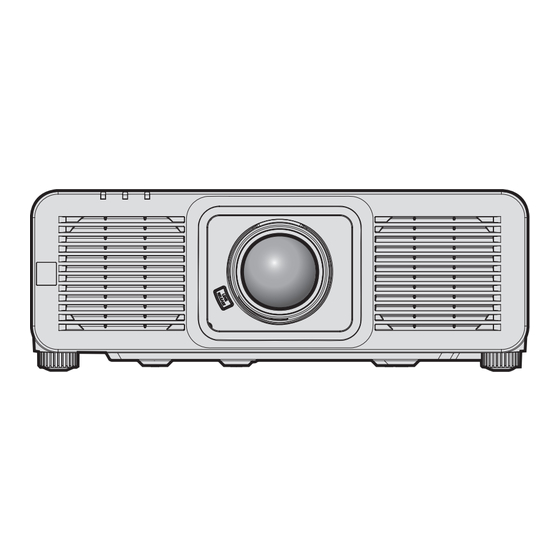
Panasonic PT-RQ7 Series Operating Instructions Manual (325 pages)
Table of Contents
-
Quick Steps20
-
Security25
-
Slot27
-
Digital Link27
-
Art-Net27
-
Storing28
-
Disposal28
-
Accessories29
-
Setting up40
-
Angle Sensor41
-
Connecting71
-
Projecting92
-
Notes on Use101
-
Press the Button104
-
Menu Navigation106
-
Main Menu107
-
Sub-Menu108
-
[Picture Mode]111
-
[PICTURE] Menu111
-
[Contrast]111
-
[Brightness]112
-
[Color]112
-
[Tint]112
-
[White Gain]114
-
[Gamma]114
-
[Sharpness]116
-
Press the Button117
-
[Color Space]119
-
[POSITION] Menu121
-
[Shift]121
-
[Aspect]121
-
[Zoom]122
-
[Geometry]123
-
[Blanking]129
-
[Edge Blending]130
-
[Frame Response]132
-
[Color Matching]135
-
[Screen Setting]137
-
[Hdmi In]140
-
[Slot In]145
-
[Menu Mode]155
-
[Back Color]155
-
[Startup Logo]155
-
Press the Button156
-
[Uniformity]156
-
[Freeze]159
-
[Cut Off]160
-
[Projector ID]161
-
[Lens]162
-
[Slot Setting]163
-
[Light Output]167
-
Press the Button169
-
Error Details171
-
[Standby Mode]174
-
[Quick Startup]174
-
[Date and Time]179
-
[Schedule]180
-
[Store Type]187
-
[Status]188
-
[User Image]193
-
[Data Cloning]195
-
[Hdmi Cec]195
-
[Initialize]198
-
[Save Log]200
-
[Test Pattern]201
-
Sub Memory205
-
[SECURITY] Menu206
-
[NETWORK] Menu210
-
[Ethernet Type]210
-
[Digital Link]210
-
[Wired Lan]212
-
[Wireless Lan]213
-
[Projector Name]214
-
[Network Status]214
-
[Pjlink]219
-
[Art-Net]220
-
Command Control224
-
Web Setting233
-
[Home]244
-
[Status]248
-
[Installation]249
-
[Network Menu]256
-
Chapter 6284
-
Maintenance284
-
Outer Case284
-
Troubleshooting285
-
Pjlink Commands289
-
Light Output292
-
Lens Control292
-
Lens Position293
-
Color, Tint294
-
Transmitted Data296
-
Received Data296
-
Error Response296
-
Single Projector299
-
Basic Format300
-
Control Command302
-
Specifications303
-
Dimensions306
-
Index320
Advertisement
Panasonic PT-RQ7 Series Operating Instructions Manual (325 pages)
Table of Contents
-
-
Security25
-
Slot27
-
Digital Link27
-
Art-Net27
-
Storing28
-
Disposal28
-
Accessories29
-
-
Setting up40
-
Connecting71
-
-
-
Projecting92
-
Notes on Use101
-
-
Menu Navigation106
-
Main Menu107
-
Sub-Menu108
-
[PICTURE] Menu111
-
[Picture Mode]111
-
[Contrast]111
-
[Brightness]112
-
[Color]112
-
[Tint]112
-
[White Gain]114
-
[Gamma]114
-
[Sharpness]116
-
[Color Space]119
-
[POSITION] Menu121
-
[Shift]121
-
[Aspect]121
-
[Zoom]122
-
[Geometry]123
-
[Blanking]129
-
[Edge Blending]130
-
[Frame Response]132
-
[Color Matching]135
-
[Screen Setting]137
-
[Hdmi In]140
-
[Slot In]145
-
[Menu Mode]155
-
[Back Color]155
-
[Startup Logo]155
-
[Uniformity]156
-
[Freeze]159
-
[Cut Off]160
-
[Projector ID]161
-
[Lens]162
-
[Slot Setting]163
-
[Light Output]167
-
[Standby Mode]174
-
[Quick Startup]174
-
[Date and Time]179
-
[Schedule]180
-
[Store Type]187
-
[Status]188
-
[User Image]193
-
[Data Cloning]195
-
[Hdmi Cec]195
-
[Initialize]198
-
[Save Log]200
-
[Test Pattern]201
-
Sub Memory205
-
[SECURITY] Menu206
-
[NETWORK] Menu210
-
[Ethernet Type]210
-
[Digital Link]210
-
[Wired Lan]212
-
[Wireless Lan]213
-
[Projector Name]214
-
[Network Status]214
-
[Pjlink]219
-
[Art-Net]220
-
-
-
Web Setting233
-
[Home]244
-
[Status]248
-
[Installation]249
-
[Network Menu]256