Sign In
Upload
Manuals
Brands
Linkam Scientific Instruments Manuals
Laboratory Equipment
CSS450
Linkam Scientific Instruments CSS450 Manuals
Manuals and User Guides for Linkam Scientific Instruments CSS450. We have
1
Linkam Scientific Instruments CSS450 manual available for free PDF download: User Manual
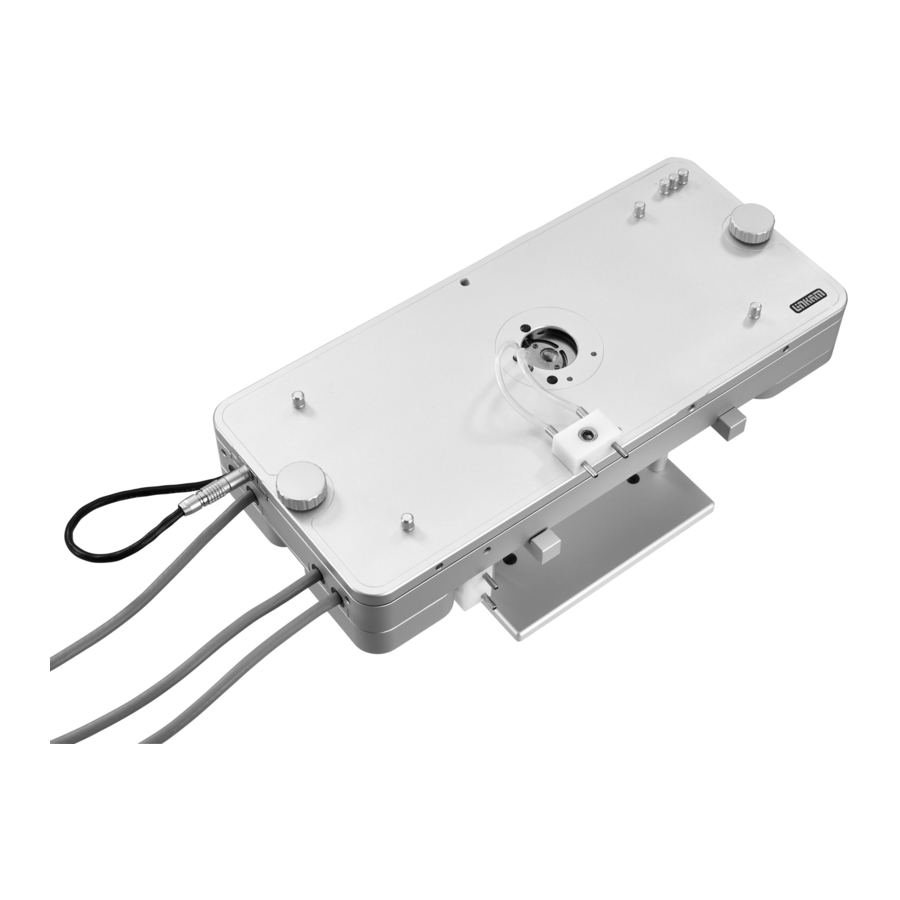
Linkam Scientific Instruments CSS450 User Manual (44 pages)
Optical Rheology System
Brand:
Linkam Scientific Instruments
| Category:
Laboratory Equipment
| Size: 5 MB
Table of Contents
Table of Contents
2
Safety Information
4
Important Notice
4
Requirements for Safe Use
4
Caution Labels and Indicators
4
Handling Liquid Nitrogen
5
Filling the Dewar
5
Equipment Maintenance
5
Informations de Sécurité
5
Note Importante
5
Exigences en Matière de Sécurité D'utilisation
5
Étiquettes D'avertissement Et Indicateurs
6
Manipulation de L'azote Liquid
6
Remplissage du Vase Dewar
6
Entretien de L'appareil
6
Introduction
7
Before Using Your Equipment
7
Warranty
7
Technical Support
7
Feedback
7
Equipment Operation
7
Introduction to CSS450 Stage
8
Anatomy of a CSS450
9
Accessories
10
Getting Started
11
Installing Linksys32 on a PC
11
Stand Assembly
11
Assembling the Lid and Base
12
Connecting the Lemo Cable
12
Mounting on to a Microscope
13
Mounting on to a Dovetail
13
Set up Kohler Illumination
13
Introduction to CSS450 System Controller
14
Back Panel Cable Connections
14
Stage Connector
14
Instrument Bus
14
Expansion Boards
14
External Input and Output Sockets
14
USB Connector
14
RS232 Connector
14
Linkpad Connector
14
LNP95 Liquid Nitrogen Pump
15
Introduction
15
Remove Transit Screws
15
Connecting the Stage to the Controller
16
Mains Connection
16
Connecting the Water Cooling Supply/Circulator
17
Connecting the Liquid Nitrogen Pump for Cryo-CSS450 System
18
Connecting the LNP95
18
Setting up the Linksys32 Software
20
Changing the Comm Port Number
21
Using Linksys32 Software
21
Linksys32 Tool Bar
22
CSS450 Tool Bar
22
CSS Status Window
22
Sensor Indicators
22
Jog Controls (Manual Mode)
22
Loading the Sample
23
Start the Shearing Experiment
24
Using the Shear Motor Profile
24
Start the Profile
26
Adjusting the Shear Parameters
26
General Setup
26
Velocities
26
Finish a Shearing Experiment
27
Maintenance Procedures
28
Changing the Windows
28
External Window Replacement
28
Base Window Replacement
28
Lid Window Replacement
29
Setting the Sensors - Zero, Lid and Reference
30
Manually Setting the Windows to Zero Point
30
Using the CSS-450 Gas Purge and Vertical Seal Stage
35
Using the Purge Ports
35
Base Window Replacement
35
Troubleshooting
36
Unable to Set a Gap, Lid Seems Stuck
36
Comm Port Message
36
Motor Doesn't Start
36
Lid Can Rock Slightly When the Lid Nuts Are off
37
Cooling Fault Diagnosis
37
Temperature Appears to be Several Degrees below the Displayed Temperature
37
The Cooling Rate Is Less than Specified
37
Appendix 1 : Shear and Strain Explanation
38
Shear Control
38
Shear Rate
38
Strain (Shear) Value
38
Observation Radius
38
Appendix 2 : Spare Parts List
39
Appendix 3 : Declaration of Conformity
40
Appendix 4 : Technical Specification
41
CSS450 Stage Technical Specification
41
CSS450 Controller Technical Specification
41
CSS450 Controller Equipment Ratings
41
RS232 Computer Interface
41
USB Interface
41
External Input and Output Sockets
41
CSS450 Motor Board
42
Optional Linkpad
42
Linkpad Equipment Ratings
42
LNP95 Liquid Nitrogen Pump
42
LNP95 Equipment Ratings
42
Contact Information
44
Advertisement
Advertisement
Related Products
Linkam Scientific Instruments CCR1000
Linkam Scientific Instruments CI 94
Linkam Scientific Instruments BCS196
Linkam Scientific Instruments FDCS196
Linkam Scientific Instruments FTIR600
Linkam Scientific Instruments FTIRSP600
Linkam Scientific Instruments HFS600
Linkam Scientific Instruments HFS600E-PB2
Linkam Scientific Instruments HFS600E-PB4
Linkam Scientific Instruments LTS120
Linkam Scientific Instruments Categories
Laboratory Equipment
Controller
Temperature Controller
Water Pump
Microscope
More Linkam Scientific Instruments Manuals
Login
Sign In
OR
Sign in with Facebook
Sign in with Google
Upload manual
Upload from disk
Upload from URL