
Subscribe to Our Youtube Channel
Related Manuals for Naxa NRC-175


Summary of Contents for Naxa NRC-175
- Page 1 CD RADIO CLOCK MODEL NRC-175 PLEASE READ THIS USER MANUAL COMPLETELY BEFORE OPERATING THIS UNIT AND RETAIN THIS BOOKLET FOR FUTURE REFERENCE.
-
Page 2: Fcc Warning
LASER SAFETY: This unit employs a laser. Only qualified service personnel should attempt to service this device due to possible eye injury. CAUTION: USE OF CONTROLS, ADJUSTMENTS OR PERFORMANCE PROCEDURE HEREIN MAY RESULT IN HAZARDOUS RADIATION EXPOSURE. INFORMATION This equipment has been tested and found to comply with the limits for a Class B digital device, pursuant to Part 15 of the FCC Rules. -
Page 3: Read Instructions
2. RETAIN INSTRUCTIONS Before using the unit, be sure to read all operating instructions carefully. Please note that these are general precautions and may not pertain to your unit. For example, this unit may not have the capability to be connected to an outdoor antenna. -
Page 4: Outdoor Antenna
15. OVERLOADING Do not overload wall outlets and extension cords as this can result in a risk of fire or electric shock. 16. OBJECT AND LIQUID ENTRY Never push objects of any kind into this product through openings as they may touch dangerous voltage points or short out parts that could result in fire or electric shock. Never spill or spray any type of liquid on the product. -
Page 5: Battery Precautions
Unravel the AC cord and connect it to a conveniently located AC outlet having 120V and 60Hz only. The Clock Display will illuminate and "12:00" will appear in the window. NOTE: If the AC plug does not fit into a nonpolarized outlet, do not file, cut, or otherwise modify the wide blade. -
Page 6: Location Of Controls
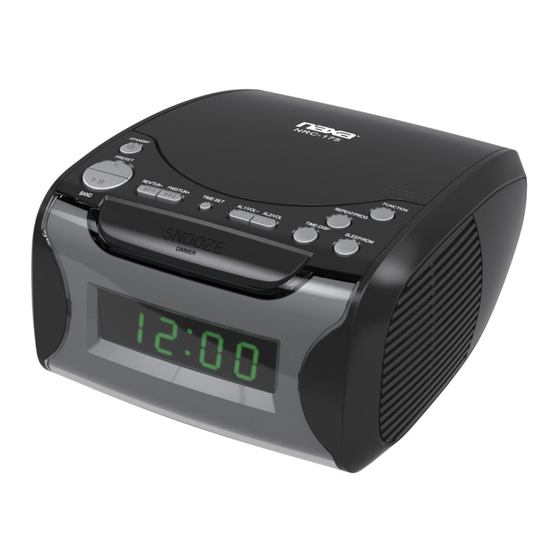
LOCATION OF CONTROLS PLAY/PAUSE/BAND STOP/PRESET BUTTON STANDBY ON/OFF BUTTON DISPLAY TIME-DISP BUTTON REPEAT/PROG BUTTON CD DOOR FUNCTION BUTTON OPEN/CLOSE DOOR RELEASE REV/TUN- BUTTON FWD/TUN+ BUTTON TIME-SET BUTTON AL 1-SET/VOL- BUTTON AL 2-SET/VOL+ BUTTON SLEEP/RDM BUTTON SNOOZE/DIMMER BUTTON BATTERY COMPARTMENT ANTENNA AC IN/POWER CABLE USB CHARGING PORT AUX INPUT... -
Page 7: Radio Operation
AC OPERATION Connect the AC Power Cord to a wall outlet with AC120V/60Hz power supply. RADIO OPERATION 1. Power the unit ON if in STANDBY mode by pressing the STANDBY ON/OFF button(#3) The default mode is RADIO, if the unit was already ON, and in CD mode, you will need to press the FUNCTION button (#8) to switch to the RADIO mode. - Page 8 Advanced CD operation 1. Press the FWD/TUN+ button(#11) to skip to the next track. Press and hold to fast forward the current track. Release the button to resume normal playback. 2. Press the REV/TUN- button(#10) to skip to the previous track. Press and hold to fast rewind the current track.
- Page 9 CLOCK/ALARM SETTING Alarm Setting the Alarm button (#3) to turn the unit off. STANDBY 1. Press the 2. Press and hold the AL1 (#13) or AL2 button (#14) until the display begins to blink, and then release the button. 3. Press the Tune +/- buttons (#11, 10) to adjust the hour. Note the PM indicator will light when the hour is set in the PM.
- Page 10 USB charging Please be noted that unit only go with USB charge while Stand-By mode, Not CD playing mode. 1. Press the STANDBY button (#3) to turn the unit off. 2. Connect your mobile phone or other USB-powered device to the USB charging port (#20).
- Page 11 If you experience a problem with this unit, check the chart below before calling for service. SYMPTOM CAUSE SOLUTION Unit will not turn on. AC cord not connected. Check AC cord connection. Disc will not play. CD compartment door Close CD compartment door. not closed.
- Page 12 Specifications are subject to change without notice. General: Power Source Battery Audio Power Output 120V~AC, 60Hz 3V DC (for back up of the clock) Radio Section: Frequency Range (FM) Frequency Range (AM) FM: 87.5 - 108MHz AM: 520 - 1710 KHz...
Need help?
Do you have a question about the NRC-175 and is the answer not in the manual?
Questions and answers