
Related Manuals for Martin Audio C4.8T


Summary of Contents for Martin Audio C4.8T
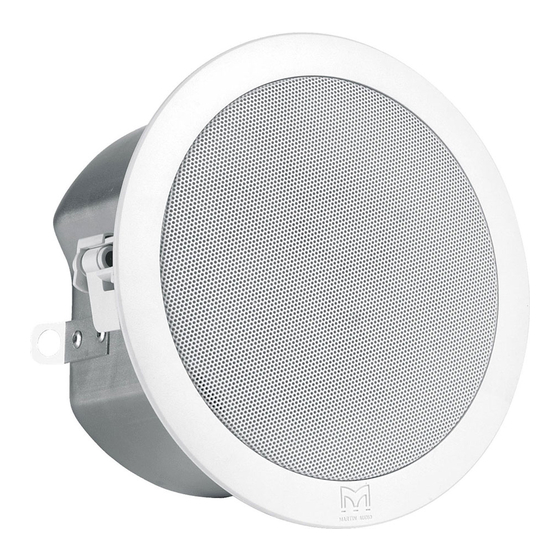
- Page 1 C4.8T, C.6.8T, C8.1T User’s Guide The Martin Experience All material © 2007. Martin Audio Ltd. Subject to change without notice.
-
Page 2: Installation Guide
We suggest that you retain the original packaging so that the system can be repacked at a future date if necessary. Martin Audio and its distributors cannot accept responsibility for product damaged through the use of non-approved packaging. - Page 3 Baffle switch (C6.8T shown) Model 16ohm C4.8T C6.8T C8.1T 125W All material © 2007. Martin Audio Ltd. Subject to change without notice. Drivers 4” (100mm) LF 0.75” (19mm) HF 6.5” (165mm) LF 0.75” (19mm) HF 8” (200mm) LF 1” (25mm) HF...
-
Page 4: Installation
Cut the ceiling hole as follows using the template provided: C4.8T 178mm dia cut-out C6.8T 224mm dia cut-out C8.1T 308mm dia cut-out All material © 2007. Martin Audio Ltd. Subject to change without notice. more sensible level. Ceiling loudspeaker with C-bracket and tile rails (foreground) - Page 5 Place a tile rail either side of the ceiling hole and clip the C-bracket over the upright edges of the tile rails. Note the rail orientations – outwards for the C4.8T and C6.8T, inwards for the C8.1T. C4.8T & C6.8T rail orientation (rails placed outwards) C8.1T rail orientation...
- Page 6 C-bracket) from the underside. Align the loudspeaker so that an imaginary line between the woofer and tweeter runs along the corridor or concourse. This provides the smoothest sound coverage. All material © 2007. Martin Audio Ltd. Subject to change without notice.
- Page 7 2-way ceiling loudspeaker orientation Make sure that the C4.8T and C6.8T swivel-tabs do not coincide with the C-bracket gap. Loudspeaker in place. Note swivel-tab positions before fully tightening It is permissible for one of the five C8.1T swivel-tabs to coincide with a C-bracket gap in order to maintain driver orientation.
- Page 8 Amplifier power input is via a 4-pin rising clamp plug providing + and – inputs and + and – Loop Through connections at the top of the loudspeaker can. Input & Loop Through connector All material © 2007. Martin Audio Ltd. Subject to change without notice.
- Page 9 Fit a steel safety wire between its rear can safety tag and a suitable overhead supporting structure to provide backup support in the event of ceiling damage. Safety tag location All material © 2007. Martin Audio Ltd. Subject to change without notice.
- Page 10 This warranty is exclusive and no other warranty is expressed or implied. This warranty does not affect your statutory rights. This publication is copyright © 2007 Martin Audio Ltd. All material © 2007. Martin Audio Ltd. Subject to change without notice.
Need help?
Do you have a question about the C4.8T and is the answer not in the manual?
Questions and answers