Advertisement
Quick Links
•Broadcasting
•Narration
•Field Recording
•Music Demos
•Live Sound Effects
•Podcasting
•Multimedia
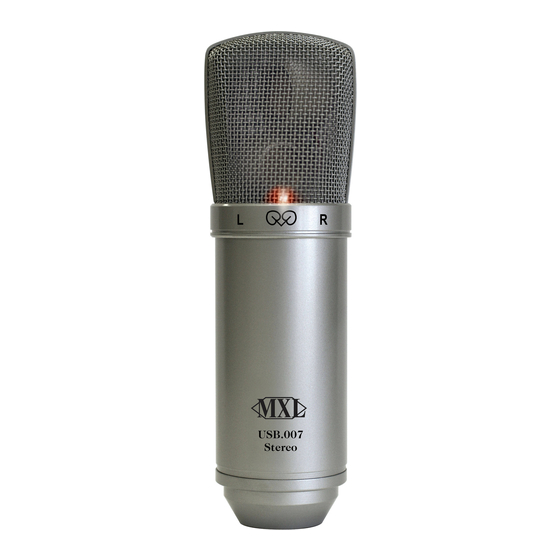
MXL USB.007 Mic Manual
Stereo Gold Diaphragm
USB Condenser Mic
It's like having a great studio in a mic
W h e r e G r e a t R e c o r d i n g s B e g i n
CD Quality Demo Tracks are available for download at www.MXL-USB.com
Advertisement

Related Manuals for MXL Marshall MXL MXL USB.007


Summary of Contents for MXL Marshall MXL MXL USB.007
- Page 1 •Broadcasting •Narration •Field Recording •Music Demos •Live Sound Effects •Podcasting •Multimedia MXL USB.007 Mic Manual Stereo Gold Diaphragm USB Condenser Mic It’s like having a great studio in a mic W h e r e G r e a t R e c o r d i n g s B e g i n CD Quality Demo Tracks are available for download at www.MXL-USB.com...
- Page 2 Congratulations on your purchase of the MXL USB.007 which uses two gold diaphragm capsules in an X/Y pattern for stereo recording. MXL microphones are the result of world-class engineering and manufacturing capabilities. They are de- signed to provide you with outstanding performance and exceptional value. While we encourage you to review this entire manual, there are a few key points about handling this microphone that we want you to familiarize yourself with right from the start.
- Page 3 3. While holding the microphone upright and firmly in one hand, secure the microphone to the desktop stand by screwing the black mounting ring into the microphone’s base. The microphone should now sit securely in the desktop stand. 4. At this point, attach the end of the USB cable that matches the microphone’s connector.
- Page 4 6. In the Attributes drop down Window, select 44.100 kHz, 16-Bit, Stereo as shown in Figure #5. Figure #5 7. Click OK, then Click OK to close the Properties for Sound Window. 8. You are now ready to record! 9. With your mouse, click the RED record button to start recording. Speak (or sing) into your microphone (with the microphone’s RED LED facing you).
- Page 5 4. Next, click on the Sound icon in the Hardware group as shown in Figure #8 below. Figure #8 5. After opening the Sound dialog screen, there will be three tabs at the top of the window, select the Input tab by clicking on it. 6.
- Page 6 Figure #11 5. Click OK 6. To select an audio input source for Garage Band, click on Garage Band from the top menu bar and select Preferences as shown in Figure #12 below. Figure #12 7. Then select the Audio/MIDI icon in the top row. From the drop down menu under Audio Input, select the USB Audio Codec as shown in Figure #13 below.
-
Page 7: Warranty
® Marshall Electronics 1910 East Maple Ave. El Segundo, CA 90245 http://www.mxl-usb.com Warranty Marshall microphones are guaranteed against defects in material and workmanship for one year from date of purchase. Should you encounter any problem with this unit, promptly contact the company you purchased it from for assistance.
Need help?
Do you have a question about the Marshall MXL MXL USB.007 and is the answer not in the manual?
Questions and answers