Table of Contents
Advertisement
Quick Links
Advertisement
Table of Contents

Subscribe to Our Youtube Channel
Related Manuals for MXL UR-1


Summary of Contents for MXL UR-1
- Page 1 USB Ribbon Microphone User Manual...
-
Page 2: User Manual
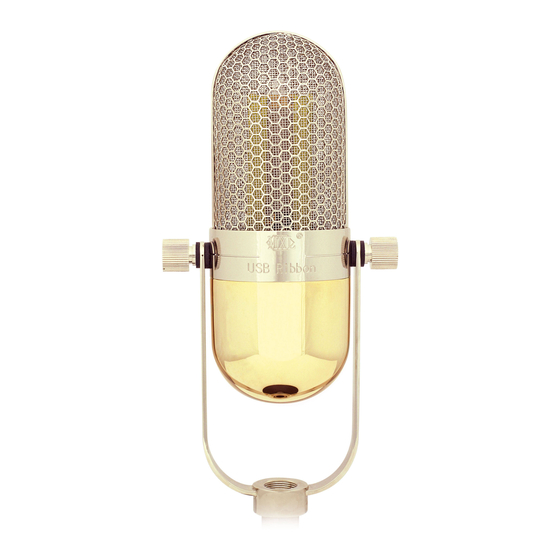
With a zero latency headphone socket for realtime monitoring, integrated isolation mount, and stunning good looks, the MXL UR-1 is perfect for recording instruments and vocals, for podcasting, and for many other applications too. Fully Mac and PC compatible, with no special drivers required. - Page 3 The output of ribbon microphones is very small and needs substantial amplifi- cation to produce usable results. Your MXL UR-1 has all of the amplification and analog to digital converters required to give you outstanding recording quality built-in, making the UR-1 a plug-and- play USB (Universal Serial Bus) microphone that interfaces with Windows and Macintosh comput- ers without the need for any special drivers.
-
Page 4: Usb Connection
Setup Unpack Your Microphone Begin by examining the contents of your UR-1. You should have the following components: • Carrying case • UR-1 microphone • Desktop microphone stand • USB cable • Cleaning cloth Correct Positioning and Back Controls The red LED should be facing you when you speak or sing into the microphone. If recording instruments, the red LED should be facing the instrument. -
Page 5: Stereo Headphone Jack
Connecting the UR-1 to Your Computer The UR-1 will operate with both USB 2.0 (high speed USB) and USB 1.1 data buses. We recom- mend you connect your microphone directly to the computer’s USB port as opposed to using a USB hub. - Page 6 5. The master volume output can be changed by moving the Speaker fader up or down. Your Windows XP computer is now set up to use the UR-1. Some recording applications will re- quire additional settings to be changed within the program. Please see your recording software manual for proper setup.
- Page 7 6. To set the UR-1 as the default audio input, select the Recording tab back in the Sound window. Highlight the microphone icon labeled USB Audio Device and click Set Default.
- Page 8 Initial setup with Macintosh OS X ® 1. To select the UR-1 as the default audio device, click on the Apple icon at the top of the screen then select the System Preferences. 2. Click on the speaker icon labeled Sound.
- Page 9 E. Here you can make adjustments to the sample rate and bit-depth for the output (the signal to the headphones). Your computer is now set up to use the UR-1. However, after changing these settings you should still check the settings in your recording software. If the sample rate and/or bit-depth in the record- ing software do not match your hardware, you will most likely hear clicks and pops or the audio will be the wrong pitch.
-
Page 10: Important Note
Testing Your UR-1: After you have connected your microphone and set up your computer, plug a set of headphones into the 1/8-inch stereo jack located on the back of the UR-1. Important Note: The headphone amplifier can produce very loud sound levels that, when exposed to over a period of time, can cause irreparable hearing damage. -
Page 11: Warranty
Enjoy! MXL is a registered trademark of Marshall Electronics Inc. Mac® is a trademark of Apple Inc., registered in the U.S. and other countries. Windows®, Windows Vista®, Windows XP® and Windows 7® are registered... - Page 12 A division of Marshall Electronics MXL is a registered trademark of Marshall Electronics Inc. ©2011 Marshall Electronics, Inc. All rights reserved. www.mxlmics.com Designed and engineered in the USA. Assembled in China.
Need help?
Do you have a question about the UR-1 and is the answer not in the manual?
Questions and answers