
Subscribe to Our Youtube Channel
Related Manuals for Mantis Swift Split

Summary of Contents for Mantis Swift Split
- Page 1 Log Splitter Manual Owners Manual and Safety Instructions © 2006 Mantis, Div. of Schiller-Pfeiffer Inc. All Rights Reserved.
-
Page 2: Table Of Contents
O. Exploded View and Parts List ..18 P. Declaration of Conformity ...20 Q. Mantis Warranty Policy ... . .21 Wedge... -
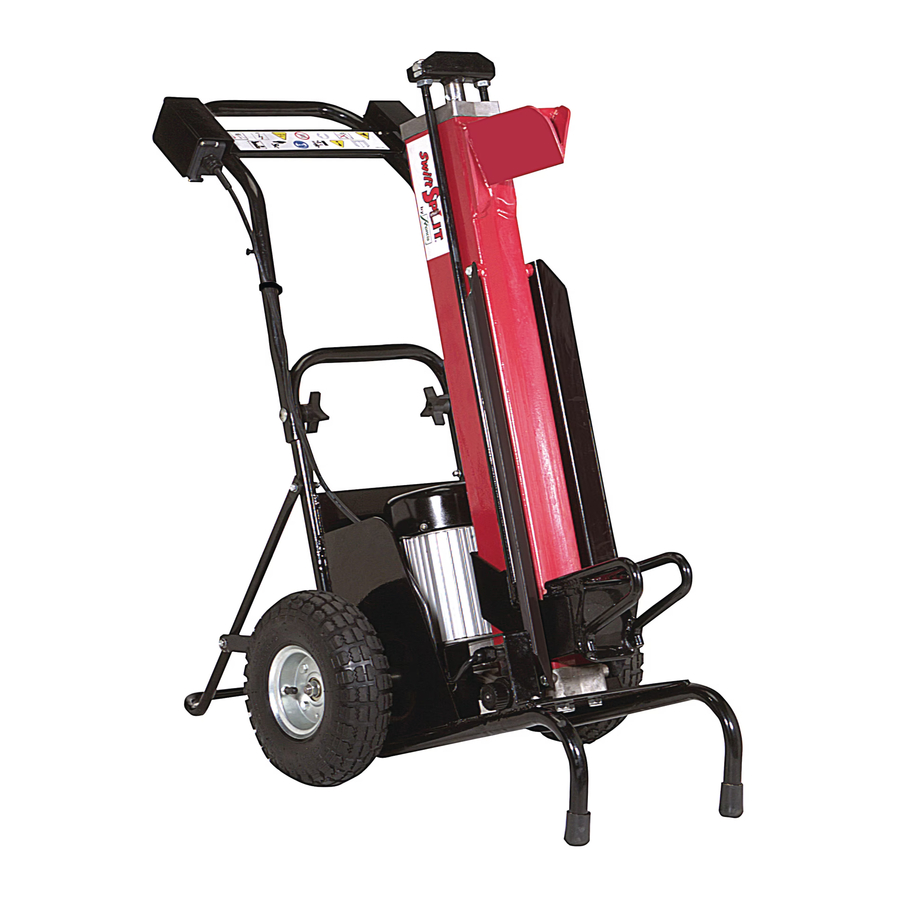
Page 3: Unpacking And Assembly Instructions
1. Cut bands; remove cover and two inserts supporting the top and the bottom of the unit. Remove wheels, pivoting support and hardware box from the box. 2. Put log splitter in the vertical position by holding the top of the beam and carefully lifting the top of the log splitter until it can stand. - Page 4 3. Check contents of the hardware bag. PART NO. ITEM NO. 520500 M10 CARRIAGE BOLT,SQUARE NECK, 60mm LONG 520101 KNOB 520105 CONNECTING LINK 520501 BOLT HEX M6 x 40mm 520502 NUT LOCK M6, NYLON INSERT WASHER FLAT 06 520503 520505 BOLT HEX M6 x 30mm 520116 WHEEL SHAFT...
- Page 5 4. Folding Handle: Install the folding handle onto the frame using knobs (P/N 520101) and carriage bolts (P/N 520500). To do this, align square opening of the folding handle with the frame’s round hole and insert carriage bolt through. Secure it with the handle knob.
-
Page 6: Service Information
1. Safety Decals An important part of the safety system incorporated in this log splitter are the Warning Labels (P/N510601) and Information Decals found on various parts of the unit. These decals must be replaced in time due to abrasion, etc. It is your responsibility to replace the decals when they become hard to read. - Page 7 MANUAL BEFORE OPERATING THIS PRODUCT. BE FAMILIAR WITH THE CONTROLS AND THE PROPER USE OF EQUIPMENT. IMPROPER USE OR CARE OF THIS LOG SPLITTER, OR FAILURE TO WEAR PROPER PROTECTION, CAN RESULT IN SERIOUS INJURY. WEAR EYE PROTECTION, GLOVES, AND PROPER CLOTHING.
-
Page 8: Safety Warnings
• Do not attempt to load the log while the ram of the log splitter is in motion. You could get trapped and injured. • Keep your hands and body parts away from the open splits and cracks in the log. The wood can close in suddenly and cause injury. -
Page 9: Important Extension Cord Information
• Don’t operate the log splitter with a damaged electrical or extension cord. • Never operate the log splitter unless the power cord is plugged into a properly grounded outlet that supplies 110-120V power, and a minimum of 15 amps of current. -
Page 10: Before You Start Splitting
• Before use of the log splitter, check it for alignment of moving parts, free running of moving parts, breakage of parts, mounting and any other conditions that may affect its operation. - Page 11 • Any damaged part of the log splitter should be properly repaired or replaced by an authorized service center, unless otherwise indicated in this instruction manual. • Do not use the log splitter if the switch does not turn it ‘on’ and ‘off’. Have any defective switches replaced by an authorized service center.
-
Page 12: Operation
ALWAYS warm up the unit before use during cold weather conditions by cycling it 4-5 times. Oil is incompressible; therefore, to ensure the efficiency of the log splitter, it is important that the hydraulic system does not contain air bubbles. -
Page 13: Removal Of Logs Jammed On The Wedge
5. Place the log on the pressure plate of the machine. Be sure that the body of the log is lying firmly against the vertical beam of the log splitter and the end of the log is well supported by the pressure plate. If the log tends to wobble, reposition it by turning it. -
Page 14: How To Change The Hydraulic Oil
2. Place a piece of wood shaped as wedge under the jammed log and activate the pressure plate of the log splitter to push it up and under the jammed log. Repeat this process using larger wooden wedges until the jammed log is released. -
Page 15: Sharpening The Wedge
J. Sharpening the wedge BEFORE PERFORMING ANY MAINTENANCE BE SURE THAT: • LOG SPLITTER IS DISCONNECTED FROM POWER SOURCE. • PUSHER PLATE IS FULLY RETRACTED (RETURNED TO THE LOWEST POSITION) AND NO RESIDUAL HYDRAULIC ENERGY IS LEFT IN THE SYSTEM. -
Page 16: Transport
• Log splitter is equipped with two 10” dia. wheels to make it easy to move around. • If you’d like to move your log splitter to different locations, secure the unit during transport to prevent damage or injury. Always tighten the bleed screw to prevent oil spill. - Page 17 Area Maintain log splitter with care • Keep the blade of the log splitter sharp and clean for better and safer performance • Follow instructions for lubrication and oil change • Keep proper oil level • Inspect tool cord periodically and, if damaged, have it replaced by an authorized service facility •...
-
Page 18: Troubleshooting
1-800-366-6268. • Open bleed screw, and cycle pressure plate of the log splitter three to four times back and forth to help remove any air that may have mixed into the hydraulic fluid. •... -
Page 19: Exploded View And Parts List
O. Exploded View LOG SPLITTER EXPLODED VIEW MODEL 5005... -
Page 20: Motor Assembly
520134 SWITCH BOX ASSEMBLY 110V WITHOUT STRAIN REL OPENING 520117 CABLE TIE 152MM (6”) LONG ITEM NO. PART NO. DESCRIPTION 510600 SWIFT SPLIT LOGO LABEL 520118 SWITCH PROTECTIVE COVER 520200 BLEED SCREW SEAL 520220 DRAIN PLUG, M10 X 8MM THREAD... -
Page 21: Declaration Of Conformity
This warranty covers all portions of the MANTIS Log Splitter. MANTIS will repair or replace, at its option, any part or parts of the product proven to be defective in material or workmanship under normal usage during the warranty period.
Need help?
Do you have a question about the Swift Split and is the answer not in the manual?
Questions and answers