
Related Manuals for AWA Radius II

Summary of Contents for AWA Radius II
- Page 1 DAB+ Clock Radio Radius II USER’S MANUAL Thank you for purchasing this product. Please read this manual thoroughly before operating the unit, and keep it for future reference.
- Page 2 WARNING LIGHTNING FLASH WITH ARROWHEAD SYMBOL - EXCLAMATION POINT- within an equilateral triangle, within an equilateral triangle, is intended to alter the is used to indicate that a specific component shall be user to the presence of uninsulated dangerous voltage replaced only by the component specified in that within the products enclosure that may be of sufficient documentation for safety reason.
-
Page 3: Safety Instructions
SAFETY INSTRUCTIONS READ INSTRUCTIONS – All the safety and operating instructions should be read before appliance s operated. RETAIN INSTRUCTIONS - The safety and operating instructions should be retained for future reference. HEED WARNINGS – All warnings on the appliance and in the operating instructions should be adhered to. FOLLOW INSTRUCTIONS –... -
Page 4: Location Of Control
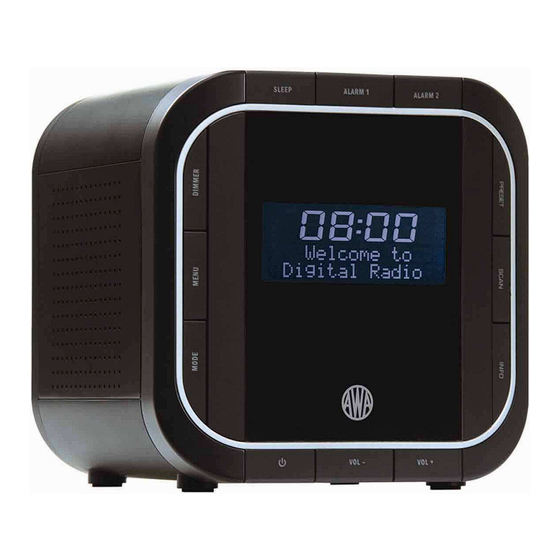
LOCATION OF CONTROL UNIT TOP VIEW UNIT FRONT VIEW Control All modes a. Press to turn unit on/off b. When alarm is coming, press to turn it off VOL - Press to decrease volume level VOL + Press to increase volume level DAB, FM mode: INFO Press to display queue information... -
Page 5: Power Source
LOCATION OF CONTROL UNIT BACK VIEW Power Supply Unique designed for connect power socket: cord Connects to the external audio AUX IN socket: device POWER SOURCE SWITCH ON Note: Position the cable antenna, so that it cannot be walked on or pinched by items placed on or against with. •... -
Page 6: Update Stations List
DAB OPERATION PRUNE INACTIVE STATIONS Note: this function only activated in DAB mode, doing this, to let only active stations [ones that are currently broadcasting] available. 1. The path is: Press MENU, and then press to ‘‘Prune’, press OK to confirm, your radio will ask you ‘Prune? <No>... -
Page 7: Other Features
FM OPERATION SCAN SETTING By default, FM scans stop at any available station. This may result in a poor signal-to-noise ratio (hiss) from weak stations. To change the scan settings to stop only at stations with good signal strength, press MENU <... -
Page 8: Aux In Mode
OTHER FEATURES AUX IN MODE Note: a. make sure your radio is powered on. b. using the connection lead, your radio will be transformed into a high quality digital audio speaker system. 1. Connect one end of the audio lead to the headphone (or auxiliary out) socket of your secondary device, connect the other end to the AUX IN socket on the rear of your radio. -
Page 9: Set Alarm
OTHER FEATURES SET ALARM Note: ensure that clock is set already. 1. Press ALARM1, it will say ‘Alarm 1 Setup’, meanwhile icon will be twinkling. 2. To set alarm 2, press ALARM2, and icon will be sparkling, now let’s take set alarm 1 as example. 3. -
Page 10: Set Sleep
OTHER FEATURES SET DIMMER Note: sometimes, you may want to adjust the backlight level of your radio to suit your personal preference. 1. Repeatedly press DIMMER to adjust backlight level. SET SLEEP Note: sometimes, you may want your radio after a settled time turns it off automatically, below shows you how to do 1. -
Page 11: Specification
SPECIFICATION Specifications: DAB+ Clock Radio Audio Output: 2Wrms X 2 (FM) 87.5-108MHz Frequency Ranges: (DAB) 174 – 240MHz 5Vdc, 1200mA Unit Power input: AC Power Input: 100-240V~, 50-60Hz, 0.2A Power Supply: Output: 5Vdc, 1200mA Dimension: 140mm x 140mm x 143mm... - Page 12 The AWA Service Centre and its Authorised Service Centres may charge for work done where the product is found to be in good working order. Example, charges may be made where the problem is found to be due to incorrect setting of customer controls, use of poor associated equipment (e.g.
Need help?
Do you have a question about the Radius II and is the answer not in the manual?
Questions and answers