
Related Manuals for Sylvania SRCD682BT


Summary of Contents for Sylvania SRCD682BT
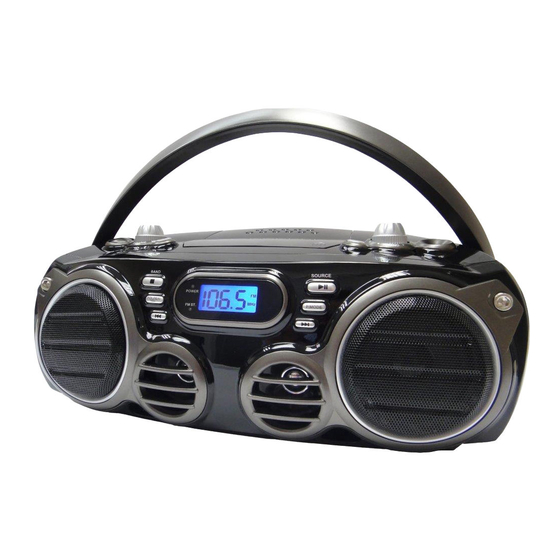
- Page 1 MODEL NO. SRCD682BT PORTABLE CD PLAYER WITH PLL AM/FM RADIO, BLUETOOTH AND LCD DISPLAY OWNER'S MANUAL PLEASE READ BEFORE USING THIS UNIT...
- Page 5 Control Location (Front and Top Views) HANDLE FM ROD ANTENNA CD DOOR AUX IN JACK USB DOOR TUNING KNOB VOLUME KNOB BUTTON BASS BUTTON STANDBY INDICATOR LC DISPLAY PLAY / PAUSE BUTTON STOP / BAND BUTTON REP/PROGRAM BUTTON FUNCTION BUTTON SKIP BUTTON SKIP BUTTON Control Location (RearView)
-
Page 6: Power Connection
Power Connection Connecting AC Power Connect the small end of AC cord to the socket at the back of the main unit and insert the plug of AC cord into standard AC wall outlet. Caution: The unit is designed to operate from mains supply of AC 120V~60Hz. If the plug of AC cord does not fit properly, try to turn it over and try again. -
Page 7: Main Operation
Caution: There is a danger of explosion if batteries are replaced incorrectly. Replace batteries with the same type and same brand only. When the unit is intended for being unused for a long period of the time, press the button to turn OFF the unit and remove all batteries from the main unit. Main Operation Switching On for the first time Plug into AC power or install batteries by following instructions on the previous Power... -
Page 8: Loading Disc
CD Operation The unit is designed to play normal music CD disc bearing the correct identification logo. If the disc does not confirm tothe standard, it may not be played back properly. Caution: Playback of CD-R / CD-RW may depend on recording conditions. Do not attach a seal or label to either side (the recordable side or the labeled side) of a CD-R/ RW disc. -
Page 9: Programmed Cd Playback
CD Operation-Continued Repeat playback modes (Repeat 1 / Repeat all) Repeat the Current Track During playback, press the REP/ PROG button until the icon is displayed to select the current track/file to be repeated. The selected track/file will be repeated continuously. Repeat All Tracks During playback, press the REP/ PROG button until icon is displayed. -
Page 10: Bluetooth Operation
Turn on the Bluetooth function of your Bluetooth device and enable the search or scan function to find the unit. • Select "SRCD682BT" from the device list when it appears on your device screen. If required, enter the pass code “0000” to pair (link) the unit with your device. •... -
Page 11: Aux In Operation
AUX IN Operation Setting up (AUX IN) connection AUX-IN jack will allow you to connect external music player or external sound source to the main unit. 1. Plug into a 3.5mm audio cable (not included) into your external music player and connect the other end (3.5mm jack) into the AUX IN jack on the top of the unit. - Page 12 LIMITED PRODUCT WARRANTY This quality product is warranted to be free from manufacturer’s defects in material and workman-ship, provided that the unit is used under the normal operating conditions intended by the manufacturer. Should you have any problem with this product, please and it is highly recommended to visit our website www.curtisint.com before you take any other steps as we have additional copies of instruction manuals, operating manuals and trouble shooting tips on our website which gives you the answer on most of the...
Need help?
Do you have a question about the SRCD682BT and is the answer not in the manual?
Questions and answers
I was given a Sylvanua SRCD682BT Blue Tooth radio I cannot any volume out of it and the radio keeps cutting in and out - can you advise
If the Sylvania SRCD682BT Bluetooth radio has no volume and keeps cutting in and out, try these troubleshooting steps:
1. Check Bluetooth Connection: Ensure the device is properly paired. If not, turn the unit off and on, then re-pair by selecting "SRCD682BT" from your device and entering code “0000” if prompted.
2. Restart Devices: Turn off both the radio and the Bluetooth device, then turn them back on and reconnect.
3. Check Volume Levels: Make sure the volume is turned up on both the radio and the connected Bluetooth device.
4. Test with Another Device: Try connecting a different Bluetooth device to see if the issue continues.
5. Reduce Interference: Move the radio and Bluetooth device closer together and away from other electronics that may cause interference.
If the issue persists, the unit may need repair or replacement.
This answer is automatically generated