Advertisement
Table of Contents
- 1 Important Safety Instructions
- 2 Table of Contents
- 3 Getting Started
- 4 Assembling Your Steam Mop
- 5 Using Your Steam Mop
- 6 Using Your Carpet Glider
- 7 Using Your Handheld Steamer
- 8 Using Your Removable Handheld Steamer with Different Accessories
- 9 Care of Your Steam Mop
- 10 Troubleshooting Guide
- Download this manual
Advertisement
Table of Contents

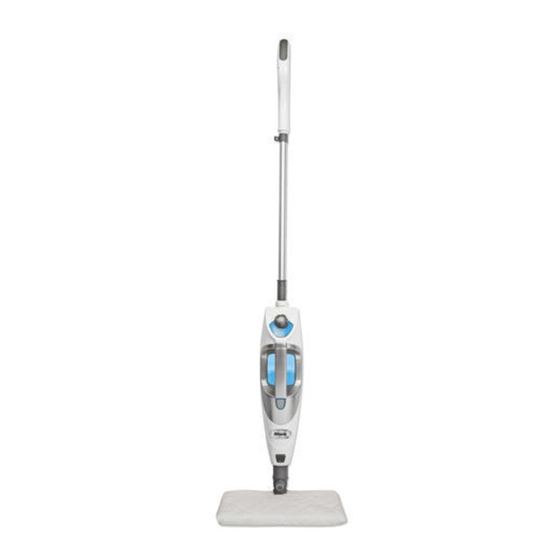
Summary of Contents for Shark S2901UK
- Page 1 S2901UK OWNER’S GUIDE...
-
Page 2: Important Safety Instructions
IMPORTANT SAFETY INSTRUCTIONS For Household Use Only WARNING: WHEN USING YOUR SHARK ® STEAM MOP, BASIC SAFETY TO REDUCE THE RISK OF FIRE, PRECAUTIONS SHOULD ALWAYS ELECTRIC SHOCK OR INJURY: BE FOLLOWED, INCLUDING THE 1. Use the system only for its intended use. - Page 3 13. DO NOT unplug by pulling on power cord. To 26. Keep your work area well lit. unplug, grasp the plug not the power cord. Do not 27. Store steam mop indoors in a cool, dry place. use extension cords or outlets with inadequate 28.
- Page 4 This guarantee does not affect your statutory rights. If this product proves unsatisfactory please contact our customer service department on freephone 0800 862 0453 or by e-mail ukservice@euro-pro.com. THIS MANUAL COVERS MODEL NUMBER: S2901UK 11 TECHNICAL SPECIFICATIONS Voltage: 220-240V~, 50/60Hz...
-
Page 5: Table Of Contents
Contents Thank you for Getting Started ....................2 purchasing Assembling Your Steam Mop ................3 the Shark Using Your Steam Mop ..................4 ® Using Your Carpet Glider .................. 5 Multi-Function Using Your Handheld Steamer ................6 Steam Pocket ®... -
Page 6: Getting Started
When assembling your steam mop there may be a little water in or around the water tank. This is because we test all our steam mops 100% before you buy them, so you get a quality Shark Multi-Function Steam Pocket Mop Lite. -
Page 7: Assembling Your Steam Mop
Push the cleaning pocket when the mop is plugged the mop handle in until you hear it click into place. into the wall. To prolong the life of your Shark ® (fig. 1) -
Page 8: Using Your Steam Mop
Using Your Steam Mop IMPORTANT: Make sure you do not use the mop without attaching a cleaning pocket and adding water to the tank first. When you are using the mop for the first time, it might take longer than the normal 30 seconds to start steaming. -
Page 9: Using Your Carpet Glider
Use the shaggy side of the cleaning pockets to lift up and lock away all the dirt and debris and the scrubbing side to break up the tough stains. (fig. 7) When the water tank is empty, the Steam Mop will stop producing steam. -
Page 10: Using Your Handheld Steamer
Using Your Handheld Steamer Your Shark Multi-Function Steam Pocket ® ® Lite is designed to clean surfaces that will withstand high heat and moisture. Do not use on unsealed wood surfaces (especially wooden antique furniture), unglazed ceramic tile, painted surfaces or surfaces that have been treated with wax, oils, varnishes, or shellac. -
Page 11: Using Your Removable Handheld Steamer With Different Accessories
Using Your Removable Handheld Steamer with the Different Accessories Release Button fig. 11 fig. 12 First attach the Accessory Hose to the Handheld CAUTION: Do not press the power button while Steamer by snapping the Accessory Hose into the attaching or removing the Accessory Hose. main nozzle. - Page 12 Using Your Removable Handheld Steamer with the Different Accessories - cont. fig. 13 USING THE CONCENTRATOR NOZZLE To remove the Concentrator Nozzle, press and hold the accessory release button, then pull it out of the Cleaning Tip: The Concentrator Nozzle creates direct Accessory Hose.
- Page 13 fig. 14 fig. 15 USING THE WINDOW SQUEEGEE USING THE GROUT SCRUBBER Cleaning Tip: To use the window squeegee, work with Cleaning Tip: The Grout Scrubber is designed for the vapor jet down using top to bottom movements. To do removing stubborn messes in hard-to-reach nooks, this without leaving streaks, use lateral movements from corners and in grout where focused scrubbing power...
-
Page 14: Care Of Your Steam Mop
When you have finished using the Handheld Steamer, water tank cap and empty the tank over a sink. reattach the handle to the handheld steamer. Replace the water cap. To store the Shark Multi-Function Steam ® Pocket Mop Lite hanging up, first remove the head ®... - Page 15 DECALCIFYING YOUR STEAM MOP Calcium and mineral deposits can build up and impact the performance of your steam mop over time. To extend the life of your product we 40° recommend that you use distilled water. fig. 17 fig. 19 fig.
-
Page 16: Troubleshooting Guide
Troubleshooting Guide PROBLEM POSSIBLE REASONS & SOLUTIONS The Shark Multi-Function ® Your steam mop should be securely plugged into an electrical outlet only. Steam Pocket Lite Mop ® Check your fuse or breaker. will not turn-on. Is there water in the water tank? If not, add water to your steam mop following instructions on page 4. - Page 17 Notes www.sharkclean.eu...
- Page 18 Notes FREEPHONE 0800 862 0453...
- Page 19 Notes www.sharkclean.eu...
- Page 20 Input: 1250 Watts Main unit voltage: 220-240V~, 50/60Hz COPYRIGHT© EURO-PRO OPERATING LLC 2014 Euro-Pro, Steam Pocket, and Shark are trademarks of Euro-Pro Operating LLC. All other brand names may be trademarks of their respective owners. PRINTED IN CHINA S2901UK_11_IB_E_141016_2 IPX4...


Need help?
Do you have a question about the S2901UK and is the answer not in the manual?
Questions and answers